The Erie Railroad Boxcars Part 3 - 6
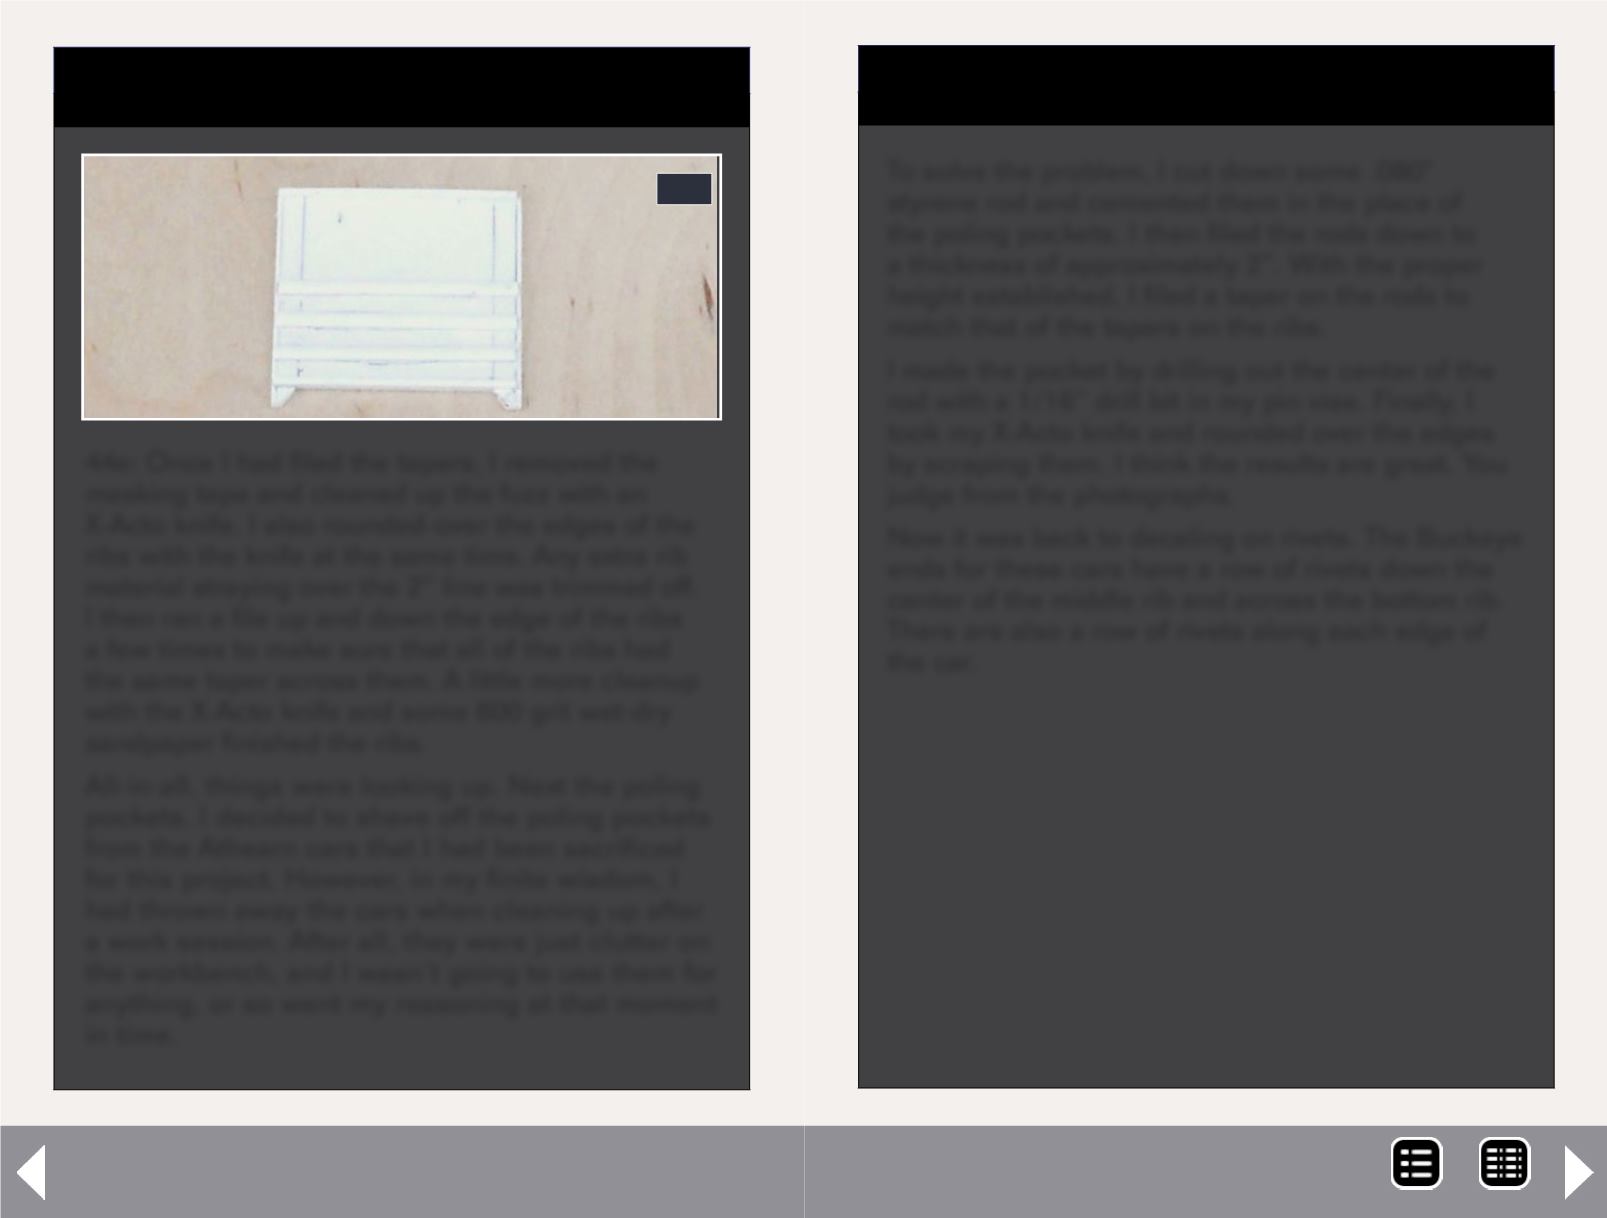
44e: Once I had filed the tapers, I removed the
masking tape and cleaned up the fuzz with an
X-Acto knife. I also rounded-over the edges of the
ribs with the knife at the same time. Any extra rib
material straying over the 2” line was trimmed off.
I then ran a file up and down the edge of the ribs
a few times to make sure that all of the ribs had
the same taper across them. A little more cleanup
with the X-Acto knife and some 600 grit wet-dry
sandpaper finished the ribs.
All-in-all, things were looking up. Next the poling
pockets. I decided to shave off the poling pockets
from the Athearn cars that I had been sacrificed
for this project. However, in my finite wisdom, I
had thrown away the cars when cleaning up after
a work session. After all, they were just clutter on
the workbench, and I wasn’t going to use them for
anything, or so went my reasoning at that moment
in time.
44e
STEP 10: The Ends for the 75500 – 75999 and
the76000 – 76499 Series
Continued ...
To solve the problem, I cut down some .080"
styrene rod and cemented them in the place of
the poling pockets. I then filed the rods down to
a thickness of approximately 2”. With the proper
height established, I filed a taper on the rods to
match that of the tapers on the ribs.
I made the pocket by drilling out the center of the
rod with a 1/16” drill bit in my pin vise. Finally, I
took my X-Acto knife and rounded over the edges
by scraping them. I think the results are great. You
judge from the photographs.
Now it was back to decaling on rivets. The Buckeye
ends for these cars have a row of rivets down the
center of the middle rib and across the bottom rib.
There are also a row of rivets along each edge of
the car.
STEP 10: The Ends for the 75500 – 75999 and
the76000 – 76499 Series
Continued ...
MRH-Jun 2013


