STEP 13: The Brake Detail
Continued ...
The Erie Railroad Boxcars Part 3 - 16
Once all of the airlines were installed, I began
work on the brake levers. I cut three pieces of
.012” brass wire for the brake rods. Two are for
the rods that run to the trucks, and the third the
connecting rod between the brake levers.
I started with the larger of the brake levers and
put the rods in the slots that Tichy provides in the
brake levers. The long one will run to the trucks
and the short one will be the connecting rod. On
the small brake lever, I installed the brake rod only.
I then placed the large brake lever in the clevis
and used my nippers to grab the wire at the .030”
pedestal and cut it at that location. I pressed
the wire into the small brake lever slot, and then
tested the assembly to make sure that it would fit
in the clevis and on the pedestal. Once I was sure
it fit, I cemented the two parts together. I then
cemented everything into place: The large brake
lever into the clevis, the small brake lever to the
.030" diameter pedestal, and the ends of the
brake rods on the bolsters.
A few thoughts about the floors I had cast. You will
notice that I do not have a train line for the air brake
system. I honestly didn’t think about it at the time I
was building the floors. Not that they are noticeable,
but it’s a detail I should have added. I didn’t have any
of the Tichy AB brake details at the time I made the
floors. I wish I had, I would have added the pedestals
I needed to set the triple valve and air reservoir on.
Maybe next time they will make it on the master.
STEP 14: The Running Boards
55
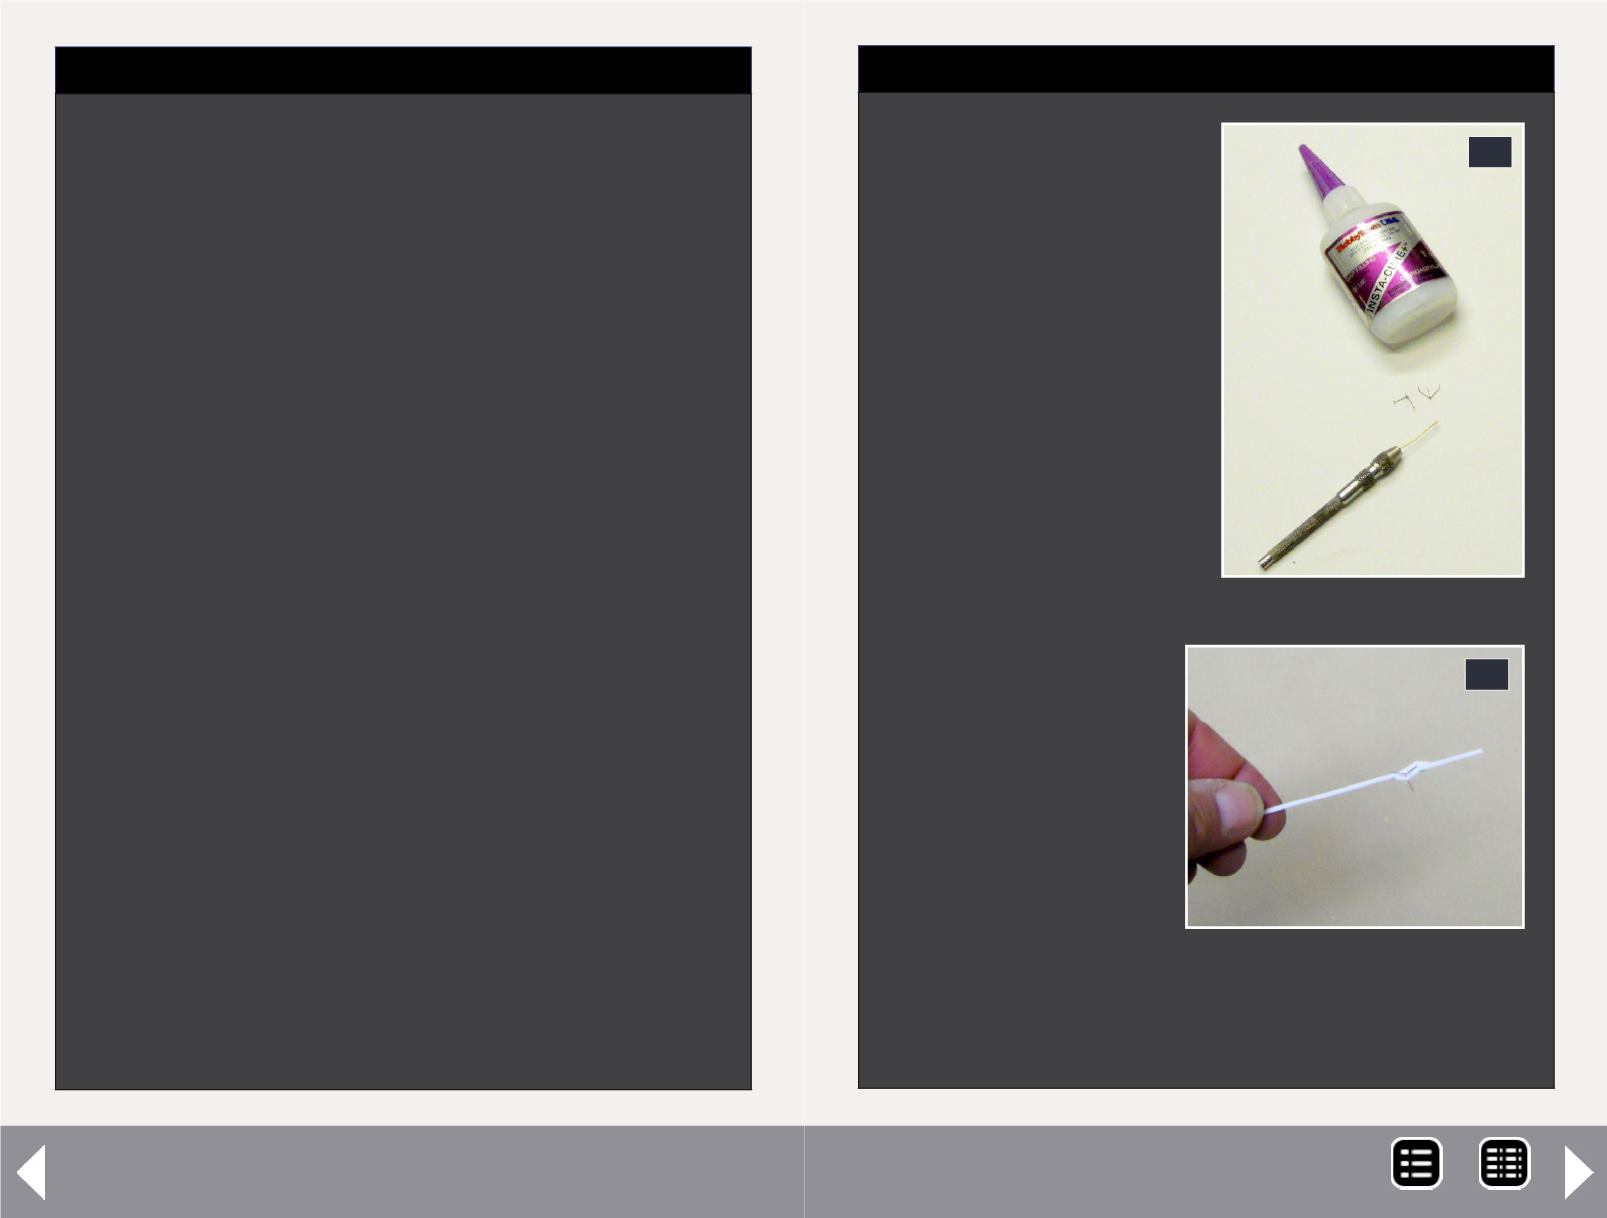
55: I begin by cementing
the eye-bolt at the
corner of the roof grab
iron. I have found that
it much easier to install
these using this process.
The key is to use the
method that works best
for you.
56: Holes were
drilled at the proper
distances and then
the corner grabs were
installed. A piece of
4” styrene was used
as a spacer to insure
that the grabs were
set at the proper
height.
56
MRH-Jun 2013


