The Erie Railroad Boxcars Part 3 - 5
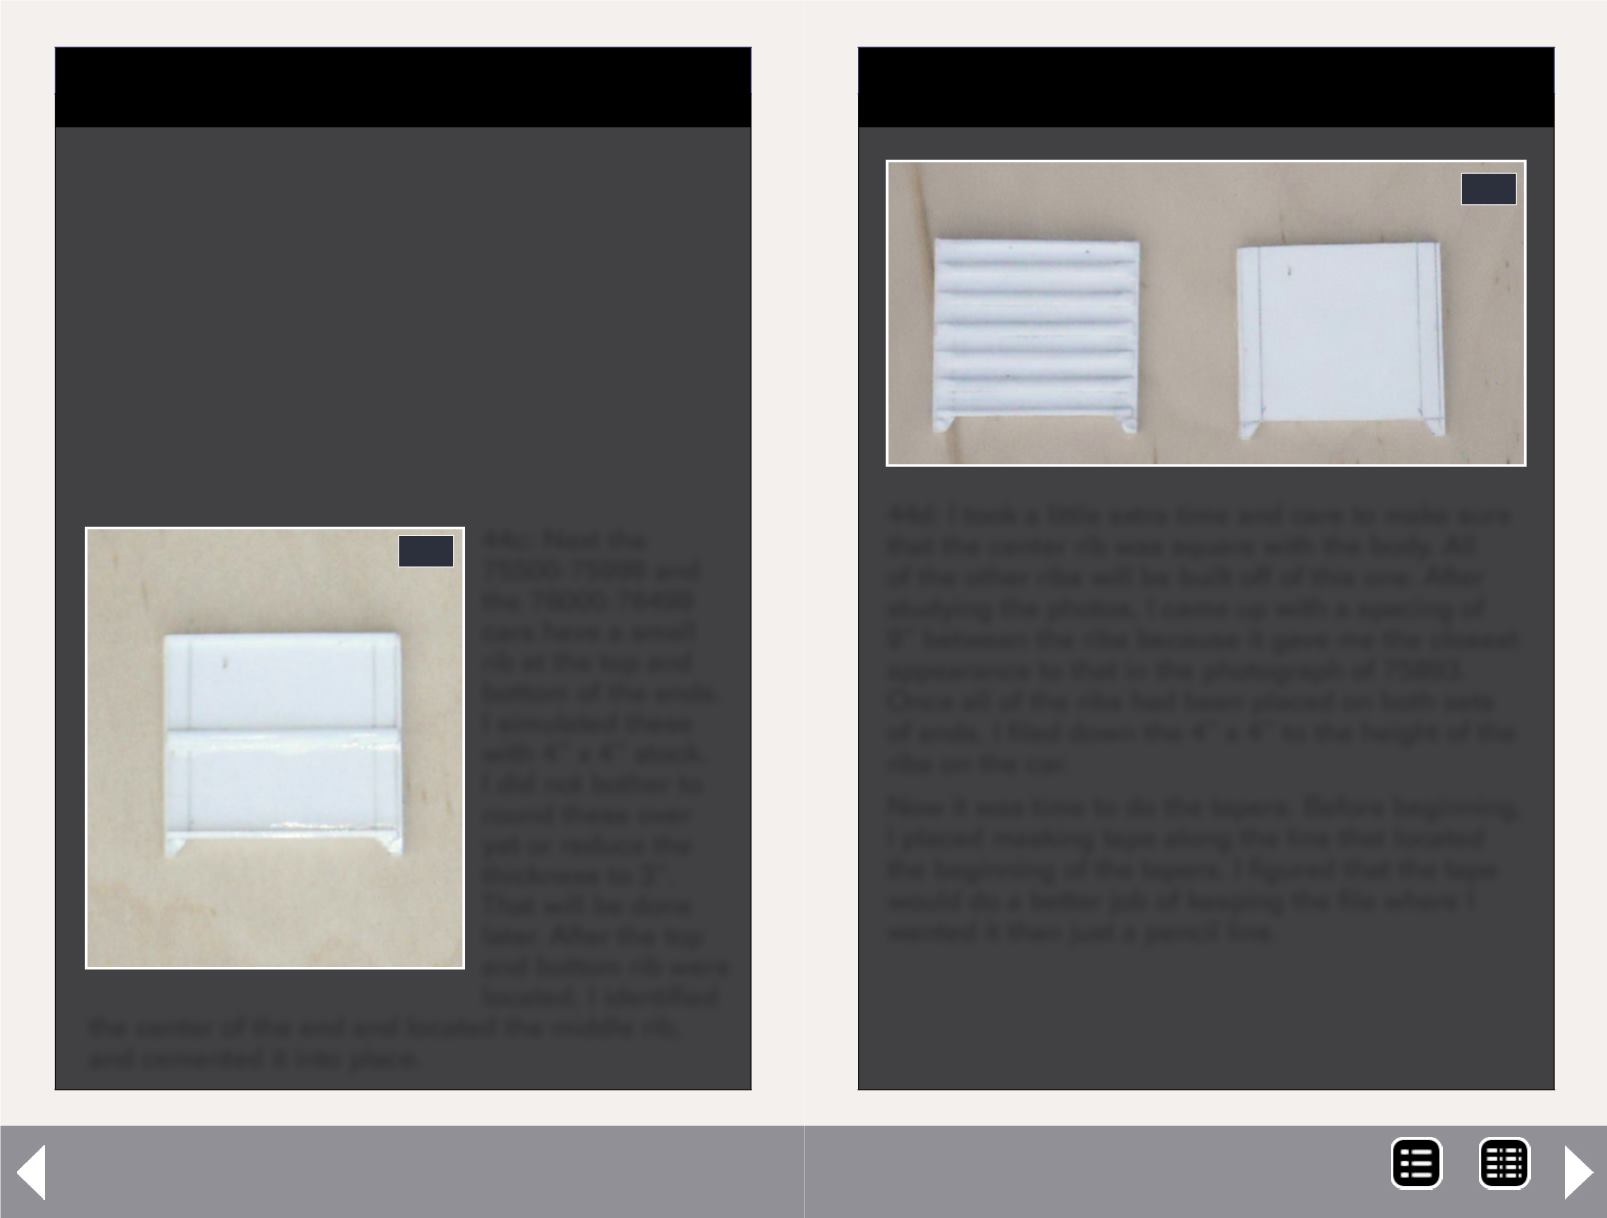
44c: Next the
75500-75999 and
the 76000-76499
cars have a small
rib at the top and
bottom of the ends.
I simulated these
with 4” x 4” stock.
I did not bother to
round these over
yet or reduce the
thickness to 3”.
That will be done
later. After the top
and bottom rib were
located, I identified
the center of the end and located the middle rib,
and cemented it into place.
44c
STEP 10: The Ends for the 75500 – 75999 and
the76000 – 76499 Series
Continued ...
the ribs stop, and the1’-2” line locates where the
tapers of the ribs start. Once I had completed
laying out my guide lines, I cut the blanks from the
stock styrene sheet.
To cut out the areas at the bottom of the end, I
use the X-Acto knife to scribe the horizontal line
and an X-Acto saw to cut the diagonal lines. Once
the waste area had been removed, I trued-up the
edges with a file.
44d: I took a little extra time and care to make sure
that the center rib was square with the body. All
of the other ribs will be built off of this one. After
studying the photos, I came up with a spacing of
9” between the ribs because it gave me the closest
appearance to that in the photograph of 75893.
Once all of the ribs had been placed on both sets
of ends, I filed down the 4” x 4” to the height of the
ribs on the car.
Now it was time to do the tapers. Before beginning,
I placed masking tape along the line that located
the beginning of the tapers. I figured that the tape
would do a better job of keeping the file where I
wanted it than just a pencil line.
44d
STEP 10: The Ends for the 75500 – 75999 and
the76000 – 76499 Series
Continued ...
MRH-Jun 2013


