STEP 14: The Running Boards
Continued ...
The Erie Railroad Boxcars Part 3 - 18
60: As can be seen from the
photos I wasn’t concerned
with aligning the pieces at the
corners or along the lengths
of the strips. I also made some
extra brackets, which was a
good thing. When trimming and
filing them to shape, I had one
fly away into the vortex of the workshop floor. Little
parts like these are hard to find unless they are
spotted immediately. After the parts were trimmed I
bent the top end approximately 45
0
angle.
60
things than can be obliterated very easily during
handling. So for this project, I made them out of
the DA .010" x .030" brass strips.
I made a small jig from Northeastern 2” x 4” and
2” x 8” wood stock. I glued the 2” x 8” piece to a
small piece of plywood. Next I laid a piece of the
DA brass strip along side the 2” x 8” and then
glued a 2” x 4” next to the brass strip.
A few minutes after the glue had set, I was in
business. I placed a small piece of the .010" x .030"
across the end of the jig. Next a piece of .010" x
.030" stock was placed in the slots over the first
piece. This has the effect of clamping the end piece
in place untill I can solder the parts together.
STEP 14: The Running Boards
Continued ...
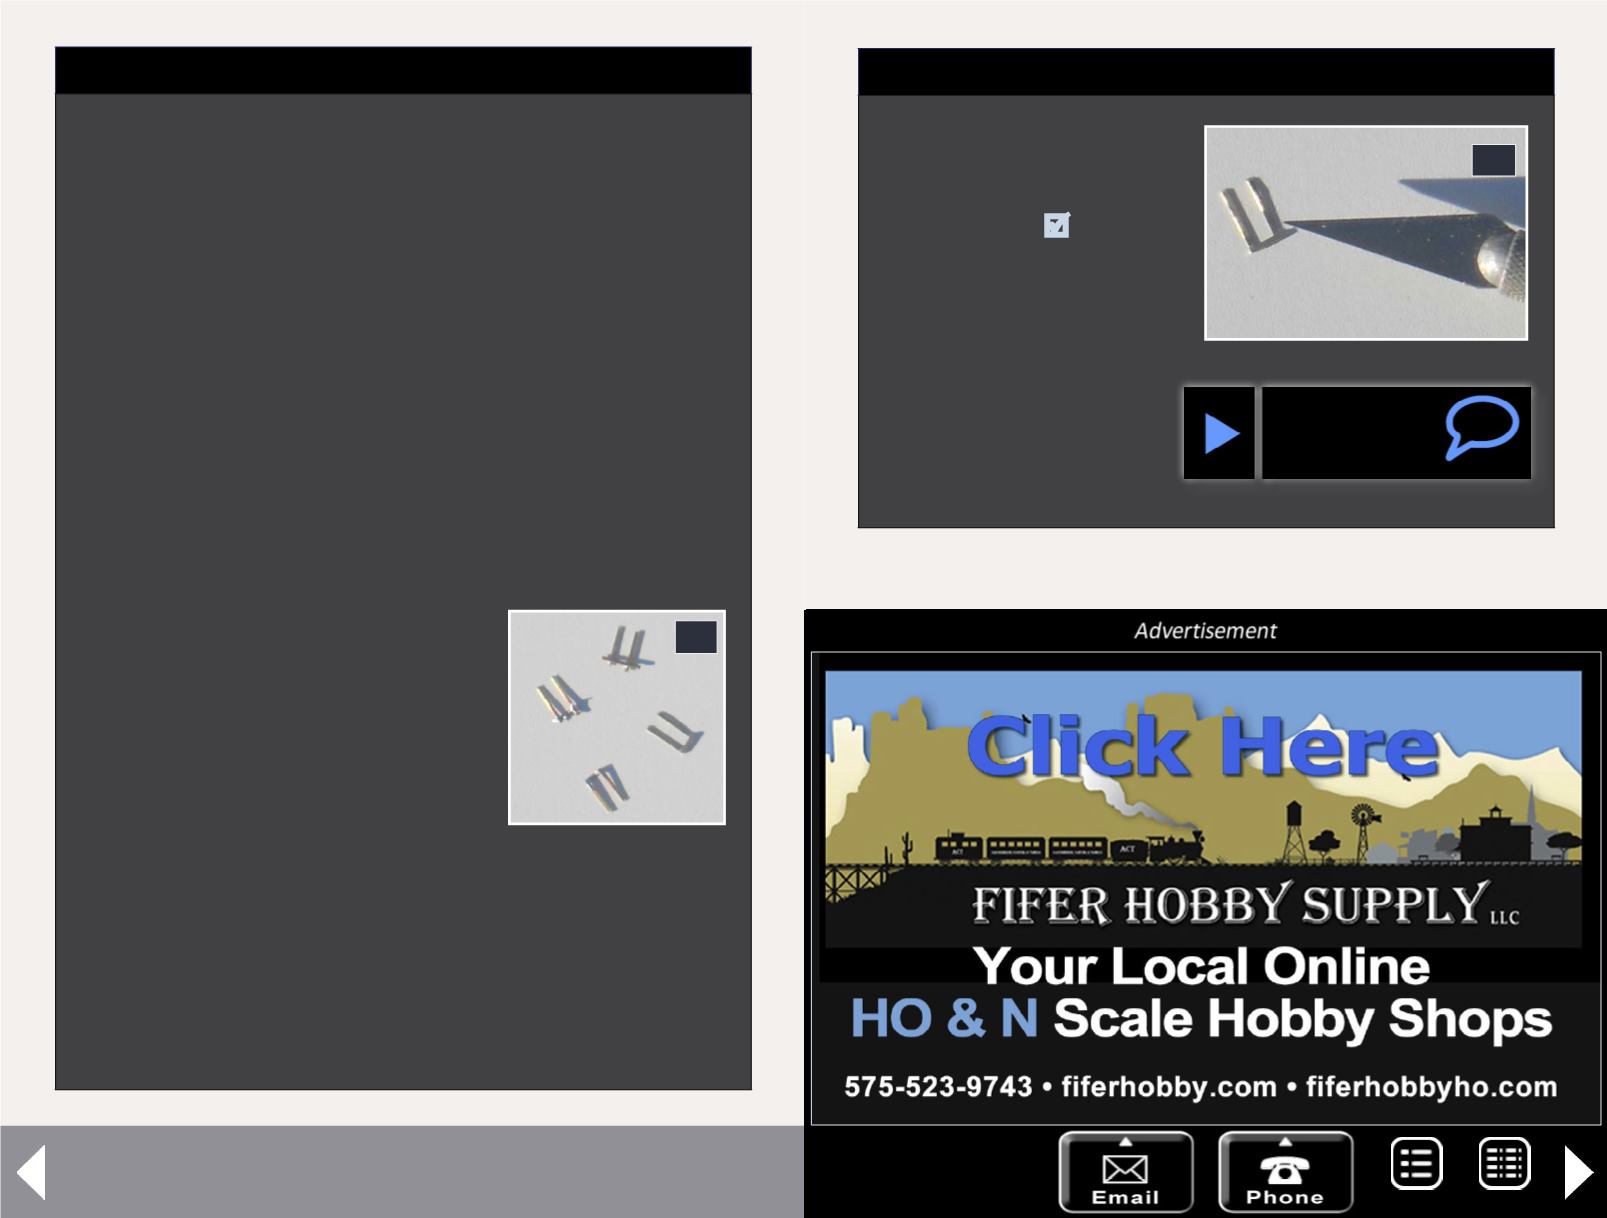
61: A running board end
support and an X-Acto
knife to provide a size
comparison.
61
MRH-Jun 2013


