STEP 10A: The Ends for the 76500 – 76999 Series
Continued ...
The Erie Railroad Boxcars Part 3- 10
I took the time to place the individual rivets. I
quickly discovered was that it is much easier to
just scrape off the rivet with a #11 X-Acto knife
blade, then poke it very lightly with the tip of the
blade and set into place with Solvaset. Trying to
soak individual rivets off the backing doesn’t work.
Out came the airbrush again, and I applied another
coat of Gloss and let it dry overnight.
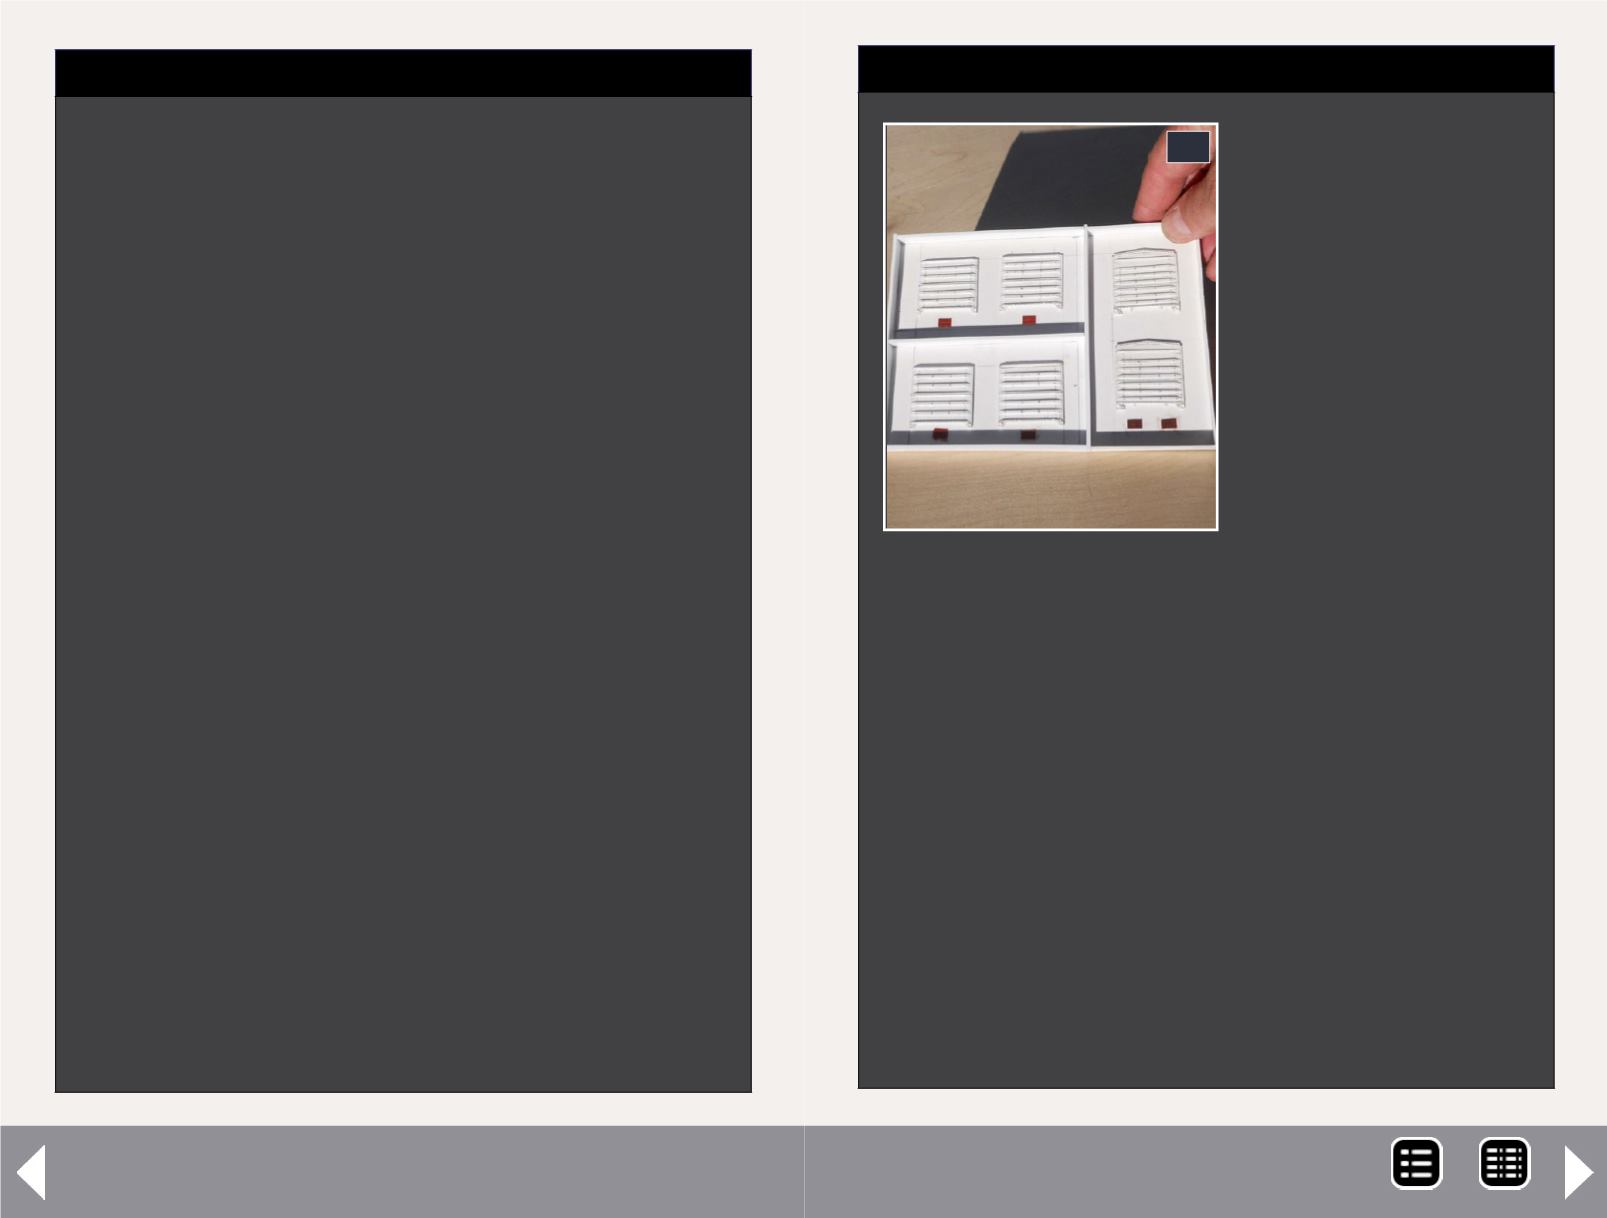
47: I made the base
of the mold boxes
from some scrap .060"
styrene stock. I cut each
base so that I would
have approximately
3/8” actual dimension
around the each piece
and in-between each
piece in the form. The
sides of the form were
made from .080" x
.312" styrene stock. I
cemented the various
pieces in the mold
boxes. When you do
this, make sure that every piece is down snug. The
silicone mold material will creep under every small
opening.
Once I had the pieces in forms, it occurred to me that
it would be a good idea to add a little insurance and
seal the rivet decals (again) with a couple of coats of
Floquil High Gloss. Even doing this I had a few spots
where the rivets came up and had to be picked out
of the mold. I was glad that I had sealed the rivets;
I can’t imagine the number that I would have been
picking out if I hadn’t done it.
I also give each master a little spray of mold
release prior to pouring the mold material. I don’t
know if this is necessary with the silicone but I
wasn’t going to take any chances.
47
STEP 11: Making Rubber Molds and Casting the Parts
MRH-Jun 2013


