the correct tool, but that tool should only be used for
B/W graphics. Instead, click on Enhance, and then
Brightness/Contrast, and then Levels. That menu
choice will result in a histogram [12] which is a graph of
the range of blacks and whites throughout the image.
As shown by the bar at the bottom of the dialog box,
pure blacks are on the left and pure whites are on
the right of the graph. Most of the pixels in the image
are variations of gray which are shown by the high
point of the graph right in the middle. The left and
right ends of the graph are “flat” except for some pure
whites on the far right.
But you don’t need to understand the graph to correct the
image. First, drag the left slider on the bottom of the graph
toward the right until it aligns with the left end of the graph.
Then drag the right slider toward the left until it aligns with the
right end of the graph [13].
Now the center slider needs to be moved. If the image is dark,
move the center slider toward the left. If the image is too light,
move it to the right. Since this photo was dark, I moved it to the
left as I watched the image.
I didn’t want to move it too far to the left since that would
lighten the entire image so much that it would look washed out.
GETTING REAL |
17
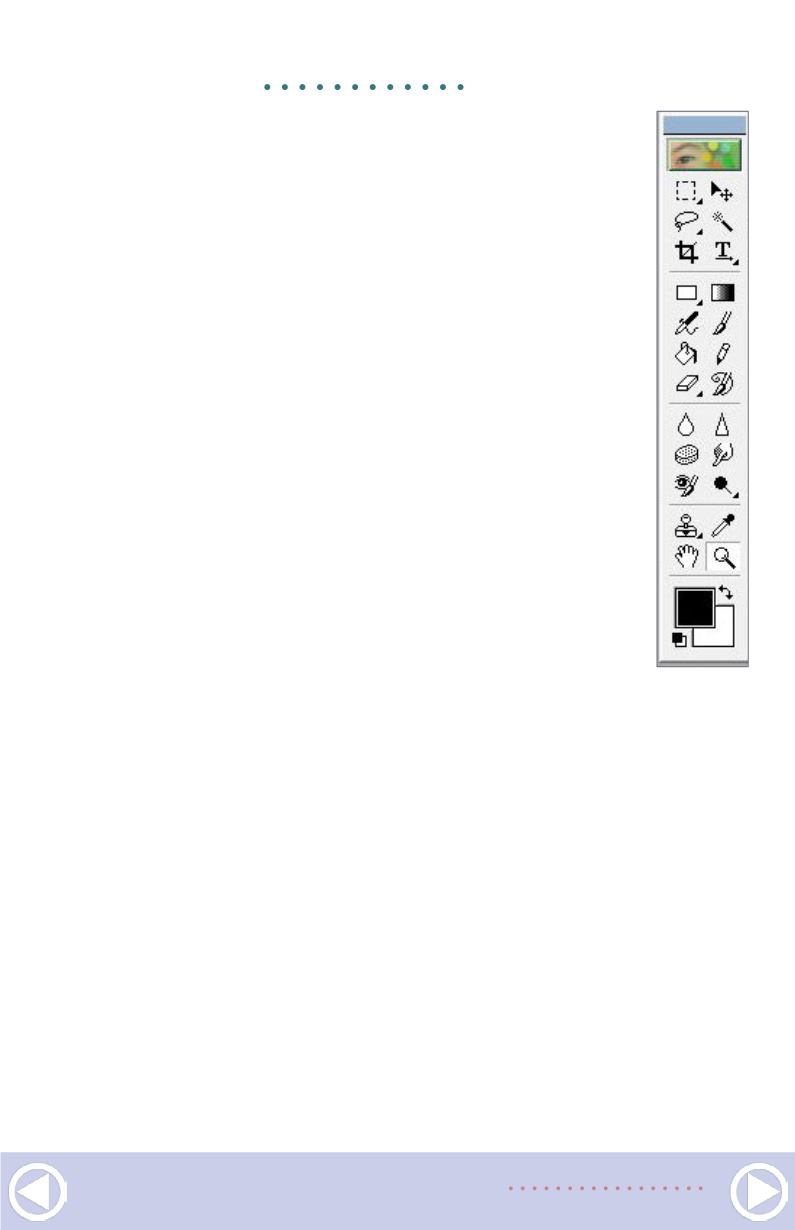
8. This is the Photoshop Elements tool box. The Crop
tool is on the left side of the tool box on the third
row down from the top while the Clone tool is two
rows up from the bottom on the left side. Hovering
the mouse button over a tool will provide the name
of that tool.


