GETTING REAL |
19
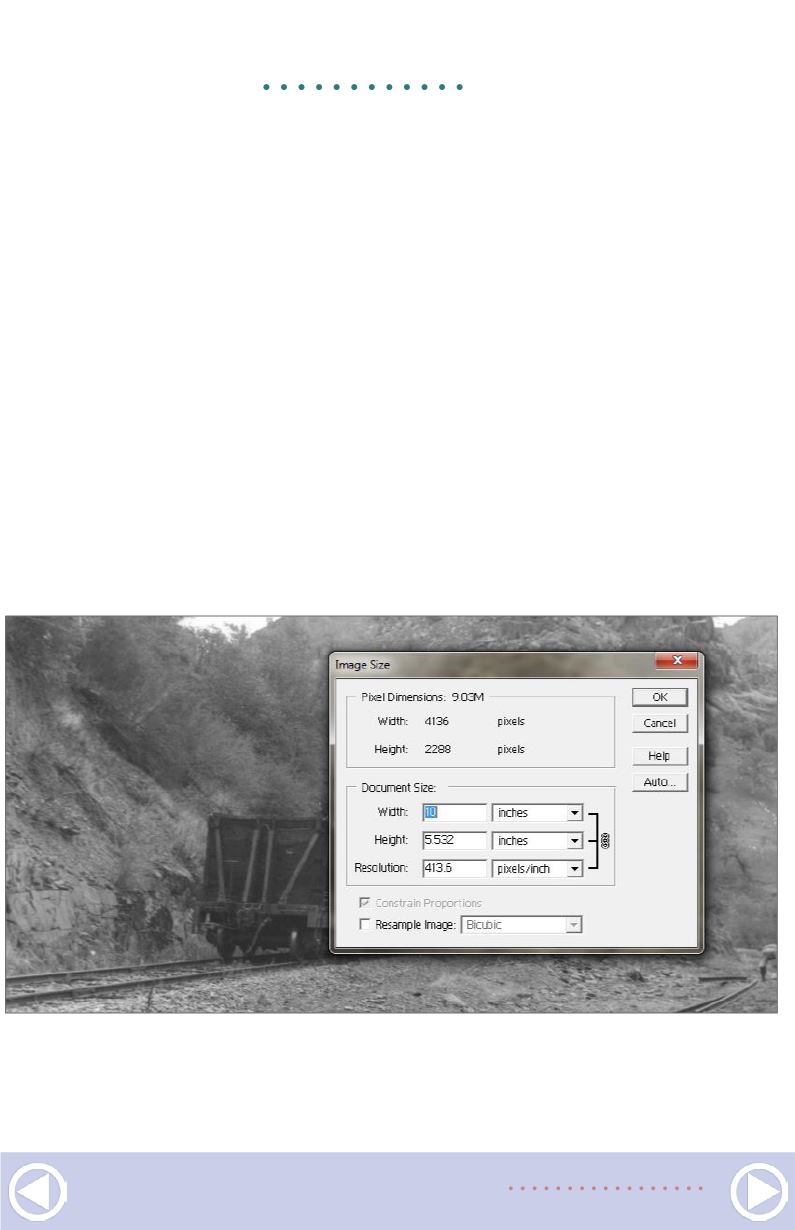
11. After typing in a new width, the Resolution is reduced
from 600 dpi to 413.6 dpi which is okay since it is still over
300 dpi.
So pay attention to the background as well as the dark areas.
I wanted the crane to get light enough to see the details of it
while not washing out the background. When I was satisfied
[14], I clicked on OK.
Note that these steps are intended to improve the original scan.
Sometimes you might want to lighten a photo even more to be
able to see more detail for a modeling project. This approach can
also be used for that purpose.
Another step will compensate for the limitations of the original
scan. Click on Filter/Sharpen/Unsharp Mask. This seemingly dubi-
ous menu choice is actually based on a technique used during
darkroom days to increase the sharpness of traditional B/W prints.
The resulting dialog box [15] has several variables. I use only the
Amount slider. Watch your photo as you move the slider toward a


