Just one more step – scale it to the desired size. Select the
entire crate and with the Scale tool move one of the handles
to make it smaller and type “0.01148” (that’s 1/87.1, but
SketchUp doesn’t understand fractions) to reduce it to HO
scale. It will reduce to a tiny speck on the screen so use the
“Zoom Extents” tool to see it. I like to move it so the sides line
up with the drawing axes. Some older software requires that
the model be positioned in this way or it tries to print it out in
space. With it at the origin, there won’t be any problems.
Now we can play with one of the cool tools, the Section Plane.
Pick it up and click one of the surfaces of the crate. The green
tool will turn into an orange rectangle that creates a cut-
away section of the crate. Select it (it turns blue) and use the
move tool to move it through the crate to see any section
you like. This is useful to check that you meet minimum wall
thicknesses.
Now just go to the File menu, Select “Export Model/Collada
File. Say OK to the defaults. All software packages accept
ASCII data
and it must be
exported in the
same units as
you drew it, in
this case inches,
or it will change
size. E-mail the
Collada file to
Shapeways and
in a few days
you’ll have the
physical part.
You can use the
11. Crate with 2x4 spacers.
11
Intro to 3D modeling - 8
part directly on your layout or you can use it to make a mold
and make bunches of parts. To use this model as a master, fill
it with epoxy resin and then continue with conventional clay
mold-making techniques.
We have been working in the default perspective view.
Things are getting more complex, and I prefer to select
Parallel Projection in the Camera menu. Well, that’s it for the
SketchUp tutorial. You’re on your own to explore all the vari-
ous SketchUp tools.
Conclusion
What I have shown is just a basic outline of 3D modeling.
Although this not a perfect solution to building custom models,
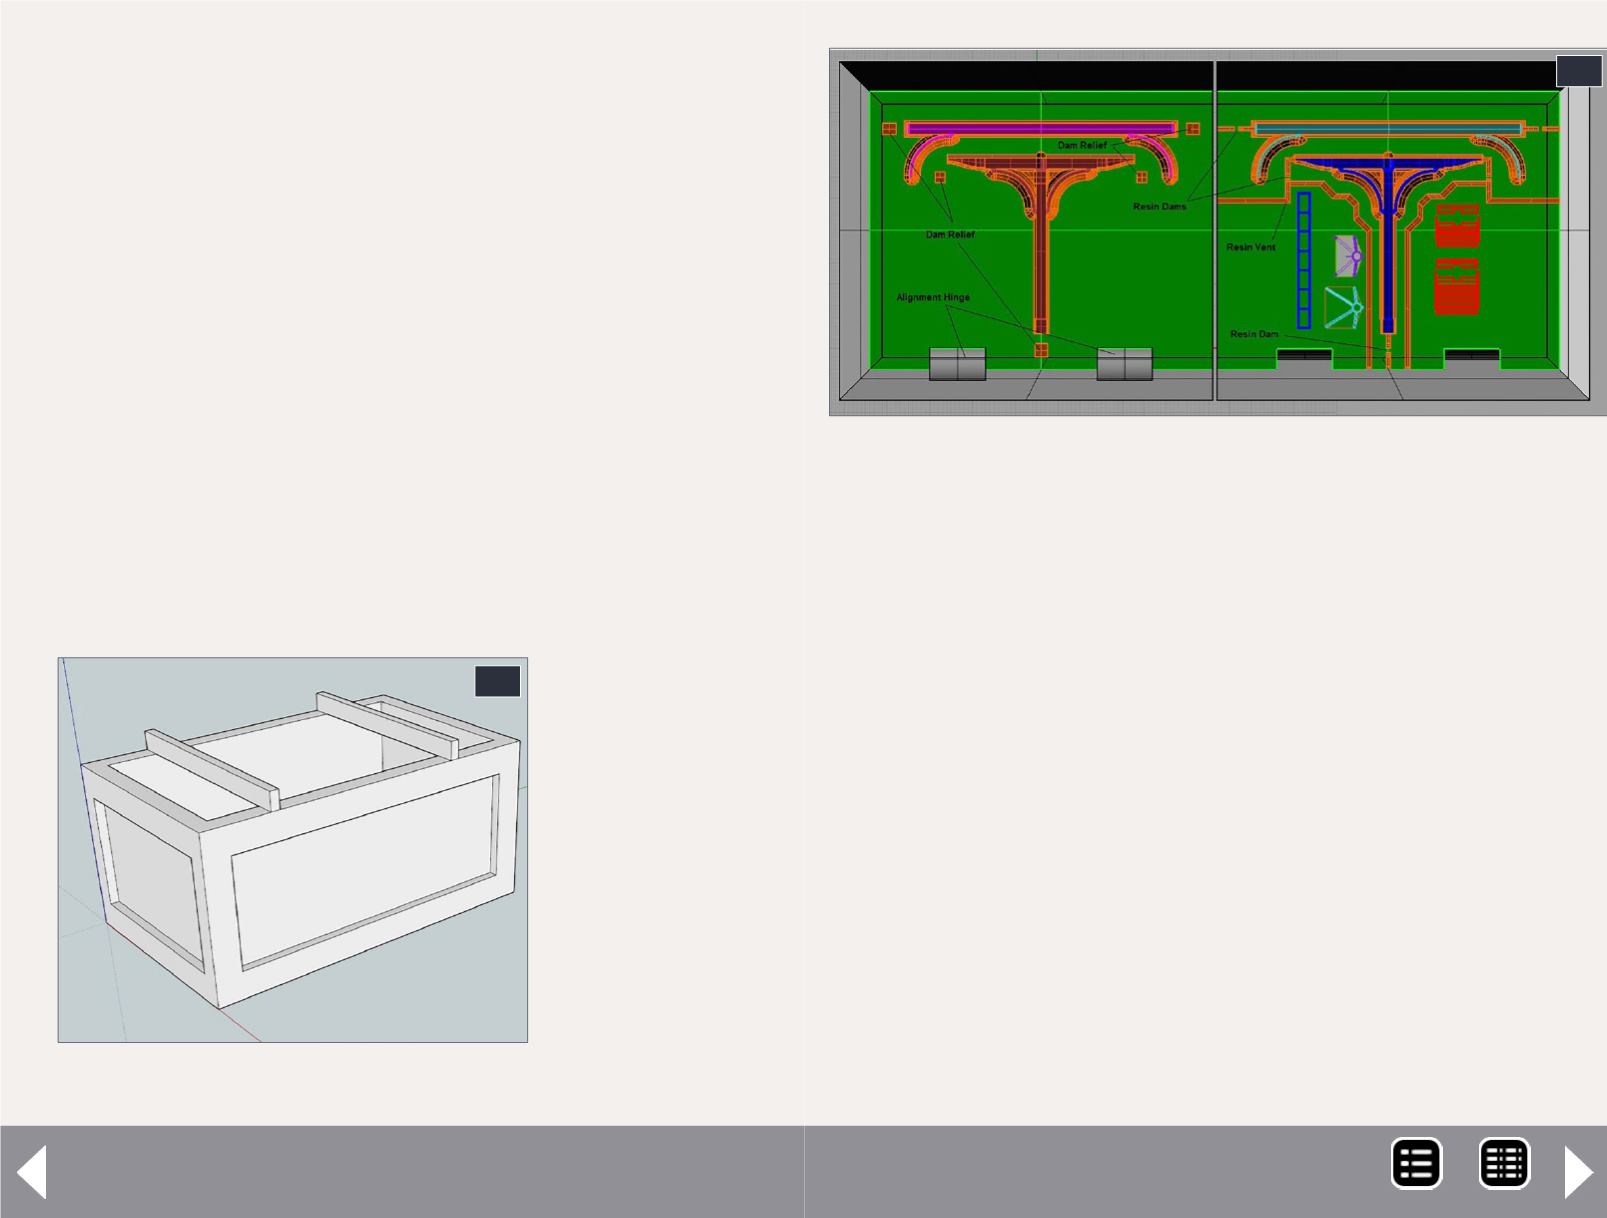
12. This is an example of a mold I made using Rhino.
Once the box is printed, I apply a gloss finish to
smooth out the mold. I then pour mold material into
the box creating my mold as shown in [2]. This goes
beyond the scope of this article, but I have shown it so
you know it can be done.
12
MRH-Aug 2014


