wall thicknesses and free-standing wire dimensions you must
adhere to. You will be billed by the volume of the part, so you
want to keep your wall thicknesses as thin as possible. Also
note that there are physical boundaries in these machines. You
can not make a part that won’t fit in the working volume of the
machine. Machines that produce more-detailed parts usually
have a smaller working volume.
These printed parts are made by polymerizing a liquid or
applying molten plastic one layer at a time. In both cases the
material shrinks as it solidifies. As a result, flat surfaces warp,
sometimes quite badly. Wherever possible, add stiffening ribs
to minimize this warping. This would be a serious problem if
we were making a precision part.
NOTE: The SketchUp interface does a good job preventing you
from screwing up manifold and normal vector requirements
as you create the model, making it the best CAD package for
beginners. This doesn’t mean it’s perfect. If you do manage to
screw-up the manifold or normal requirements, the Cleanup
plugin will help you find and eliminate them.
Drawing in 3D Using SketchUp
I didn’t start off intending this to be a tutorial on using CAD sys-
tems, but that’s how it wound up. I’ll provide a little help to get
you started in SketchUp. Once you see how a few of the tools
work, the rest become pretty obvious. The SketchUp interface
prevents many of the above-mentioned problems. If an object
isn’t closed, it deletes the surfaces so you can see the problem.
It creates 3D objects by drawing a surface and then dragging
it into a 3D shape. This allows the software to control the nor-
mals and prevent manifold problems. For anyone new to draw-
ing in 3D, this is a big advantage.
Intro to 3D modeling - 5
When you first start SketchUp you have to select a template. I
selected the inches “Woodworking” template. If working from
an old set of drawings in feet and inches you may want to use
that template. I prefer to work in just inches. You can draw
in the scale of your choice, but professionals draw the basic
shape full size and then shrink it down to the proper scale.
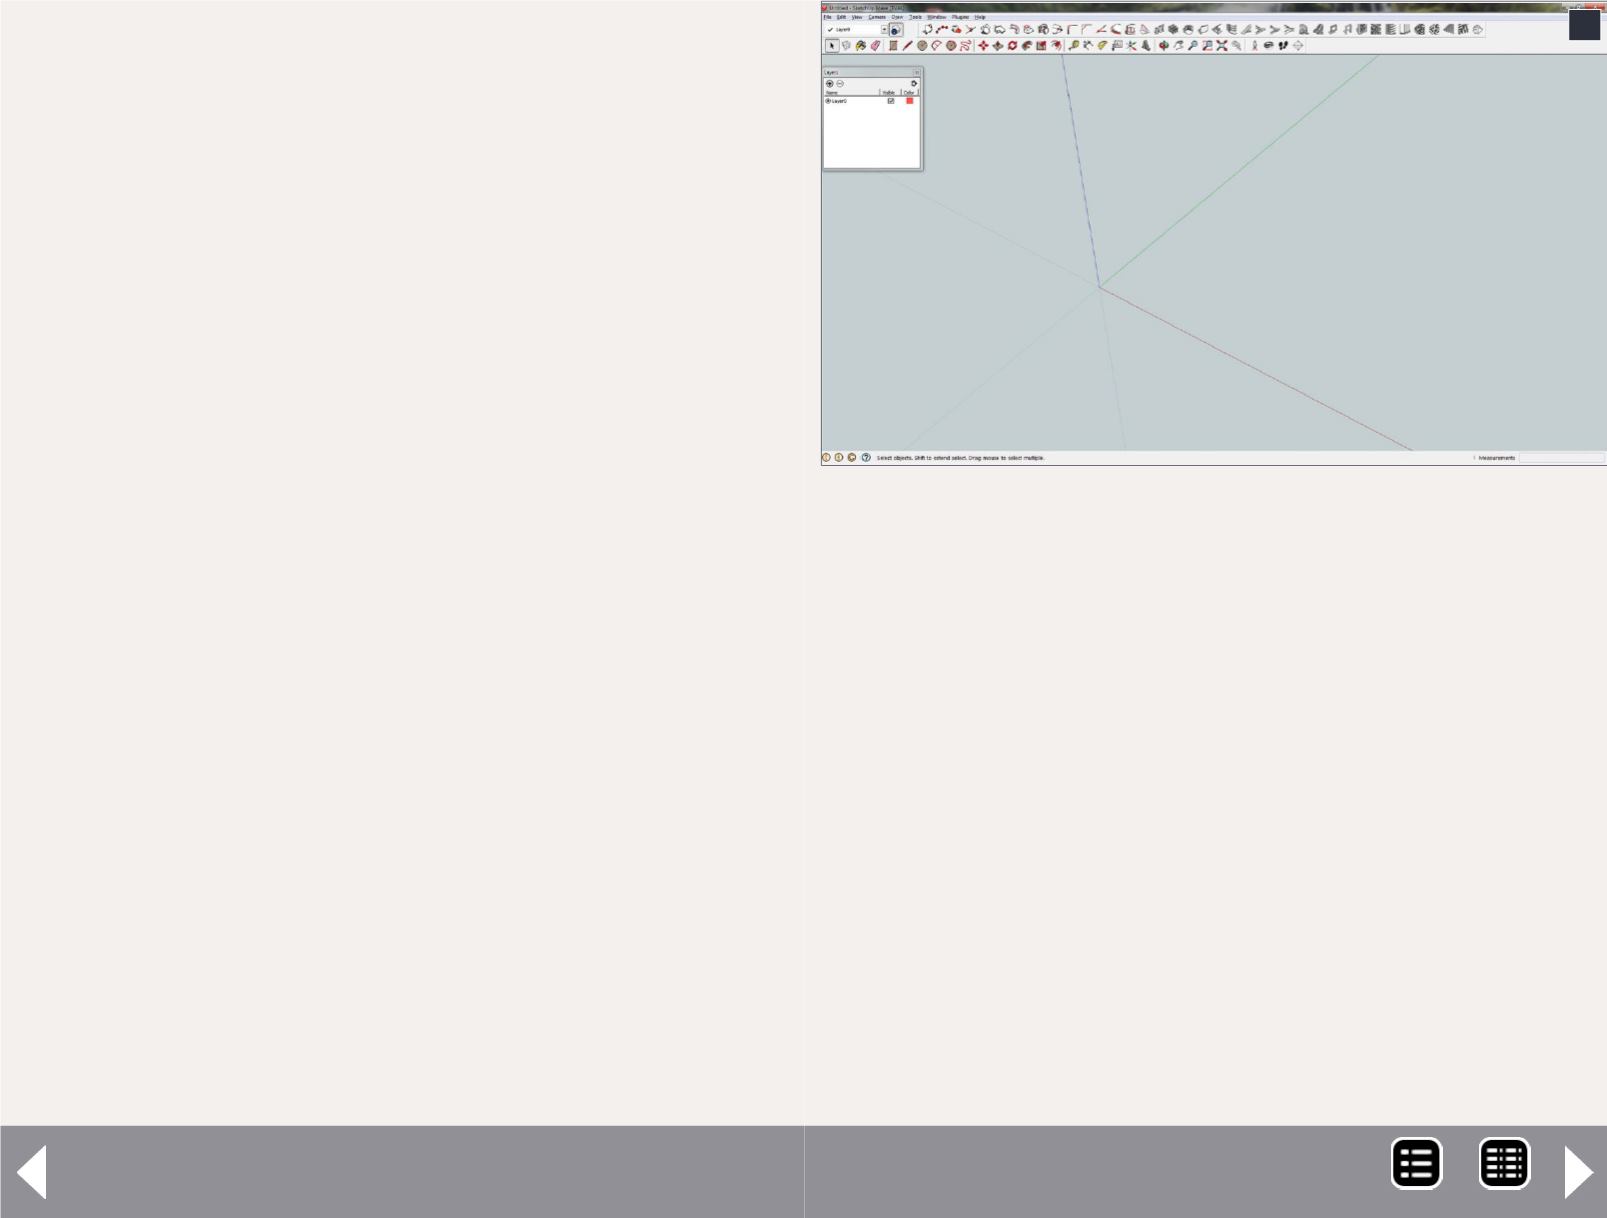
Download and install SketchUp Make, the free version. In
the View menu open the Toolbars window. Select the Large
Tool Set, Layers, Solid Tools, and Standard toolbars. You can
uncheck the Getting Started toolbar. After installing the plugins
the screen will look something like [5].
The SketchUp start screen
I moved the icons for “1001bit Tools” to the top toolbar.
Cleanup is in the Plugins menu, “Arcs and Circles +” is in the
Draw menu, and Collada File is in the File menu. To see what
the various tools do, hold your mouse cursor over the icon and
5
5. The SketchUp start screen
MRH-Aug 2014


