Intro to 3D modeling - 3
The positional accuracy of the system is quite good, about 0.2%
or 0.002” per inch. So rather than make a master from which I
would create a mold, I decided to make a mold box that would
produce the mold directly. I asked the Shapeways technical
people if anyone had ever done this and the answer was “No,
never.” It would be an inexpensive experiment so I went ahead
and gave it a try.
Overall, it worked pretty well, but there a couple of things to
watch. First, contrary to advertising claims, the surface is not
smooth. It feels smooth, but there are little grooves between
the rows of deposited plastic. Silicone rubber won’t stick to the
plastic, but it gets trapped in these grooves and is very difficult
to remove. I broke part
of the mold box prying
the RTV silicon from the
bottom of the box. The
surface finish on parts
from this mold made
them essentially useless.
Things couldn’t get any
worse so I applied a coat
of gloss finish to the mold
to fill these grooves, and
the second attempt at
making a silicone mold
worked well. Two coats of
gloss finish would prob-
ably be better, but you
have to be careful not to
obliterate the detail.
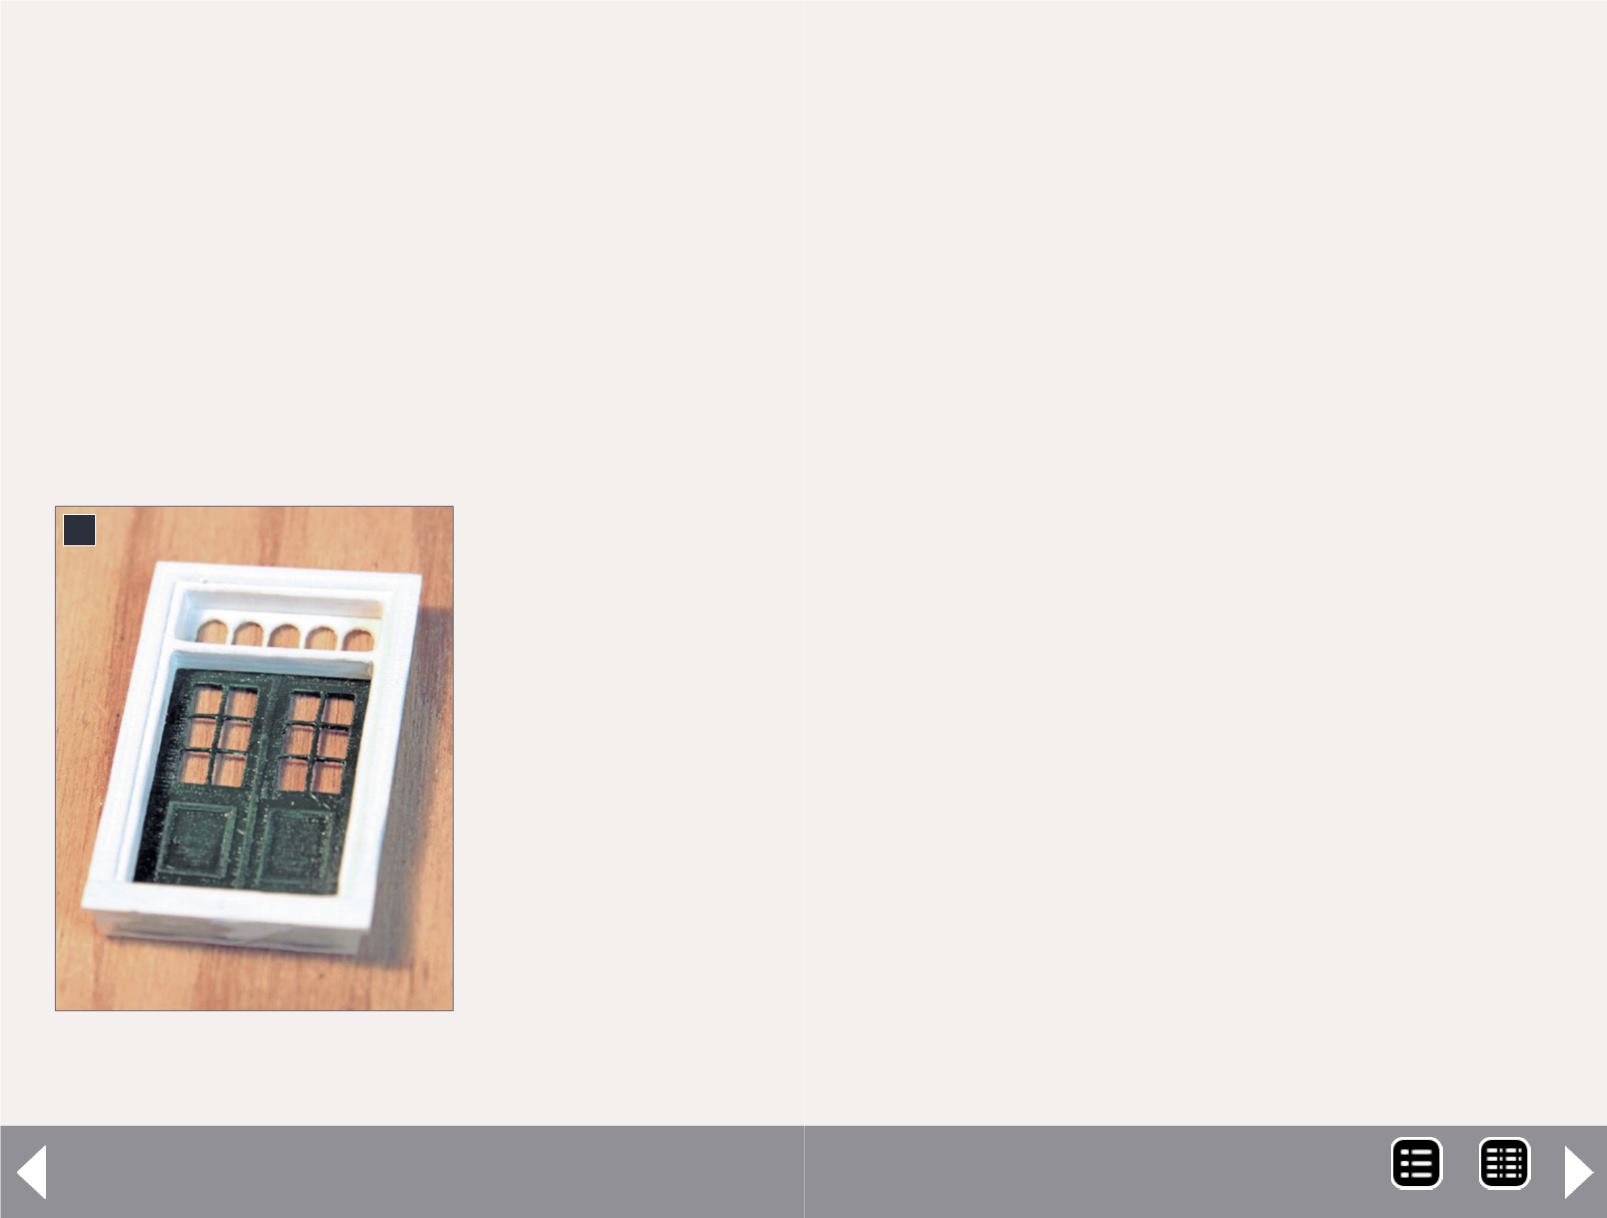
4
4. The door, painted and
assembled.
[2] shows the mold box and the mold it produced used to make
the door.
These castings [3] are shown in their as-cast condition. The
door and frame from the gloss-coated 3D-printed mold are on
the left. The horizontal lines left by the print head are clearly
visible. By comparison, the freight door on the right was made
with my lost-wax mold-making technique. The differences are
pretty clear.
With good gates to remove excess resin, the flash is very thin
and easily removed with a modeling knife, a problem difficult
to solve with my machined mold. I included a recess in the
back of the frame that aligns the door for accurate assembly.
This example was brush-painted and, although it looks fine
to the naked eye, on close examination you can see problems
associated with the rough surface left by the printhead. An
airbrush might produce a more uniform finish. I am still experi-
menting with methods to produce a smooth surface without
damaging the details. However, I was so pleased with this that
I thought other modelers should look into this technique.
3D CAD Software
You need 3D CAD software. Google SketchUp, is probably the
best-known free program. The Sketchup program and avail-
able freeware has changed since the 2013 version. Tools for
arcs and circles are limited, but available in the standard tool-
bar. An export extension for .stl file export no longer exists.
Thus options have been significantly reduced in the free CAD
universe. Until recently I’ve seen no reason to purchase the
Pro version for $500, but with these changes you may want
to consider it. In its basic form it is pretty useless, so you have
to load up a bunch of plugins. From the Window/Extensions
MRH-Aug 2014


