Repeat for the
opposing side
and top using
appropriate off-
set distances.
The ends are a
bit different. The
top and bottom
stiffeners should
be 6” wide, but
the sides should
be 4” wide. To do
this use the offset
tool and create
a rectangle with
a 6” offset. Take
the Move tool,
click the right
side of the inner
rectangle, move
it slightly to the
right, and type “2
Enter.” Similarly
move the left
side 2” to the left.
Push it in 2” and
you have as seen
in [9]
Repeat on the
other end to fin-
ish the model.
You could export a Collada file and have a model made, but
you pay for volume and a solid model costs more. So we want
Intro to 3D modeling - 7
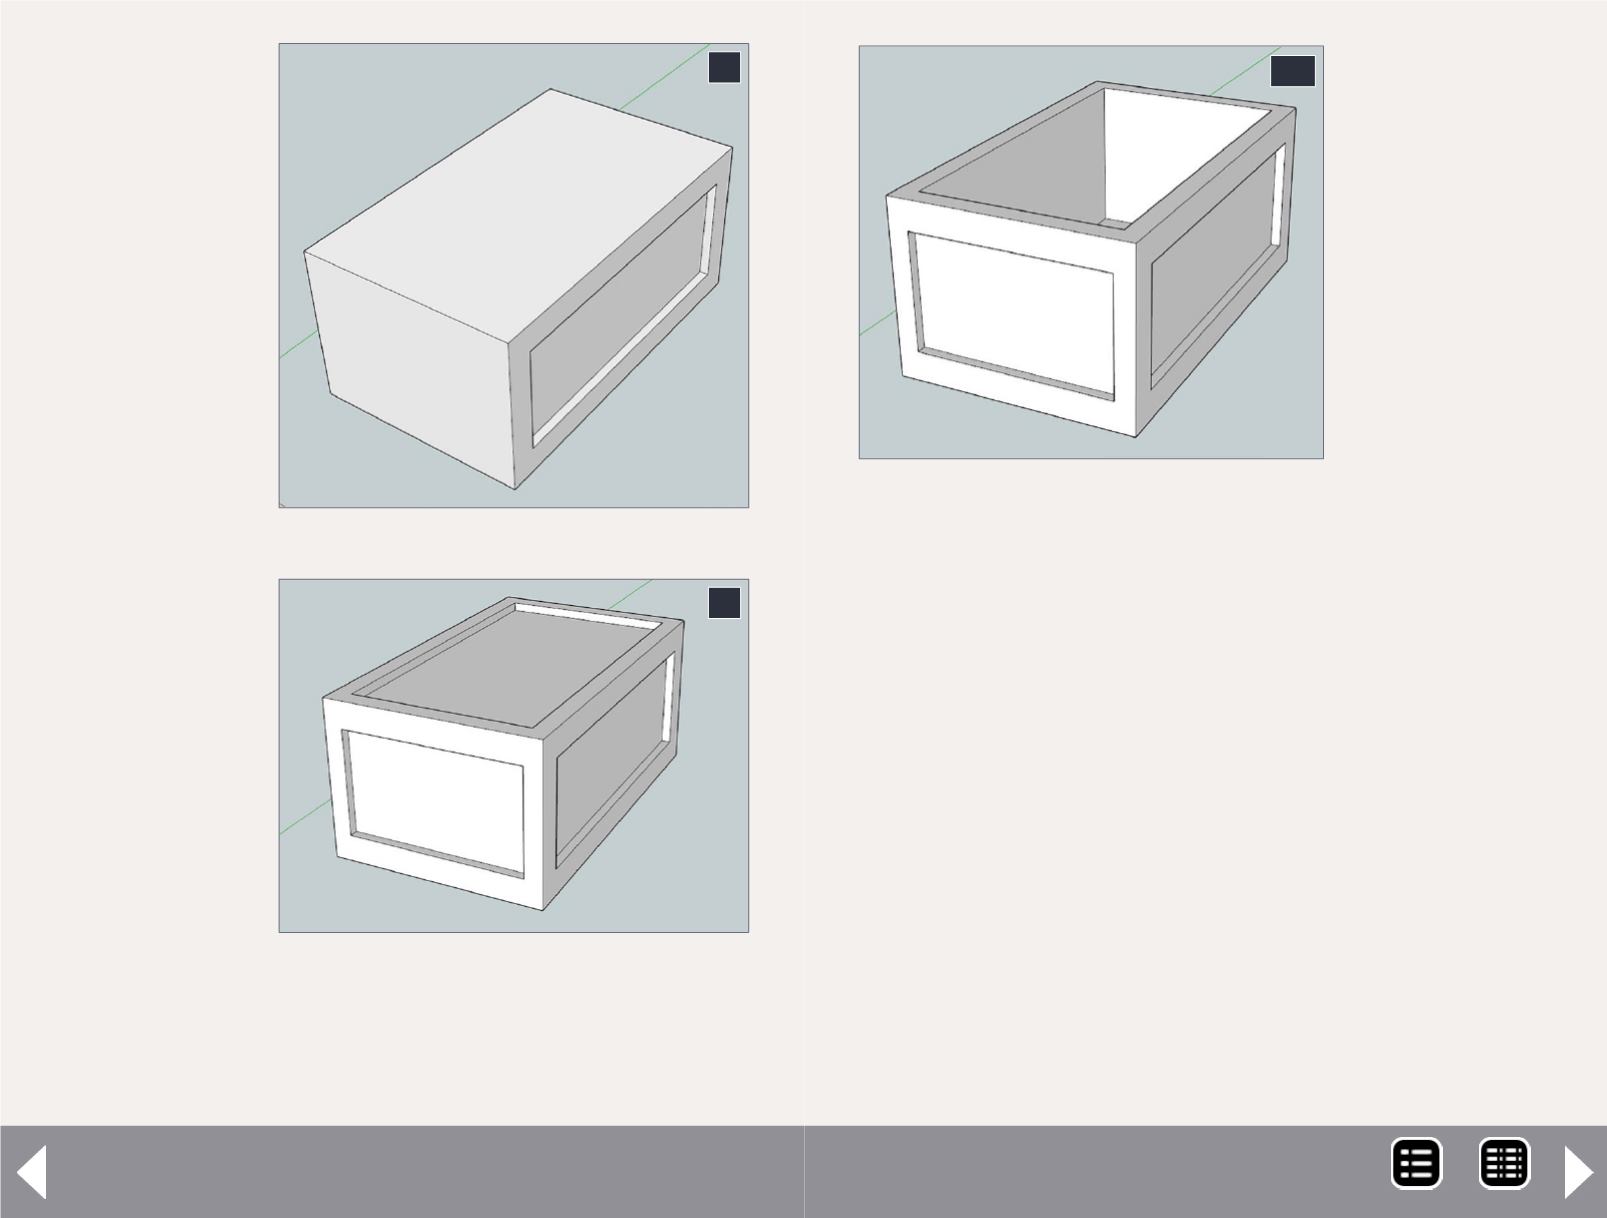
8. Crate with one side done.
8
9. The finished crate.
9
to make it hollow.
I use Shapeways
“Frosted Ultra
Detail” resin that
requires a minimum
wall thickness of
0.5 mm, about 2”
in HO scale. In this
case it’s easy. The
edges of the top
recessed rectangle
are 2” inboard from
the side recesses.
The overall height
of the crate is 36”
so the top and bot-
tom recesses are 32” apart. So just push the top recess down
another 30”.
Let’s put a couple of 2x4s on the bottom to stabilize the sides
and so a fork lift can get its forks under it. Construct a 2x48x4
box away from the crate. Select the entire 2x4 by making a
rectangle around it and with the Move tool, pick a corner and
move it so “On Edge” appears. There are a number of position-
ing aids available. They automatically appear when the align-
ment is close. I tried to capture them, but they do not appear
in the screen shots. The select tool is a bit different; once the
part is in the right location hold down the shift key to lock it in
place until you pick another tool. Otherwise the part just keeps
following the Move tool. Use the Select tool to select the 2x4
and copy it using “<ctrl> c”. Move it around until “On Edge”
appears (make sure it’s the right edge) and release it. You want
something that looks like [11].
10
10. A hollow crate.
MRH-Aug 2014


