while placing the clamp around the parts and pressing the
sliding jaw up to the assembly. Lock the sliding jaw in place,
and then finish clamping the assembly by tightening the
wing-head thumb screw on the fixed jaw. Since I primarily
scratchbuild with styrene, and don’t build wood laser kits,
my need for this type of clamp is limited.
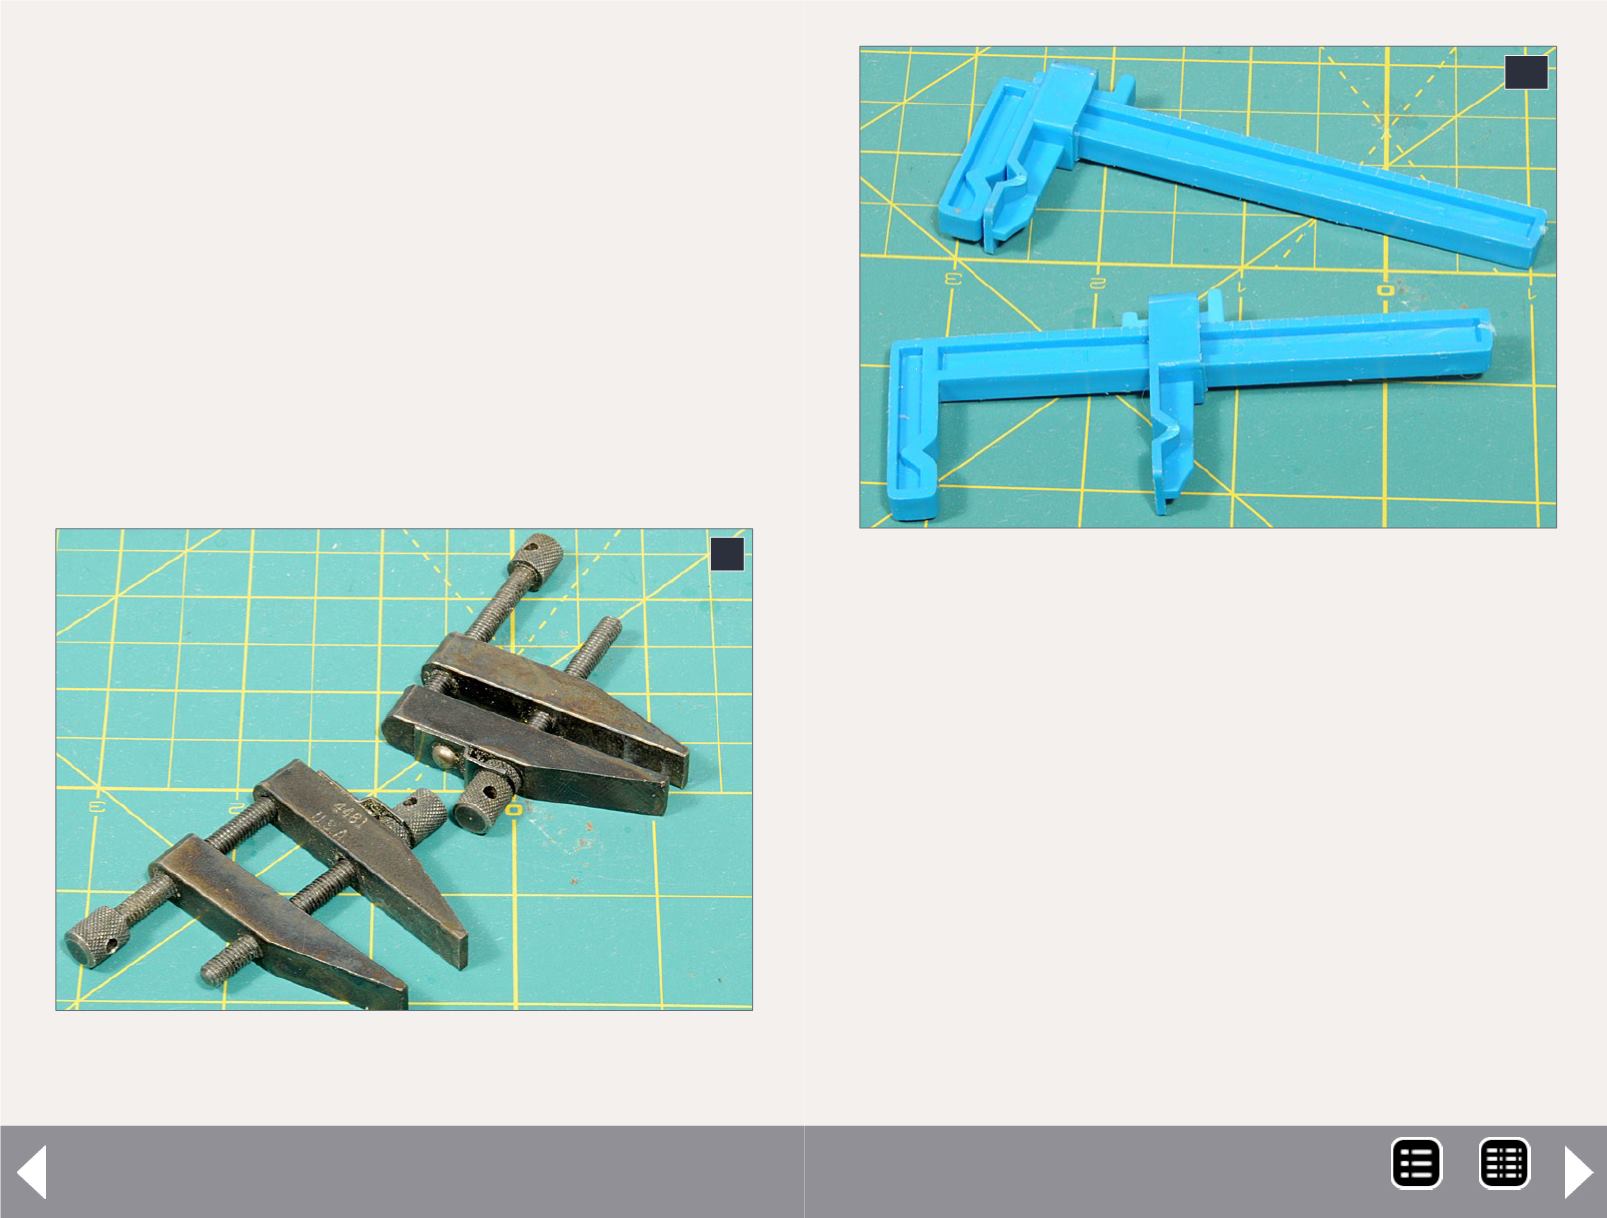
Machinist clamps (9) are fairly specialized clamps.
Considerable clamping pressure can be applied to an object
by inserting a rod in the hole through the knurled caps on the
screws to increase leverage. They work very well in situations
such as drilling, soldering, or machining, where considerable
pressure is needed to hold the work so it will not move.
I’ve had several different friction clamps over the years such
as the ones in (10), which rely on friction to hold them in
10: These friction clamps consist of a fixed jaw plus a sliding
jaw. A tapered slider at the top of the sliding jaw locks it in
place. To use it, the clamp is placed with the fixed jaw tight to
one side of the work and the sliding jaw is moved up to the
other side of the work, and locked in place by pushing in the
slider. This means you are basically using just finger pressure
to tighten the clamp in place, unlike bar clamps and traditional
C clamps, where a screw is used to apply pressure.
9: The jaws on these machinist clamps are tightened by
turning one screw in while turning the other screw out.
place once locked. Like bar clamps, these clamps can work
on large and relatively small projects. Unlike the brass bar
clamps, these clamps can be locked in place with a single
hand. Another variety of friction clamp uses a thin round
rod with two polycarbonate jaws that move along the rod.
This design theoretically lets you apply the clamp to almost
any shape. But in practice, I found it very difficult to keep
the jaws from rotating around the rod when clamping
10
9
The Tool Shed - 5
MRH-Mar 2014


