clamping) first appeared in
Model Railroader
magazine in the
1940s. I too made up some of these clamps back in the 1970s
when there weren’t many options, but we now have many bet-
ter alternatives.
I’ve bought my share of different clamps over the years, all of
which I thought would be the last modeling clamps I would
ever “need” to purchase. Unfortunately, many of these didn’t
live up to their claims. You can see part of my current col-
lection of clamps in (6). Not shown are some small C clamps
and some small one-hand bar clamps; I even have some very
old small Delrin clamps which use rubber bands to provide
the clamping pressure; they actually work reasonably well,
although the rubber bands break at inappropriate times. I’m
sure they are no longer available.
Some clamps work fine and others don’t. Generally, once I
realize a clamp isn’t working out, I regulate it to a secondary
status. The box in my tool drawer for my clamps can actually
hold a lot more than I have, so there is no incentive to toss
out those clamps that don’t work. As long as I can quickly
find the clamp I want, the secondary ones get to stay for a
while longer.
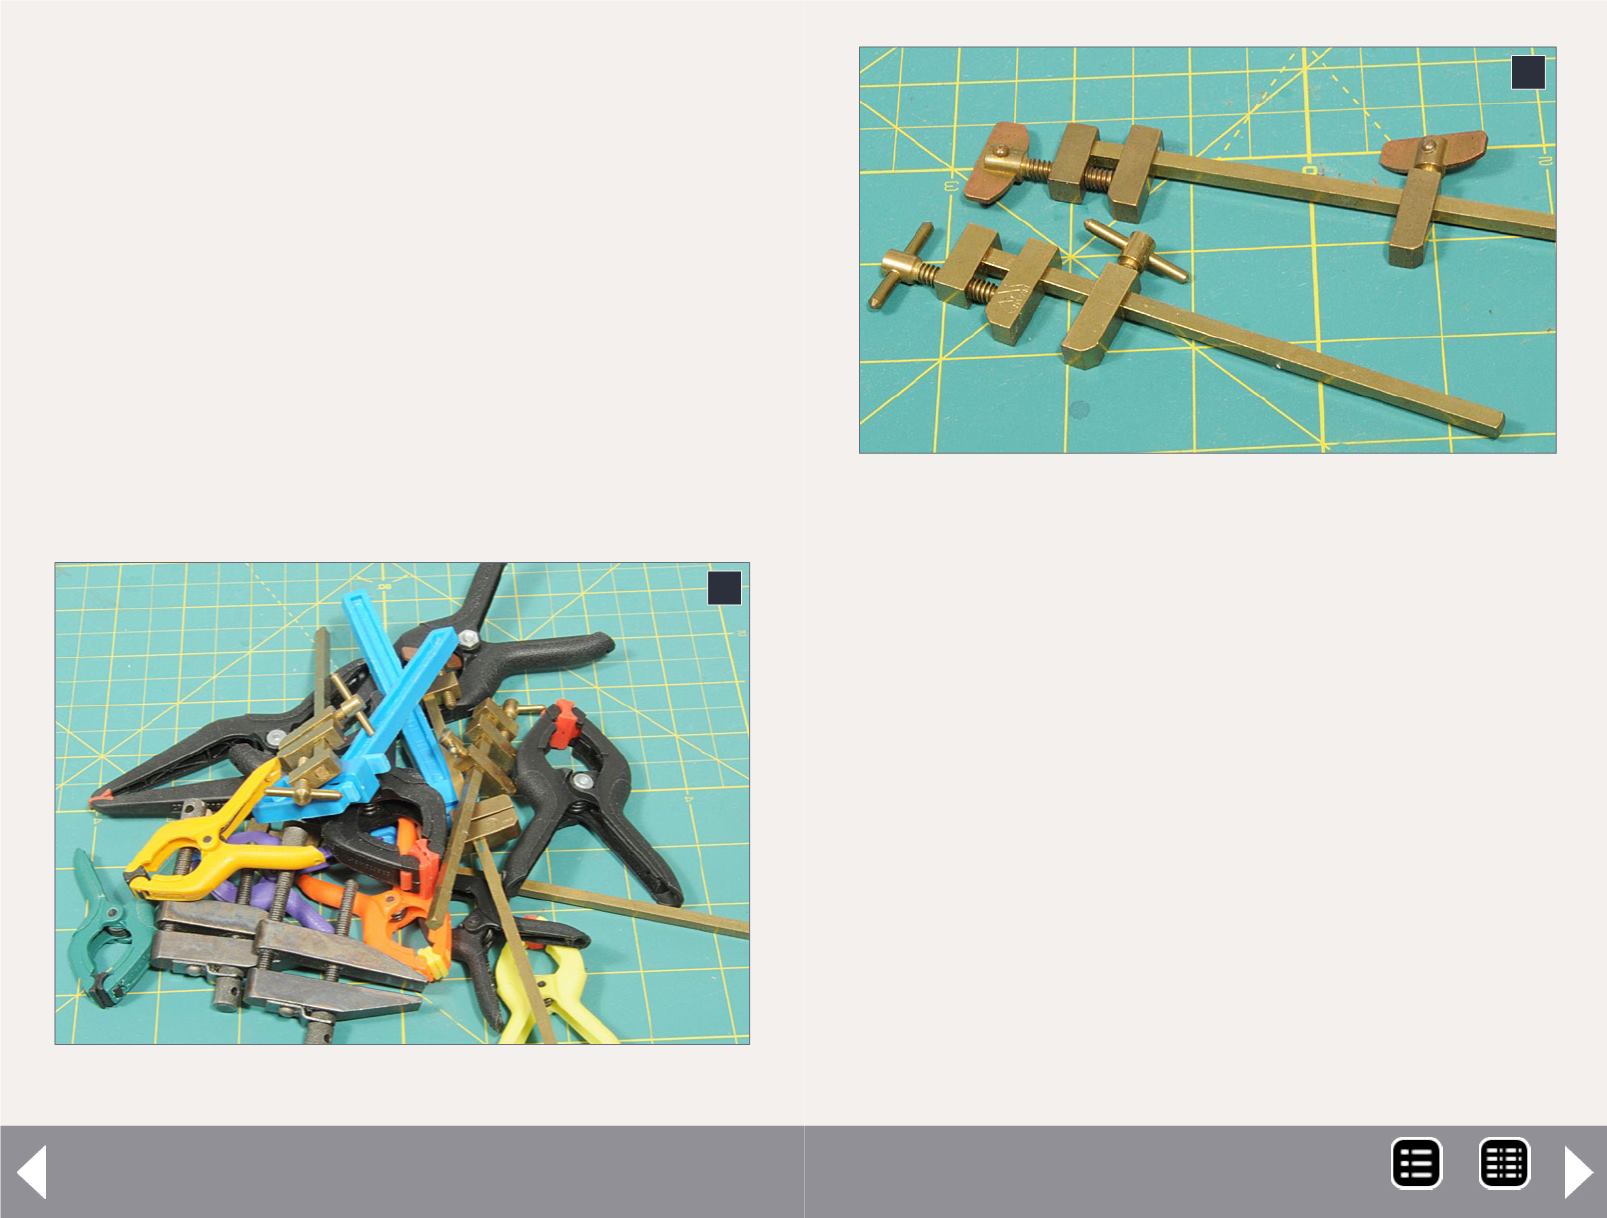
The brass bar clamps, as sold by Micro-Mark and shown in
(7), work as intended. These clamps might work well if you
build laser-cut wood structures and need to hold side/end
assemblies in place while the wood glue dries. To use one of
these clamps, you need to set the sliding jaw slightly wider
than the object being clamped before gluing the joints
together, but with the sliding jaw unlocked. Once the parts
are assembled, you can hold the assembly with one hand
7: Here are 3½" and 6" brass bar clamps. The wing head
thumb screw on top of the sliding jaw allows the jaw to be
locked in place, with final clamping provided by tightening the
end wing-head thumb screw.
6: I have over a dozen clamps. Here are just some of them.
7
6
The Tool Shed - 4
MRH-Mar 2014


