2
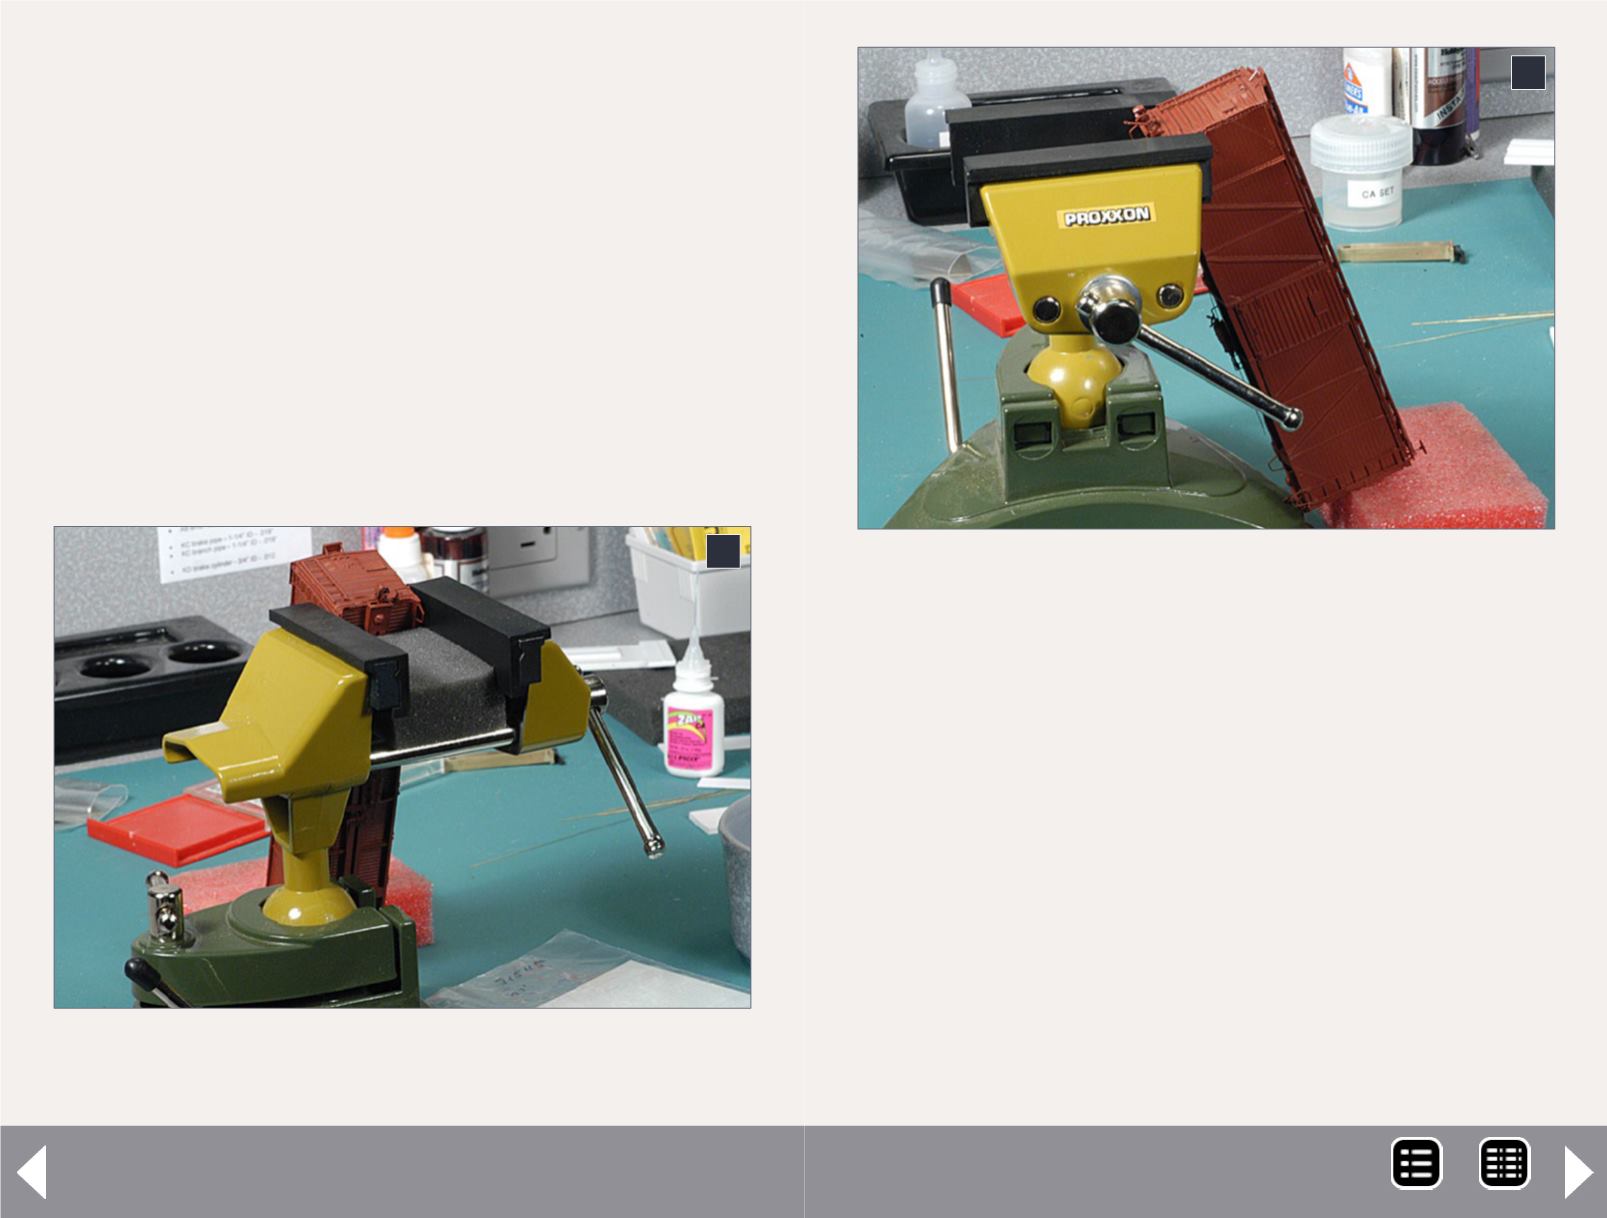
2: Here is my former Proxxon vise set up for holding a
freight car while the end decals are applied.
The Tool Shed - 2
lever which raises the rubber pad on the bottom of the vise,
creating the suction which locks the vise down. I don’t find
that step burdensome, and prefer the ability to move the
vise as needed. If your workbench doesn’t have a smooth,
non-porous surface, you won’t be able to use a vacuum
base model. My workbench is covered with plastic laminate.
Most uses for modeling vises are fairly obvious, such as
holding parts for filing, etc. Another use is holding boxcars
and refrigerator cars while adding the decal lettering on the
ends. This is shown in (2 to 4).
Most modelers would find a single vise more than satisfac-
tory. But, as a tool fan, one is not enough for me. I have a
precision drill press, and for years used an old Unimat vise
3: I’ve turned the vise (and boxcar) 90° to provide a better view
of the setup. The bottom end of the car rests on a scrap of
dense foam. This raises the car enough so the other end rests
between the jaws. Note that only a portion of the bottom of the
end of the car rests on the red foam. In order to avoid the need
wait while the decals dry enough to handle the car, I first decal
one side of the car and then one end. I then swap the car end-
for-end and decal the second end. By then the decals on the
first side have dried, and I can decal the second side.
3
MRH-Mar 2014


