beneath each silo, and cut each chute into lengths 1.15” long.
The assembled auger and chutes were then placed on the silo
base so I could construct the supports using .100” I-beams.
Three pieces of .100” I-beams were used to support each chute
assembly while .125” I-beams were used for the main auger
assembly, one on either side of the chutes [20].
Once the entire assembly was completed, I went ahead with
painting and weathering, since doing this after the silos were in
place wouldn’t be possible.
After the auger assembly was complete and permanently glued
in place, the last step was adding .020” by .060” diagonal brac-
ing between each silo support, and horizontal .060” angle at
the base of each column.
25
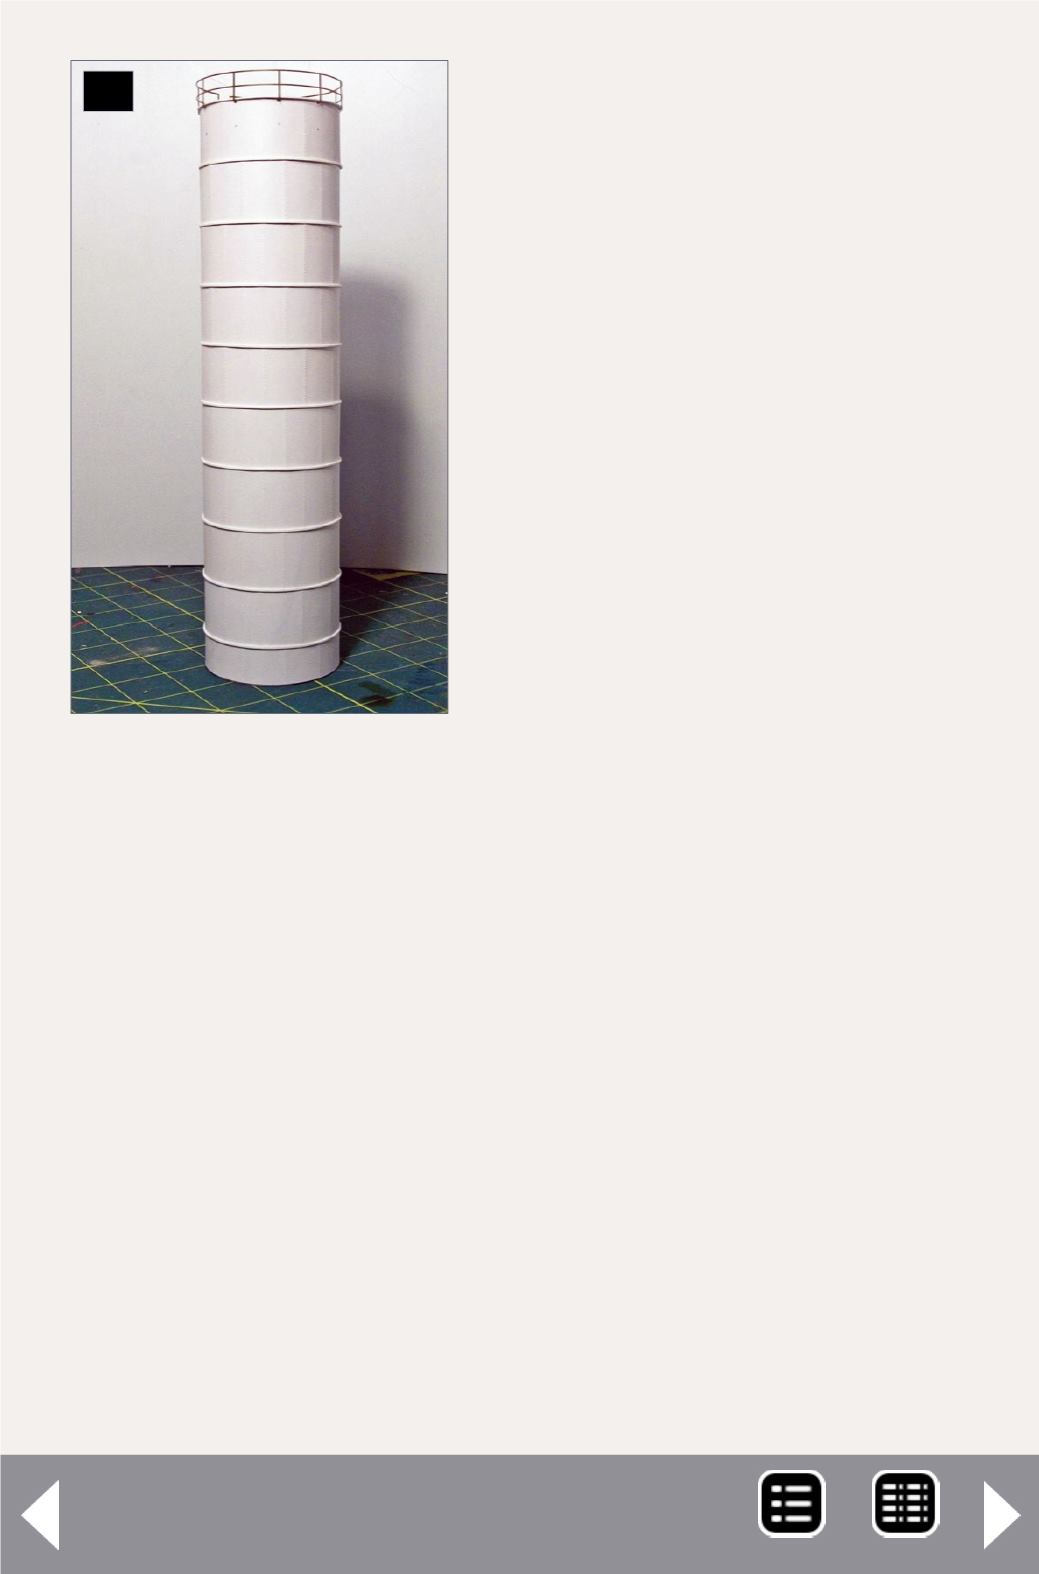
25. This view shows the
completed silo with the
vertical rivets visible on each
silo and the brass handrails
from Mike Rose Hobbies.
Note the panels were offset
so that the vertical rivet lines
alternated between each
panel.


