After making sure that all engines fit, and clearances were OK, I
moved some workbenches to a different location and re-tested
the clearances. Then I removed everything to begin marking
the individual board lengths on the flooring, and punching nail
heads into it (a time-consuming job, but worth it to get the end
result). Next I stained the entire floor to give it an aged and
well-worn look. When doing this, I made sure to weight the
for a scribed-sheet floor, since I was not building a diorama
base, and had to figure out how to do the interior without one.
I mounted the scribed siding onto a cardstock base to bring the
floor up to the height of the railhead.
Checking clearances
The next step was to test-fit the workbenches in the building,
to make sure there was enough clearance for the locomotives.
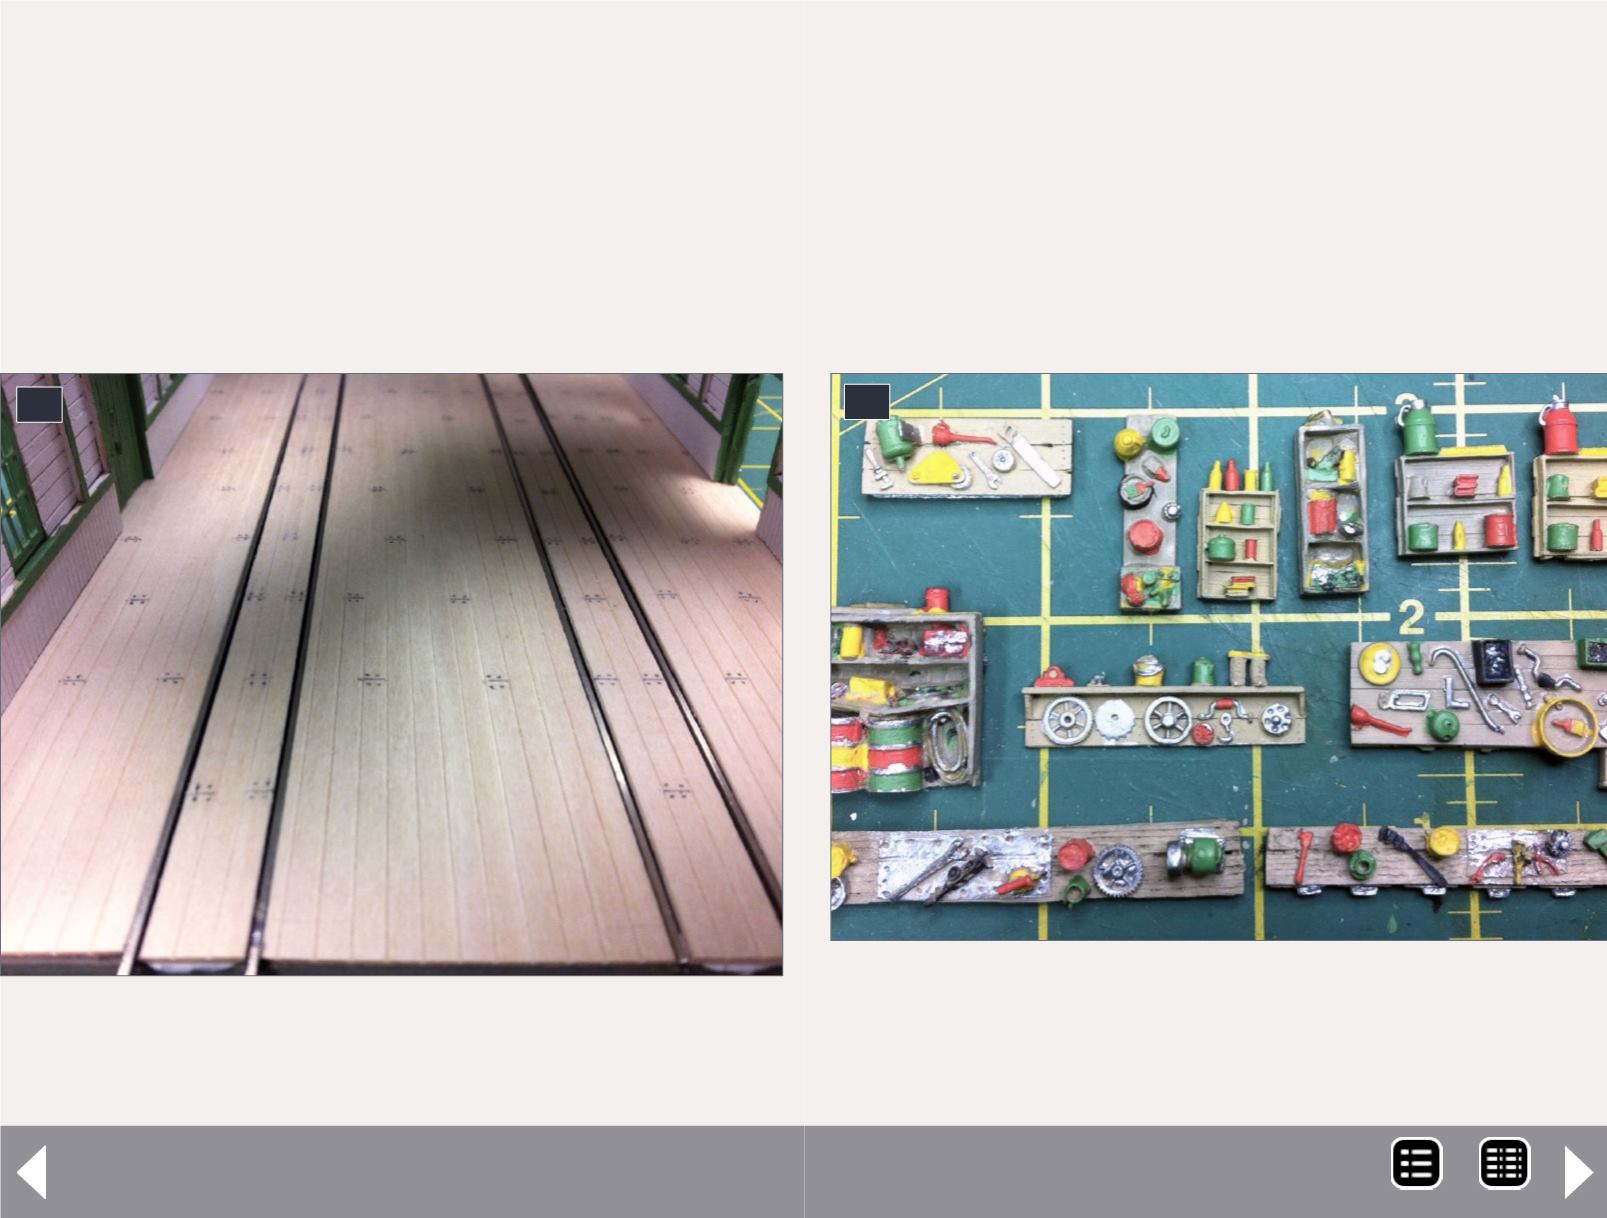
17. I laid out the individual boards and punched nail
heads into them. Now to stain the floor and give it that
well used look.
17
18
18. Painting all of the details on the castings is a real
time-consuming job. Don’t plan on doing it all in one
sitting. Once the details were glued in place, I gave
them a black wash to get that used, dirty railroad look.
Building a two stall engine house- 9
MRH-Jul 2014


