between the upper and lower
door frame; glue the right-
angle pieces in the frame on the left and right side of the door.
Here again, I used MEK.
Using a piece of 2x4, install the door’s threshold at the bottom
of the jig; there is no piece below the threshold.
Again using pieces of 2x4, install the rest of the frame above
the door. Note again that these pieces are cut a little long.
The door frame is now finished; we shall now finish the actual
panel door. Using a 2x8 piece, cut it and insert at the bottom
of the door; this is usually referred to as a “door kick”. Since all
the pieces are made of white styrene, the door kick is a little
hard to see in the
photo, but trust me,
it’s there.
All the rest of the
pieces for the door
frame will be 2x6s.
Install the two vertical
door pieces inside the
door frame.
I made this a three-
panel door by adding
three more pieces
of 2x6. The door is
now finished. I add
a straight pin for
a doorknob when
I install it in the
structure.
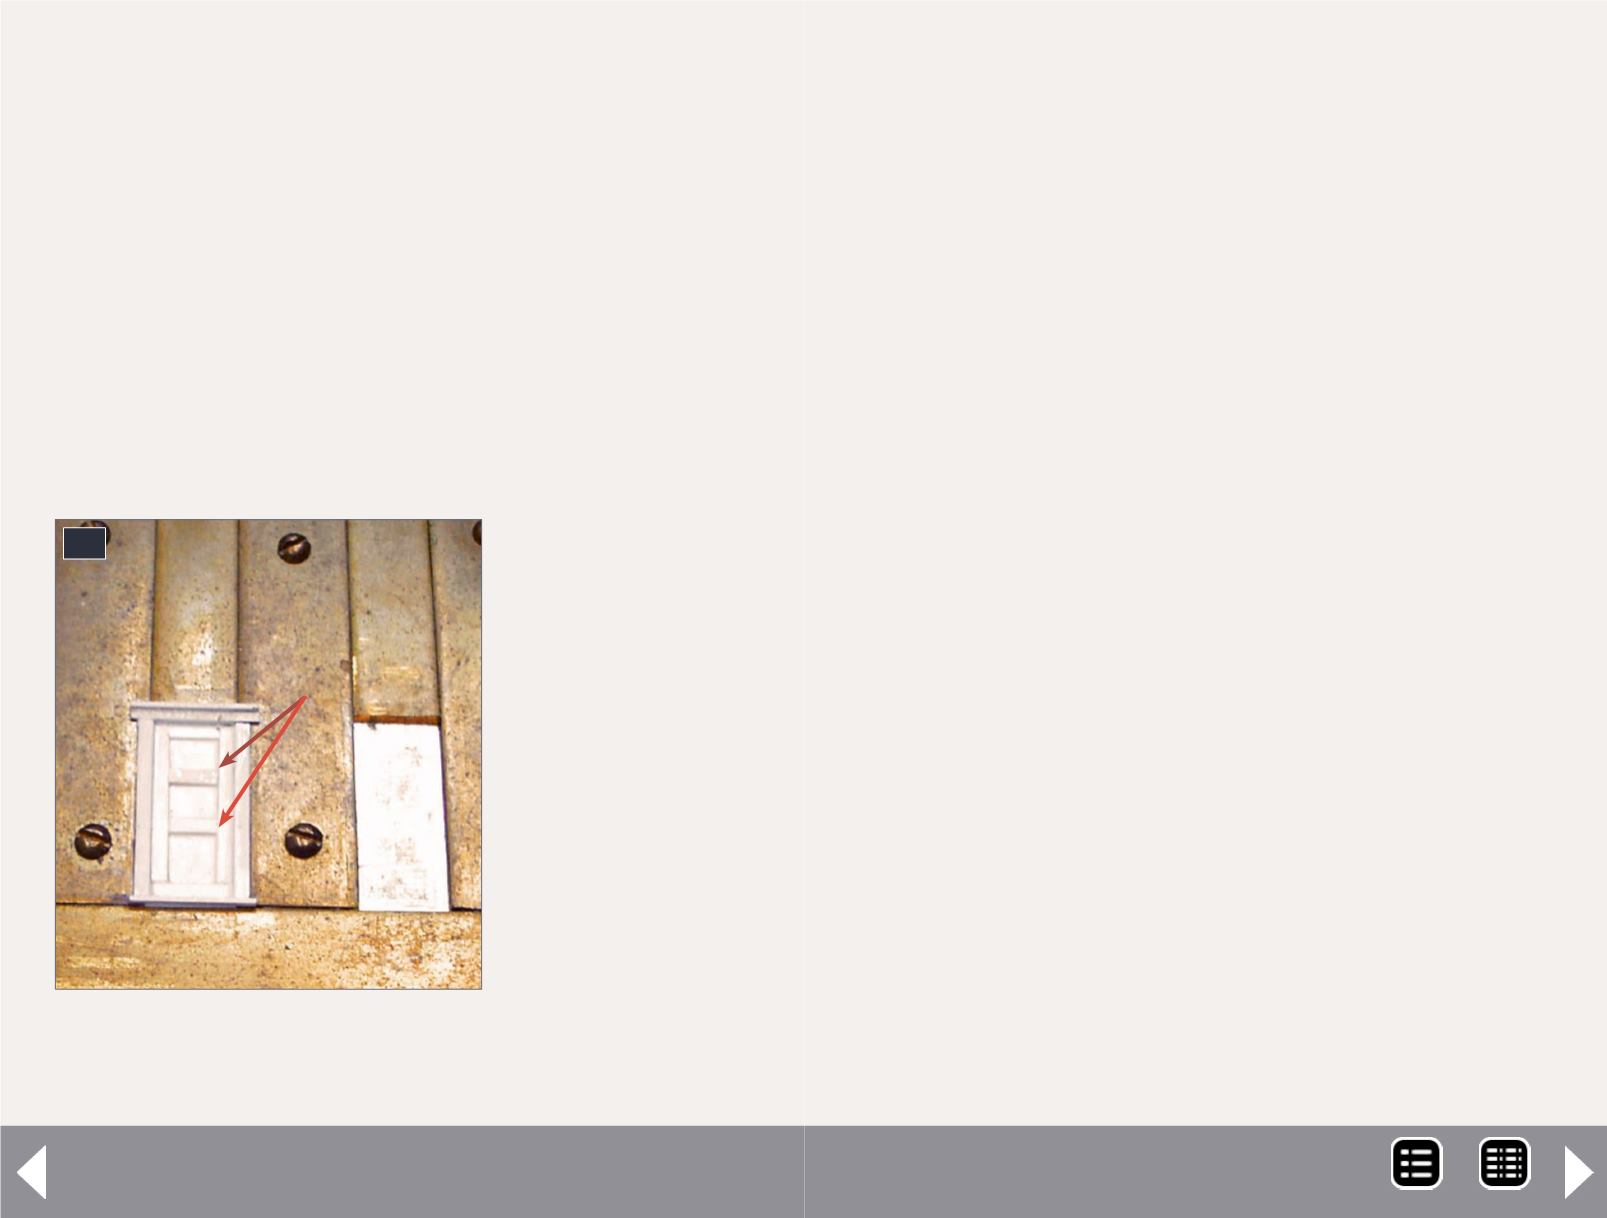
15. The rest of the door rails have
been added creating the three
panels needed for the door.
15
Windows and doors - 9
Using various jigs, you can construct any kind of door you
want. For example, you can build a panel door with a glass top
panel, as many doors are in homes. You can build a transom
above the door. When building depots, I can build a 10’-wide
freight door in another jig. You could build a double door if you
wanted to install it in a business structure.
Let me add that these jigs are not scale-specific, I have been
using them to build HO scale windows and doors, but they can
be used in any scale. You could build in S scale or O scale by
using the larger jigs. You can even build in G scale. However,
only the smallest of these jigs would be useful in N scale.
Making stairs
Now let’s take a look at a very special jig in which I build stair-
cases. Many, but not all, stairs are built on a 41° angle. I used
3’-long pieces of 4x8s. The steps are made from 3 1/2’-long
pieces of 2x10s.
How many steps are you going to need? Cut that many 3’-long
pieces of 4x8 styrene. Stack the pieces horizontally on the base
piece of brass, butted up against the 41° piece of brass. This
time I used Tenax-7R for the steps; use it liberally to bond these
pieces together to make the step treads.
The effect will be as follows: by butting the pieces up against
the 41° angle brass you are creating both stair stringers at the
same time.
Remember – use lots of Tenax-7R; this is no place to skimp
on glue. Let the stair stringers dry for 24 hours. Now measure
over 1-1/2’ and make two marks at the top and bottom of
the stringers. Line up your ruler and cut the stringers in half,
cut slowly so the stringers come apart without the individual
pieces breaking loose. You now
MRH-May 2014


