So in order to continue to use the Chopper, I would have to mod-
ify it. The picture below shows my modified Chopper.
I do not remember where I got the idea for the modifica-
tions to the Chopper. But this is what I did: I purchased two
square pieces of tool steel. I think they are 5/16” square,
but any size will do. Any tool supply house should be able
to furnish them. I got mine from McMaster–Carr in Chicago.
The below photograph shows a closeup of the modifications
that I made to the Chopper.
I mounted a General stainless steel HO scale ruler onto the
base of the Chopper. Notice that I put a small slit in the ruler at
the 25’ mark (black arrow above) so the razor blade would cut
the material at that exact
spot. It lines up perfectly
with the slot between the
two pieces of tool steel.
I super-glued two small
pieces of .010 “ styrene
between the two pieces of
tool steel, thus creating the
small slit for the razor blade
when closed. Notice that
the two pieces of tool steel
with a slot are mounted
up under the ruler. I used
my Dremel tool to cut out
the Chopper base. Be sure
that the cutout is perfectly
perpendicular to the ruler,
and that the chopper razor
blade falls into the slot
between the two pieces of
steel when closed. When
Windows and doors - 2
1
1. This is my Chopper that I
modified. Two pieces of tool
steel were placed on either
side of the blade, creating a
slot for the blade to rest in.
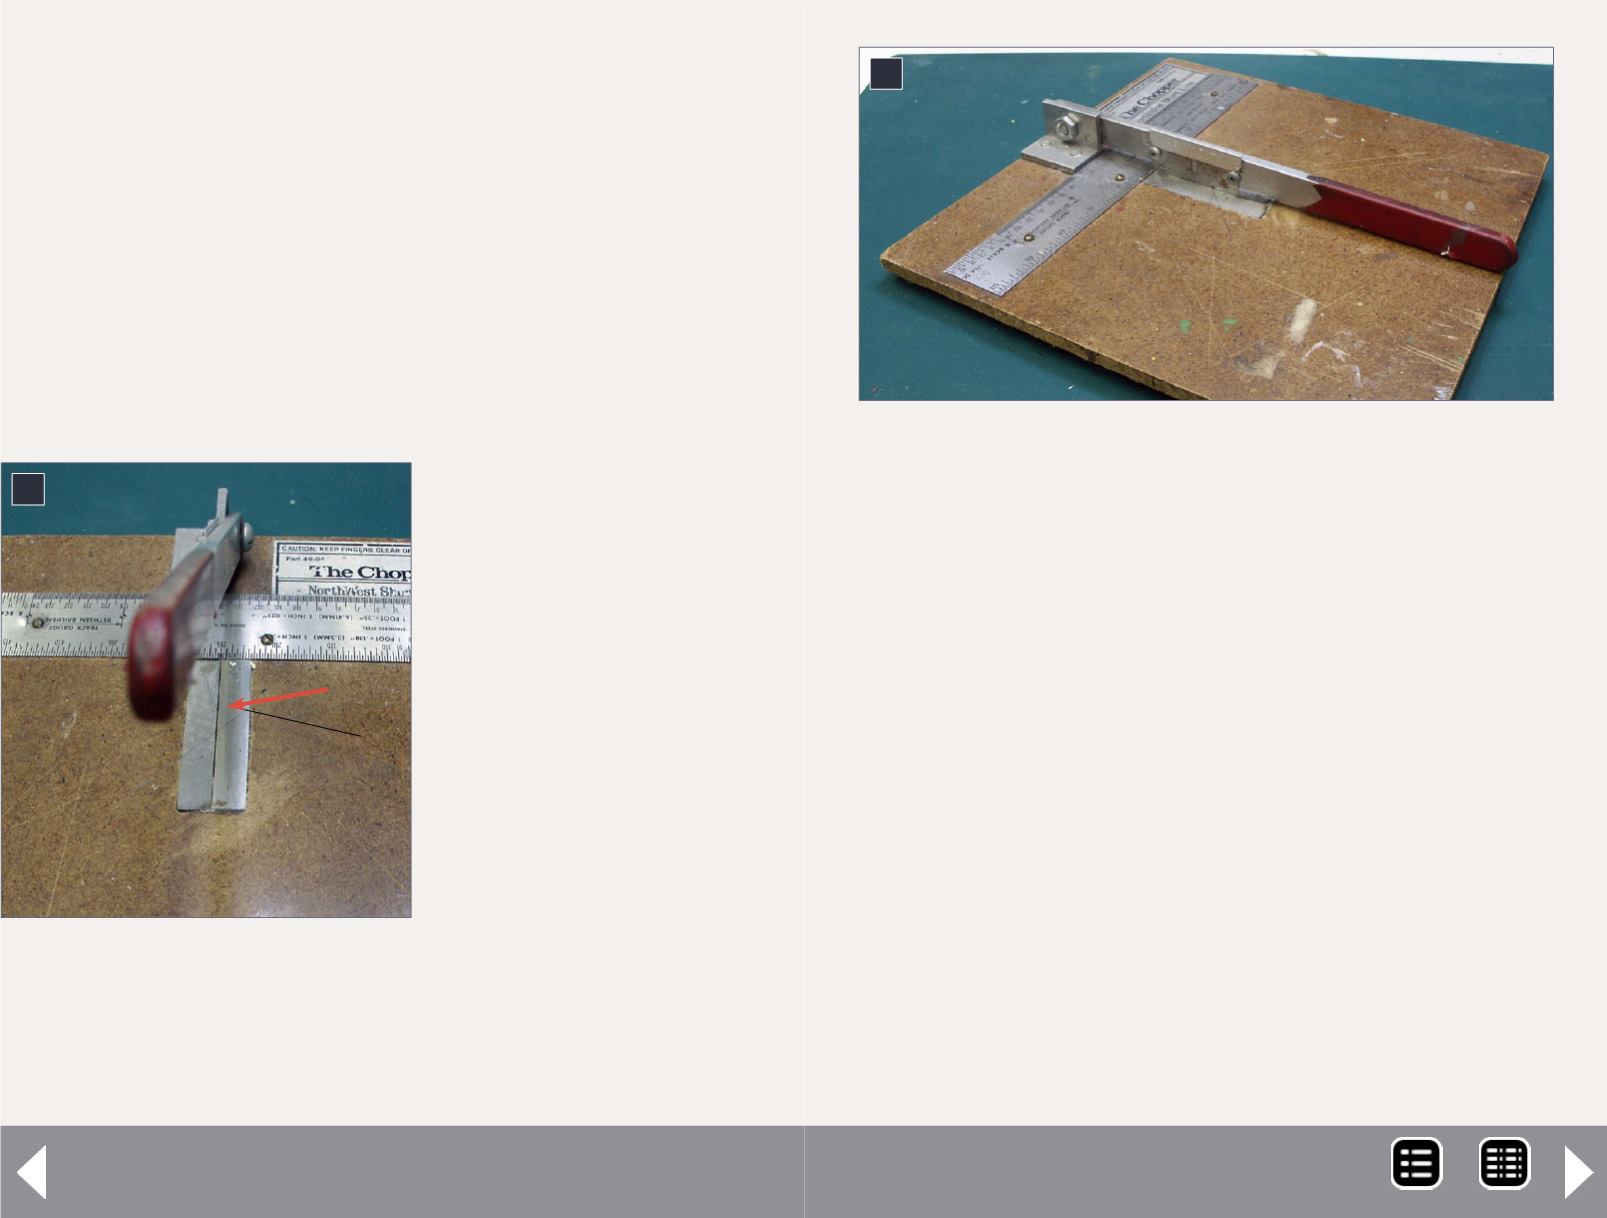
2
2. Here is my Chopper in the closed position. The slot
created between the lengths of tool steel allows the
blade to pass completely through the material being cut.
everything was correctly aligned, I used five-minute epoxy to
secure the steel pieces to the base, making sure that they were
flush with the top of the base. Since this causes the steel to
protrude below the base, I epoxied four steel nuts to the bot-
tom of the base, so the base would sit level again.
Since the cutting edge of the razor blade is now between the
edges of the tool steel, I no longer have any problem with
the base material wearing out as I use the tool. My modified
Chopper tool has served me very well over the last 30 years,
and shows no sign of deterioration.
Making the jigs
Next I had to determine how to make jigs so I could construct
all my windows and doors in them, and they would turn out
square and true. I wanted to be able to make different sizes
of doors and windows using these jigs in such a way that the
MRH-May 2014


