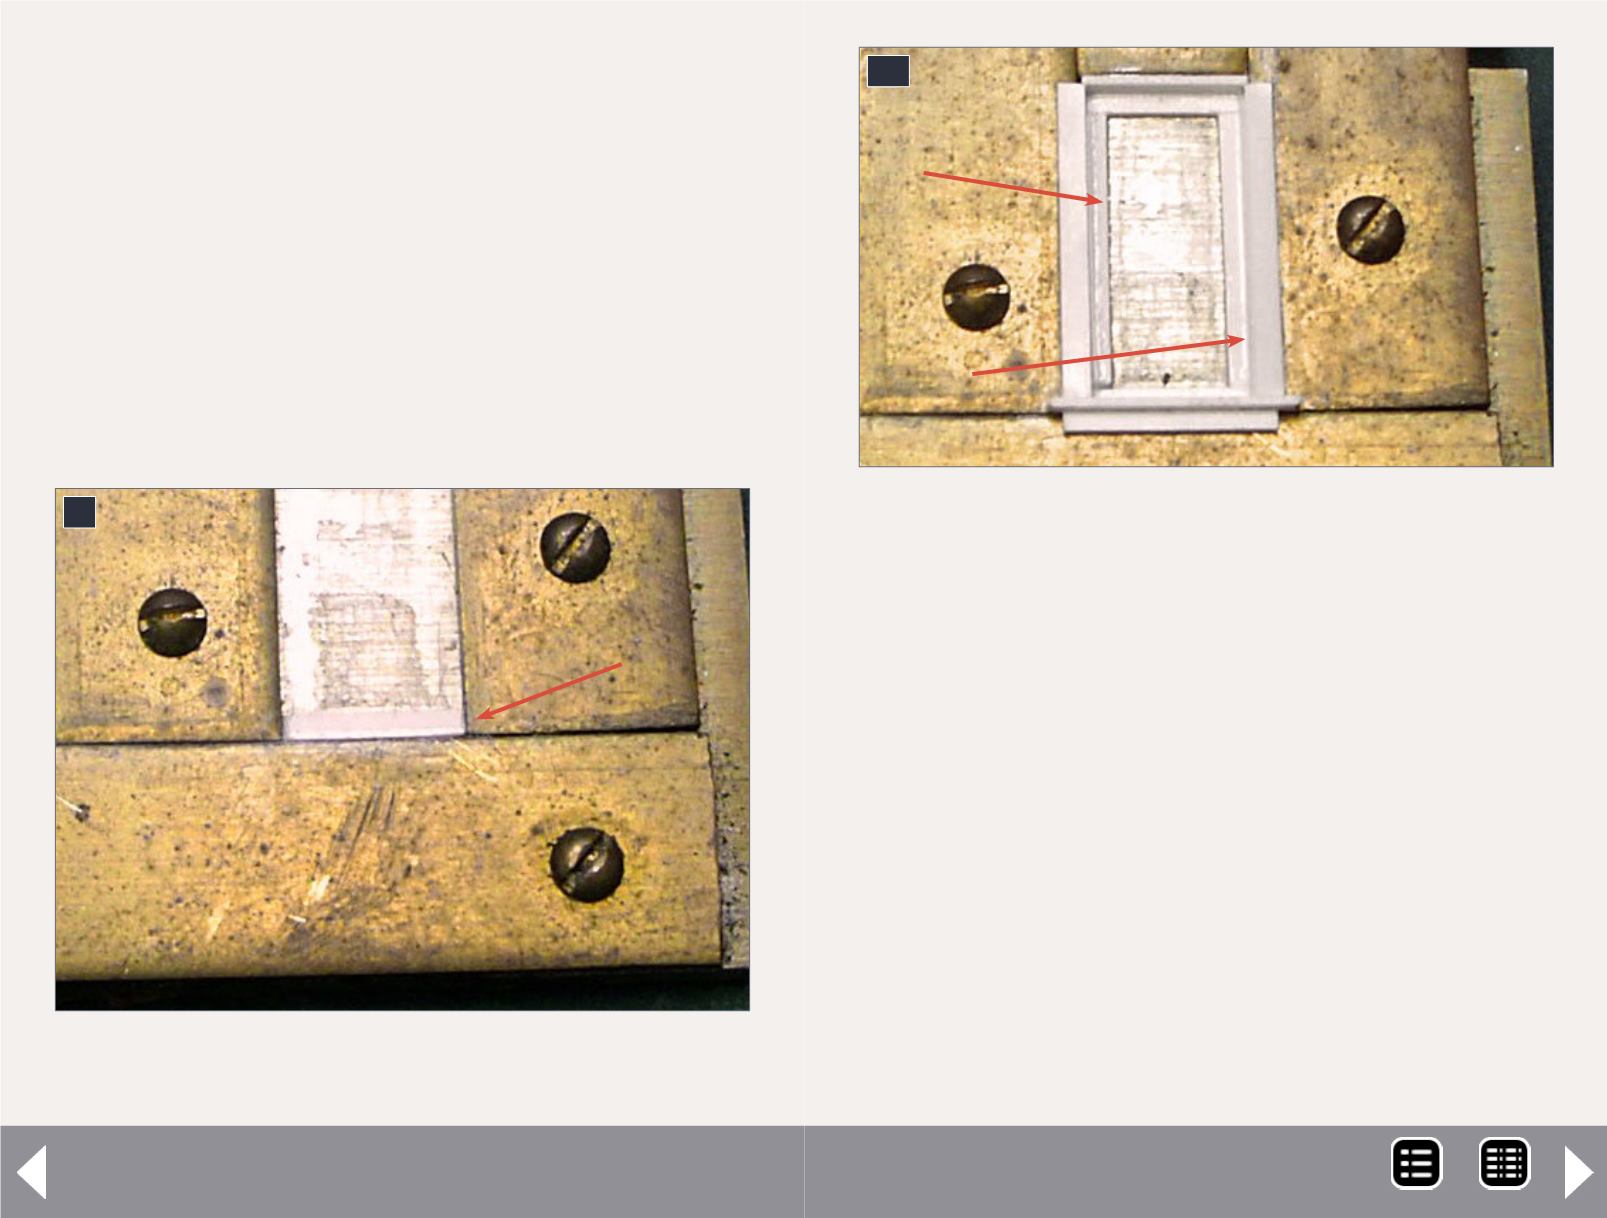
9. Begin by placing 2” x 6” pieces in the jig. The arrow
is pointing at the header.
9
bottom of the window opening in the jig, as shown above.
Notice that when you place the pieces in the jig vertically,
they come up even with the surface of the brass strip; this is
why I specified that you use only 0.064”-thick brass strips in
the jigs. When using the Chopper, place the pencil mark on
your piece of styrene over the slot in the tool steel, and cut
the piece to length.
Now open a package of Evergreen #8204 2” x 4” scale lumber,
and cut two pieces the same length as the 6x6s. Place them
on-edge on top of the 2x6 and glue them to the 2x6, using MEK
and a paint brush.
Windows and doors - 6
3
10. Here the window frame is almost complete, just
needing the header. The side rails of the window are
also in place. The arrows are point to the sides of the
window.
10
I keep Tenax-7R, MEK, and styrene putty in clean, old Floquil
paint bottles in holes bored into a block of aluminum on my
workbench. I also store two paintbrushes in the block. To make
this styrene putty, fill a paint bottle halfway up with MEK. Next
add scraps of styrene to the bottle. The MEK will turn this sty-
rene into styrene putty, which you can use to patch or fill any
defects in your styrene structures. The beauty of this method
is that styrene binds perfectly to styrene and does not shrink,
allowing you to file or shape the patch, and then paint it.
In [8] you can see the bottle of MEK, the bottle of styrene
putty, and the bottle of Tenax-7R in the aluminum block with
two paintbrushes.
Using two 2” x 6” pieces of lumber, place them in the jig and
glue them to the other pieces with MEK.
MRH-May 2014


