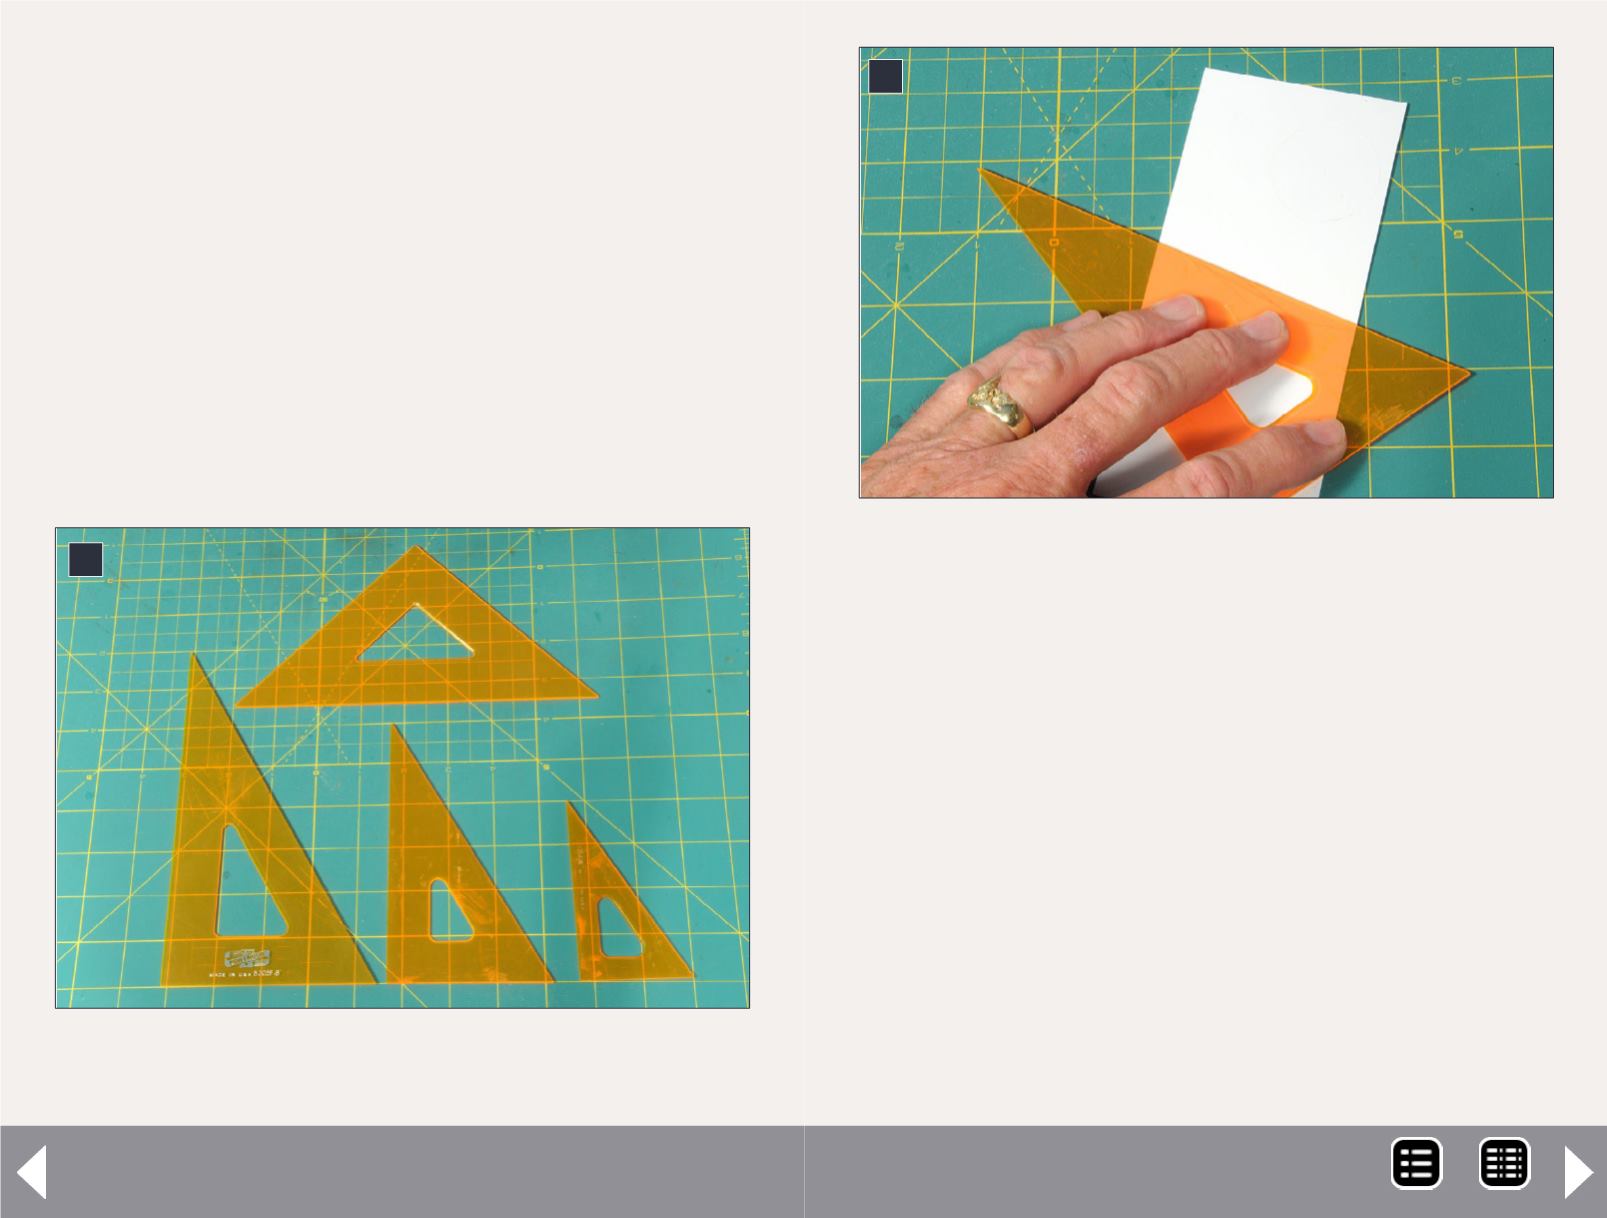
1: My four drafting triangles. The three at the bottom are
30º/60º triangles, while the one at the top is a 45º triangle.
1
adjacent to the 90
o
angle. Whether you use 45
o
or 30
o
/60
o
tri-
angles doesn’t make much difference in modeling. However,
I prefer the 30
o
/60
o
triangles since the small side can some-
times fit into spaces better. Drafting triangles are available in
both clear and colored acrylic. I prefer the colored acrylic ones
since they are easier to find on a cluttered work space. Photo 1
shows my set of triangles.
While I always use a machinist’s square when making square
cuts on sheet styrene, I use a drafting triangle when making
angled cuts. One problem I had in the past with using the typi-
cal metal scale ruler for guiding a hobby knife when cutting sty-
rene is that its narrow width made it difficult to hold steady. A
triangle has a large surface area, making it easy to hold. Photo
2 shows how I typically hold a triangle while making these cuts.
Using a triangle to cut apart decals has an additional advan-
tage over a metal ruler. When using a metal ruler, you can’t
actually see how close you are to the adjacent lettering,
especially when the lines of lettering are close to each other.
Instead, a “see-through” drafting triangle will ensure that you
are halfway between two adjacent lines of lettering as well as
parallel to the line of lettering, as shown in Photo 3.
It might seem that using a drafting triangle as a cutting edge
instead of a metal ruler would easily result in cutting into
the triangle itself. But I haven’t had that problem. Holding
the hobby knife at about a 30
o
angle from the sheet being
cut and using a No. 11 blade results in the cutting edge of
the blade being at a very shallow angle, allowing it to easily
2: It is much easier to hold a triangle than a narrow scale ruler,
as shown here. This makes it easy to ensure that the straight-
edge doesn’t move as you are cutting a piece of material.
2
The tool shed - 2
MRH-Aug 2013


