10 mm of interior space in the shell, I chose .020” styrene for
my enclosure. It adds about ½ mm of width to each side, or 1
mm overall.
The first step for my installation involved soldering wires to the
speaker and building the speaker enclosure. The speaker wires
were 30-gauge wires cut off from prior decoder installs. I have
a box of these wire pieces that I save for just this kind of use,
but you can order 30-gauge flexible wire from several sources.
My measurements indicated that I had about 6 mm between
the frame and the top of the shell, so I cut a strip of .020’ sty-
rene 5.5 mm wide. The bottom of the enclosure would add 1/2
mm, bringing the total to 6 mm. To make the enclosure, I con-
structed a box around the speaker, using CA cement to glue the
styrene sides to the side of the speaker, and regular liquid plas-
tic cement to attach the bottom of the enclosure.
The first step in the pro-
cess is to “rough up” the
sides of the speaker with
200 -grit sandpaper to
provide better adhesion
for the CA cement. I also
lightly sand the styrene
strip.
Now it’s time to build the
box. I put a thin bead of
gel CA across one of the
long sides of the speaker,
towards the top edge, and
then press the styrene
strip onto the edge. I usu-
ally put the speaker face-
down on my work table,
then press the strip along
the edge to make sure the
top of the strip is flush with
the top of the speaker.
You’ll have a few seconds
to adjust before the CA
sets. You want the strip
to overlap the short edge
of the speaker just a bit,
so that you can later cut
that off flush for the short
edges of the box.
Let the CA set up for a few
minutes, then trim the strip
flush with the short edge of
the speaker, and repeat on
the other side.
Now do the short ends:
you want the short ends to overlap the styrene sides of the
long ends in order to create an air-tight seal. Put a bead of gel
CA along the side of the speaker and the edges of the long side
styrene strips, then press a strip of styrene to complete one
side. Make sure to overlap the long sides a bit to make sure
everything is sealed up tight.
Let the CA dry, trim the ends of the strip flush with the long
sides, and repeat for the other side. You now have a box
around your speaker. Drill as small a hole as you can get the
wires through the short side of the box.
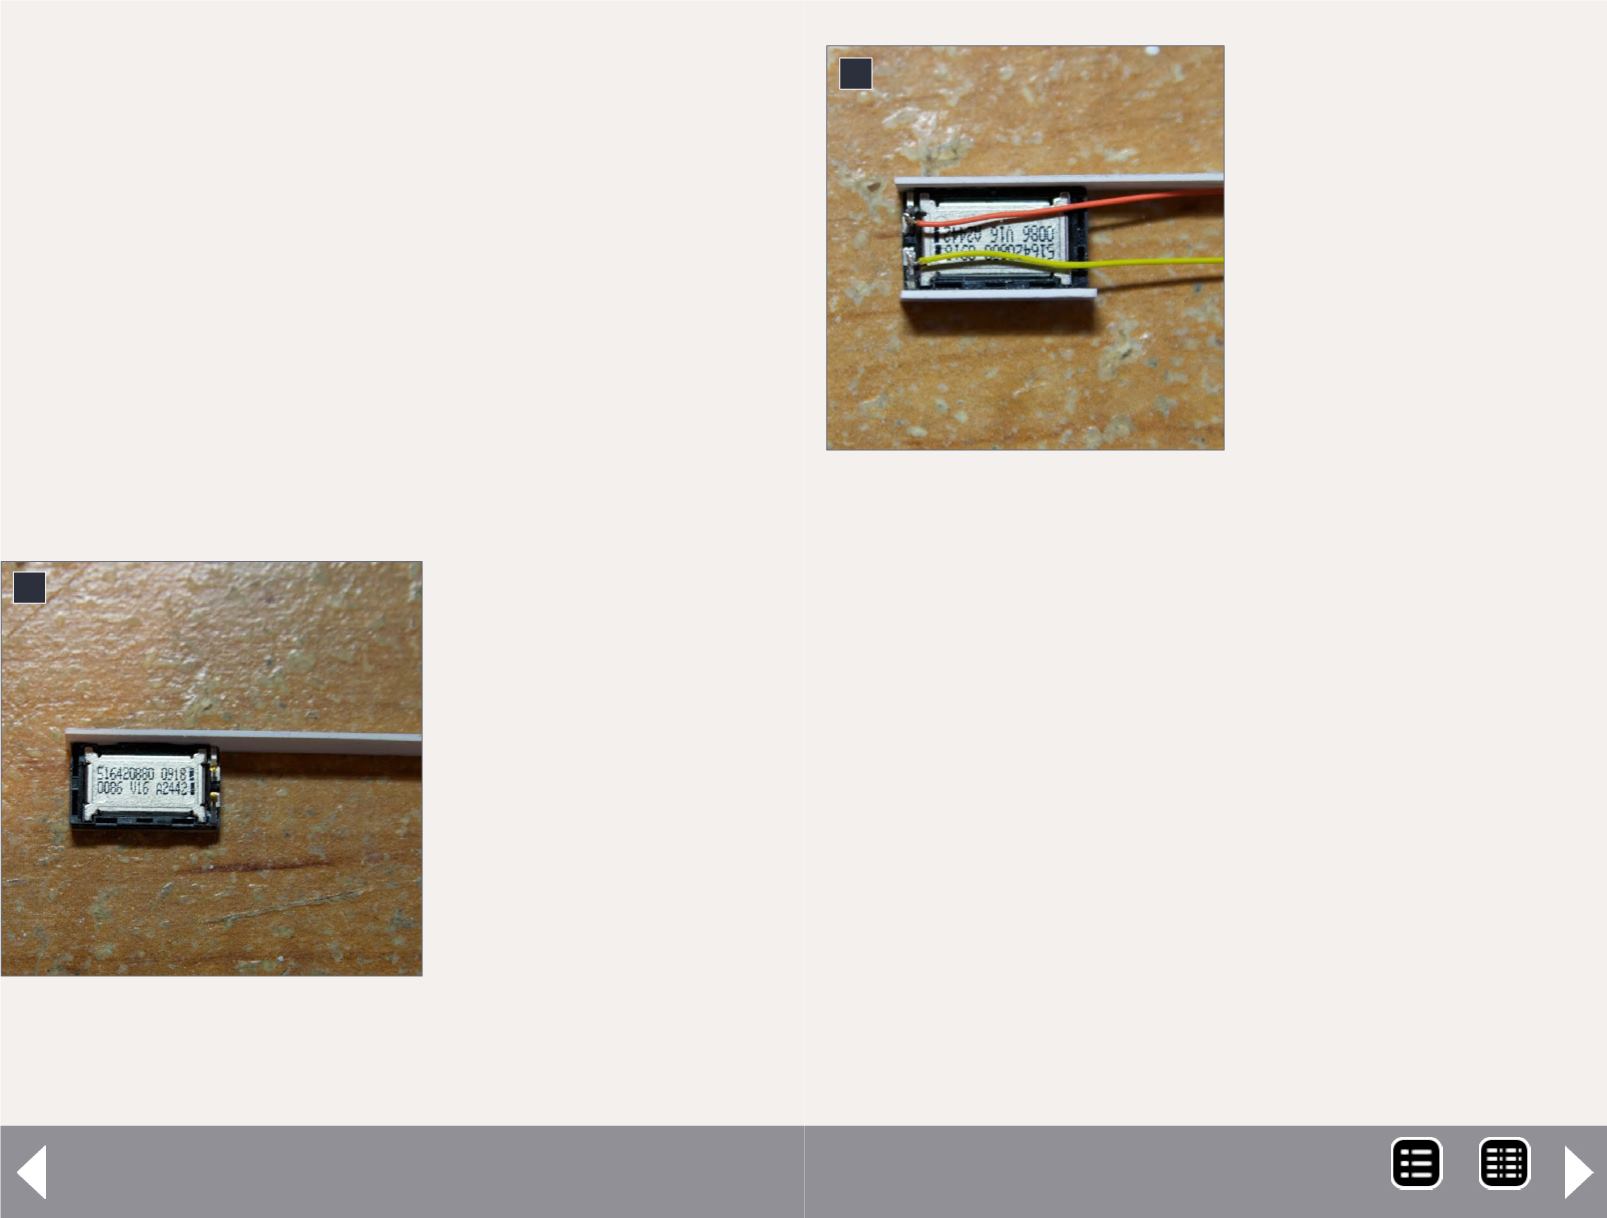
Feed the wires through, and put a dab of gel CA around the
inside of the hole to seal it. When you are done, here’s what
you have [9].
Let everything dry for 10 minutes. Now attach the bottom. If
you are using styrene, this is pretty simple: put the speaker on
4
4. Glue styrene to the long
side of the speaker, and trim
to the correct length.
5
5. When you’re done with the
two long sides, things should
look something like this.
N scale sound - 3
MRH-Dec 2014


