sponge soaked in
water will do. The
cleaner is made
by Aoyue (Aoyue.
com). I got mine
from Amazon.
com. Once the tip
is clean, I use a
controlled-temper-
ature soldering iron
along the side of
the rail and allow
a small amount of
solder to flow into
the joint.
Once the joint
has cooled, I
check the align-
ment and gauge
using an NMRA
track gauge. Then
I smooth the top
of the joints with
a flat file and fin-
ish with a “Bright
Boy” abrasive
track-cleaning
block.
One problem
I encountered
was that the
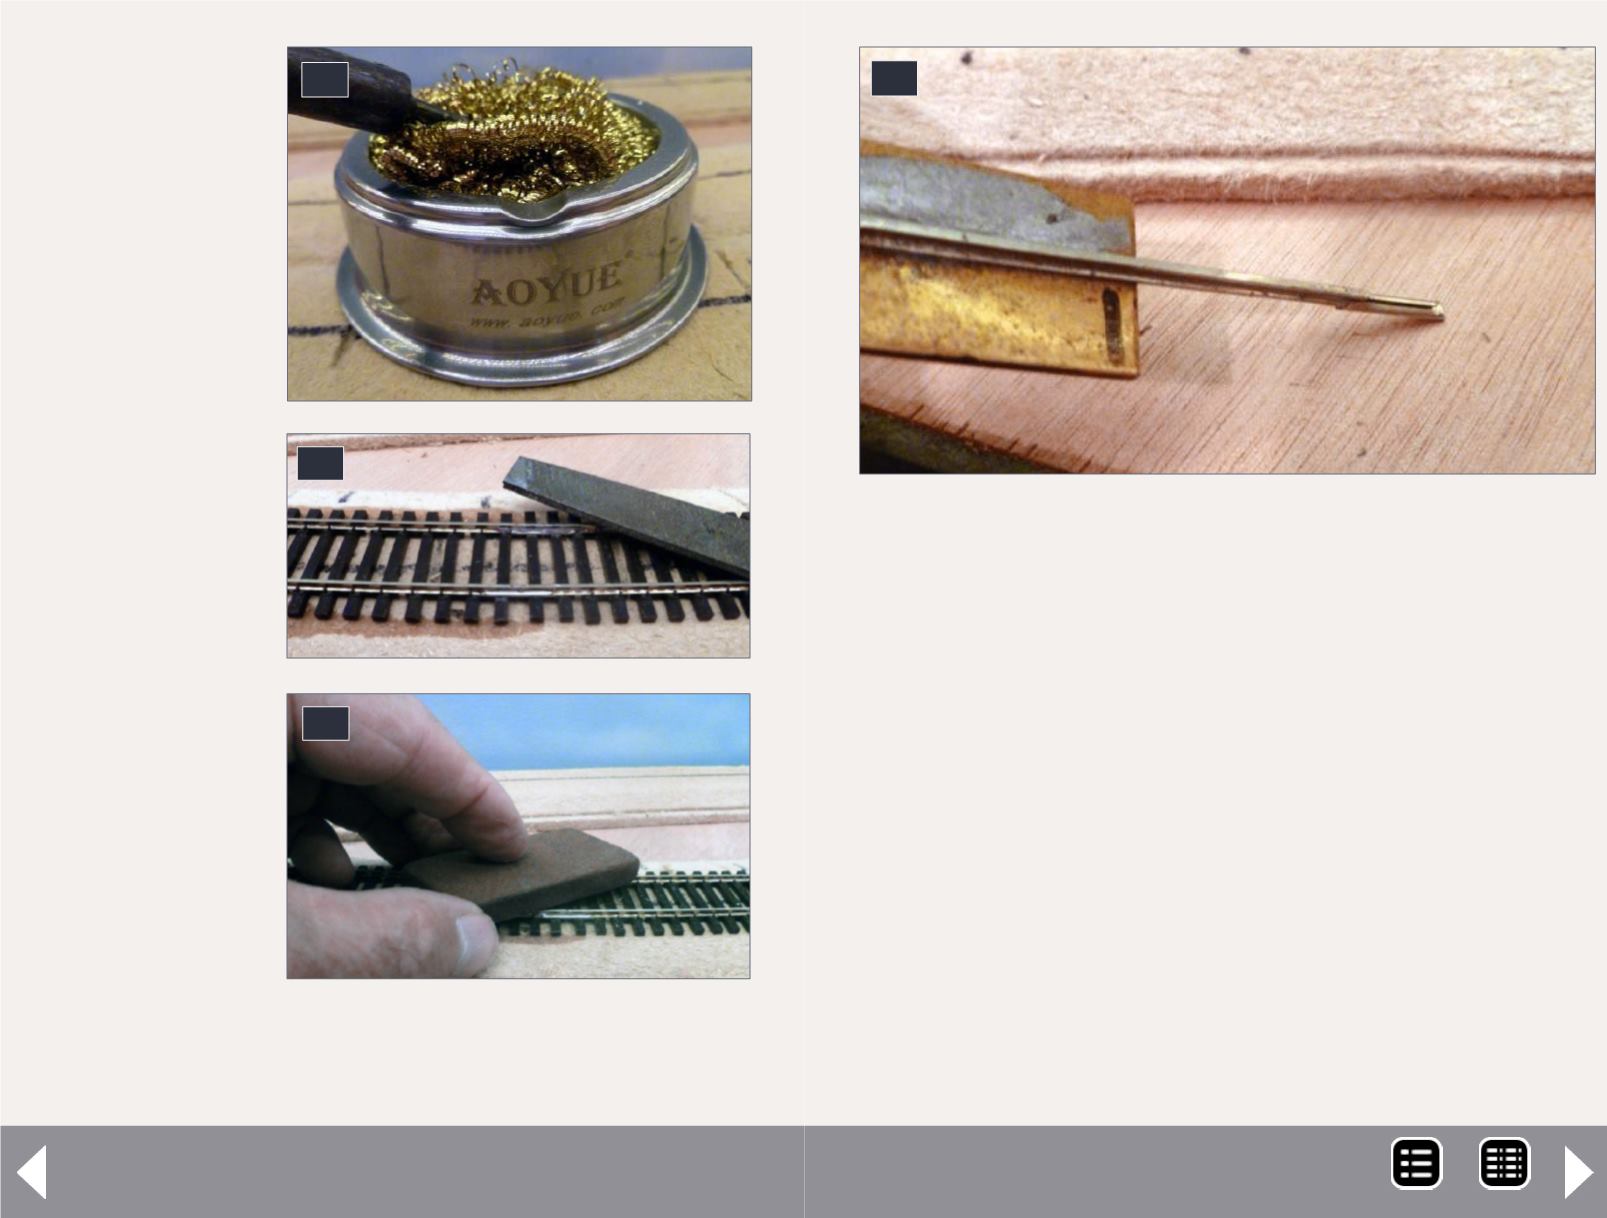
10. Soldering iron tip cleaner.
11. File the joint flush with a flat file.
12. Finish the surface with Bright Boy.
10
12
11
Getting Real Column - 5
13. Tool for widening the rail joiners.
13
cross-section of rail, and joiners for a given rail size, vary from
one manufacturer to another. In some cases, the rail joiner
will slip on easily, but in others, a moderate amount of force is
required. In the worst case, the force required is so great you
run the risk of destroying the track, and they become nearly
impossible to remove if adjustment is required.
To avoid this, I made a tool from a piece of brass bar stock with
a length of code 83 rail soldered to it. I rounded and smoothed
the end of the rail to make it easy to insert it into the rail
joiner. I used rail with the thickest cross-section, which was
the rail from the Walthers Shinohara switches. I settled on the
Walthers code 83 rail joiners. I like the simulated bolt detail
on the sides. I slide a joiner onto the tool by pushing it against
a piece of soft wood. This opens up the joiner. I then pull the
joiner off with a pair of needle nose pliers. The rail joiner can
MRH-May 2014


