The Tool Shed - 3
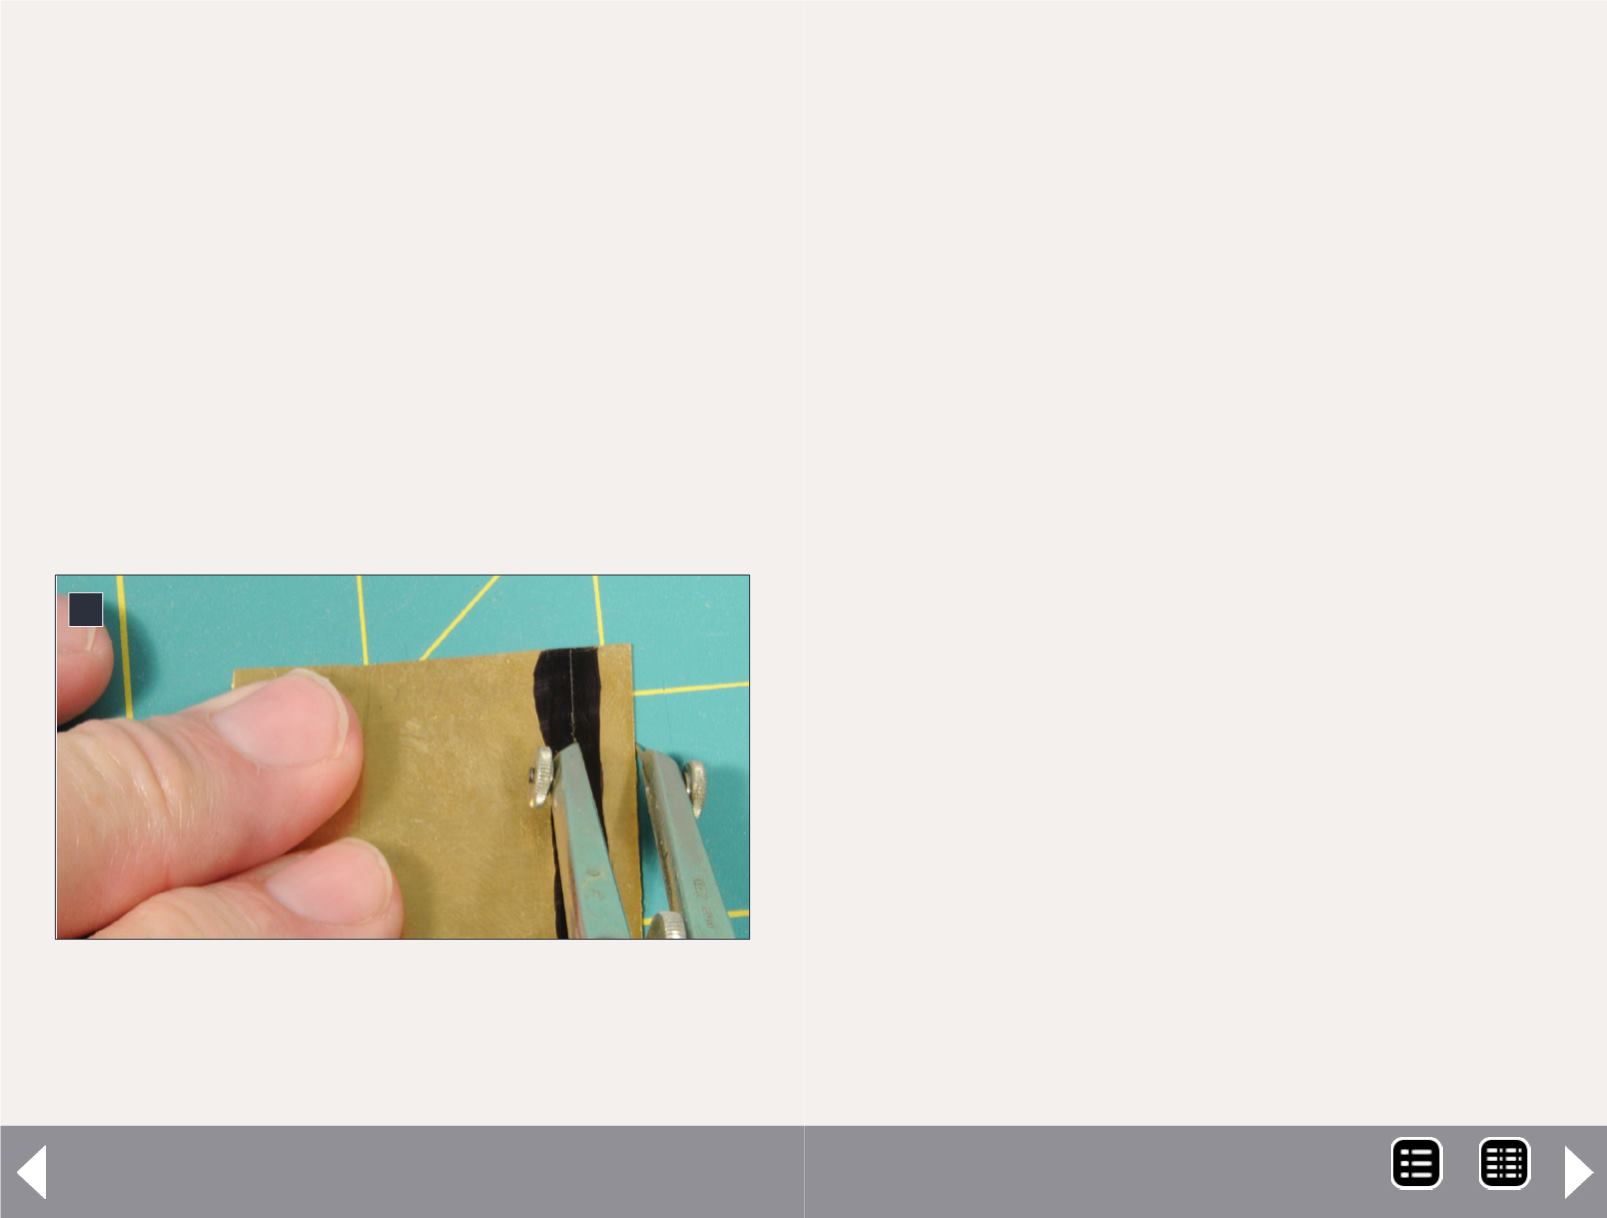
4: This photo shows dividers being used to scribe a cut line
on a piece of brass. A permanent marker was used to coat the
area that will be scribed so that the scribe line could easily be
seen while cutting the stripe to the desired width.
4
My feeling is that, if you practice accuracy when building
even simple structures, you won’t be overwhelmed when
you take on large, complex structures.
A more accurate approach to laying out the sides of this sim-
ple building is to use a divider. Set the divider to the width of
the face of the building and transfer that measure to the
material being used for the building by pricking two very
tiny holes in the material with the dividers. Then “walk”
the dividers (2-3, prior pages) to make another prick mark.
These three prick marks set the width of the front and back
sides of the building. Marking them with the same divider
setting ensures that they will be exactly the same width.
Once you have prick marks for these two pieces, use a small
machinist square to ensure that your cuts are perpendicu-
lar to the bottom edge of your material as you cut them to
width. Another tip: after lining up the edge of the machin-
ist square with a prick mark, just lightly drag the tip of
the blade of your hobby knife along the square; if you are
exactly in line with the prick mark, you will feel the tip of
the blade “drop” into the prick mark. If so, make your cut.
Otherwise, move your machinist square as needed to make
sure that it is accurately aligned and then make the cut.
You can also use a divider to scribe lines for cutting mate-
rial to a specific width. If you need a strip of thin brass of a
certain width, set the dividers to the needed width and then
scribe a line from the edge of the brass sheet as shown in
Photo 4. You need to first make sure that the edge you are
scribing from is straight. Otherwise the resulting strip of
brass will simply replicate that uneven edge.
The scribe line will be easier to see if you use a black perma-
nent marker to color the area before you scribe the line. The
marker dye can be easily removed with lacquer thinner.
The same scribing technique can be used with styrene
although you don’t want to use a permanent marker on sty-
rene. If you are scribing a relatively thick sheet of styrene,
such as .040″, extend one leg of the needle on the divider
longer than the other and use the shorter leg to make the
scribe line. This will let the divider be vertical as you scribe
the line as shown in Photo 5 on the next page.
Compasses can also be used to cut out discs by scribing.
A pointed needle can be used when scribing thin styrene
material to make discs. The compass legs are set to the
radius of the disc (half of the diameter) and then the mate-
rial scribed using multiple circular passes.
These multiple passes tend to enlarge the center hole which
can cause problems. A simple solution is to tape the material
MRH-Oct 2013


