(1-2). With the sanding complete, I glued on the Hi-Tech
Details #6017 Sunshades over windows. Next I chiseled off
the existing headlights with flat X-acto blade. I saved the
headlight frames and converted them into number boards
on the front of the hood (3). You can also see the sunshades
added to the cab.
I cut up the handrails to closely match the prototype (4). I filled
in the existing hole for the diesel horn with scrap styrene and
putty, and drilled a #56 hole and added Cal-Scale #316 5-Chime
Diesel Horn to top of the hood. To be able to apply the red diag-
onal striping decal later, I sawed off the rear steps from the cab,
sanding the cab smooth. The steps will be glued on after I reat-
tach the cab to the shell.
I also installed Cal
Scale #395 Dual Lens
Headlights to the front
of the hood and rear
of the cab (5). For the
headlight cowling, I
cut off two ends from
a drinking straw and
dipped this in light
gray paint. I then used
Microscale Kristal Klear
to make the glass lens.
I attached this around
the headlights on the
front and rear.
I mounted Cal-Scale
#280 marker lights to
the front of the hood.
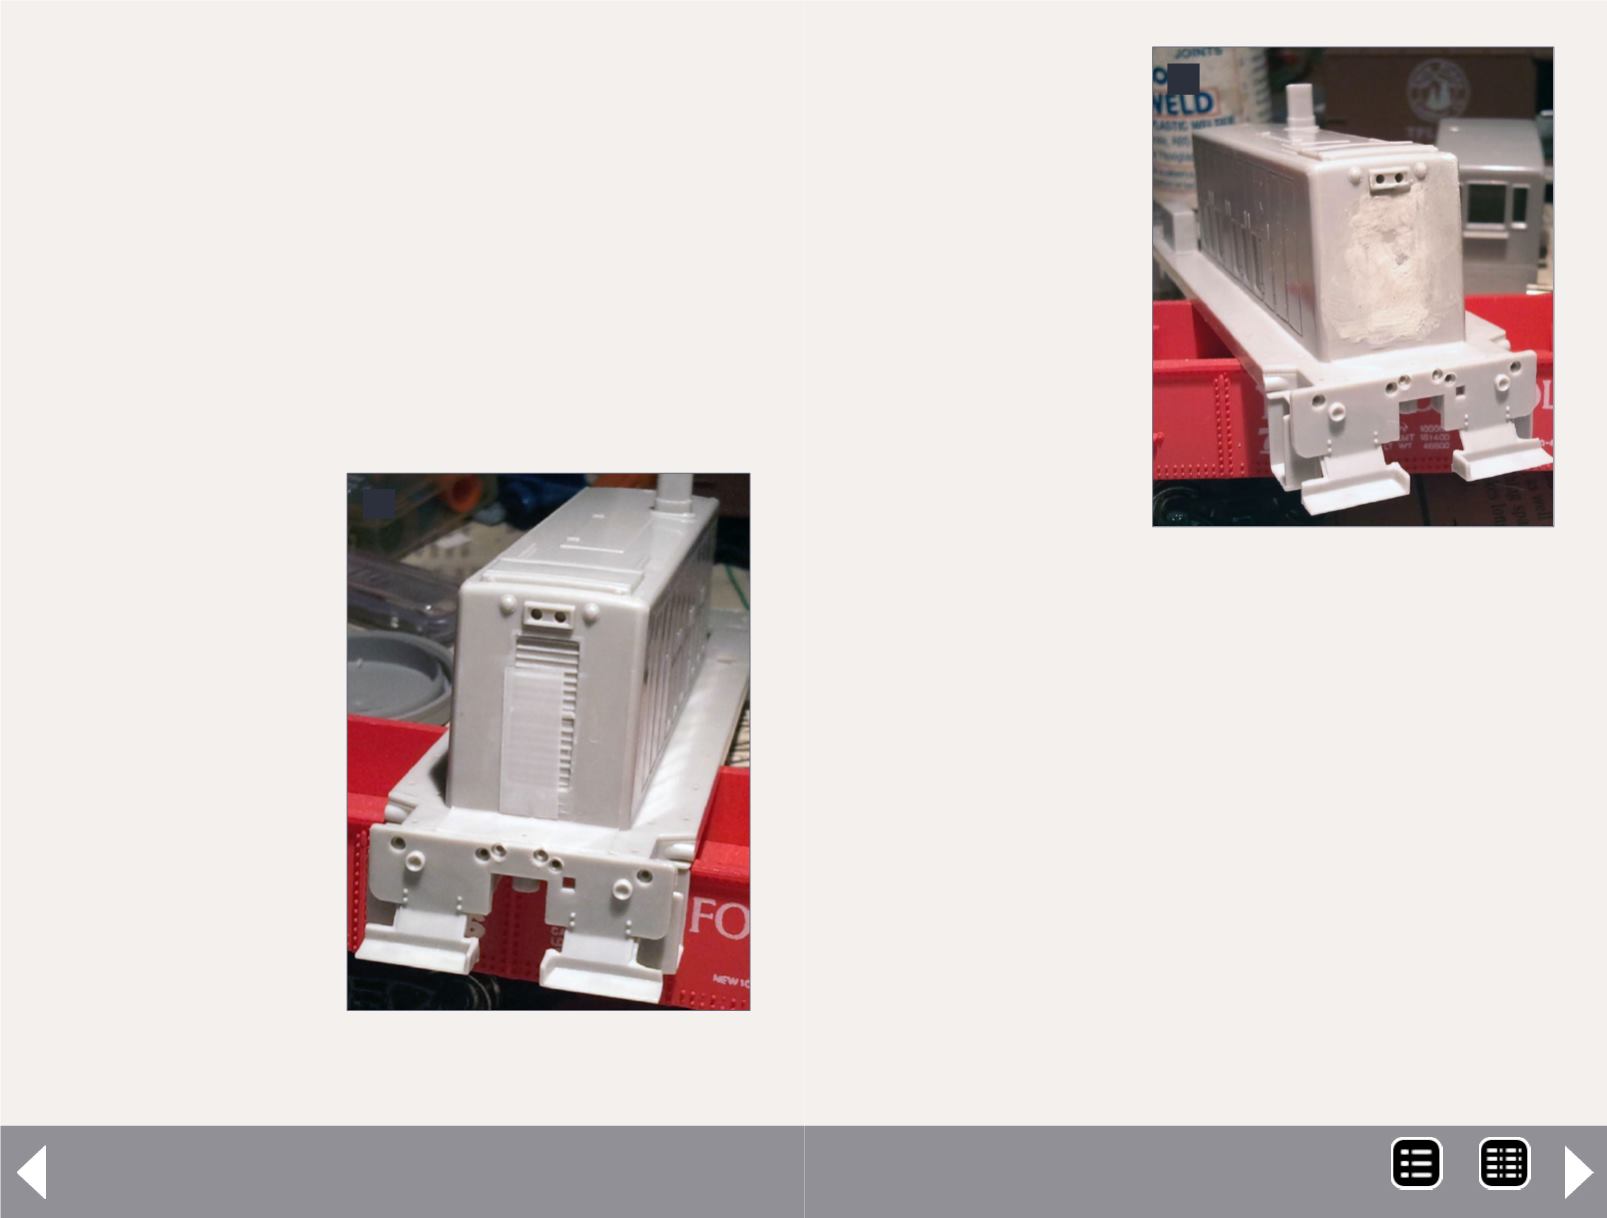
NS 70-ton switcher - 2
1: Scrap plastic is used to cover the
radiator.
1
Using a #78 bit I drilled
holes for the marker
light wires. I bent the
brass wires to “plug”
into the locomotive
lighting sockets. Four
Sequoia #5005 HO
clear marker jewels
were glued into the
marker lights.
Four Precision Scale
#3215 poling pock-
ets are placed around
the front and rear of
the frame. I added Cal
Scale #394 MU stands
to both front and rear
platforms above the
coupler. A-Line #29201
windshield wipers (short) are installed on both front and rear
windows (6).
I wanted to have a push pole attached to the locomotive, so
I found a black matchstick and beat it up a bit to make it look
well-used. I cut A-Line #29002 Stirrup Steps (Style C) into a
hook shape to hold the push pole. I cemented all of these into
place, being careful that they would not interfere with the
movement of the front truck.
For the chain on the side, I cut four pieces from 0.020” brass
wire and bent them into a hook shape with a coupler trip pin
pliers. I drilled four #75 holes and mounted these next to the
fuel tank for the chain. Figure 7 shows future number boards.
2: Putty is used to fill in the gaps.
Once it has dried I will sand it
smooth
.
2
MRH-Oct 2013


