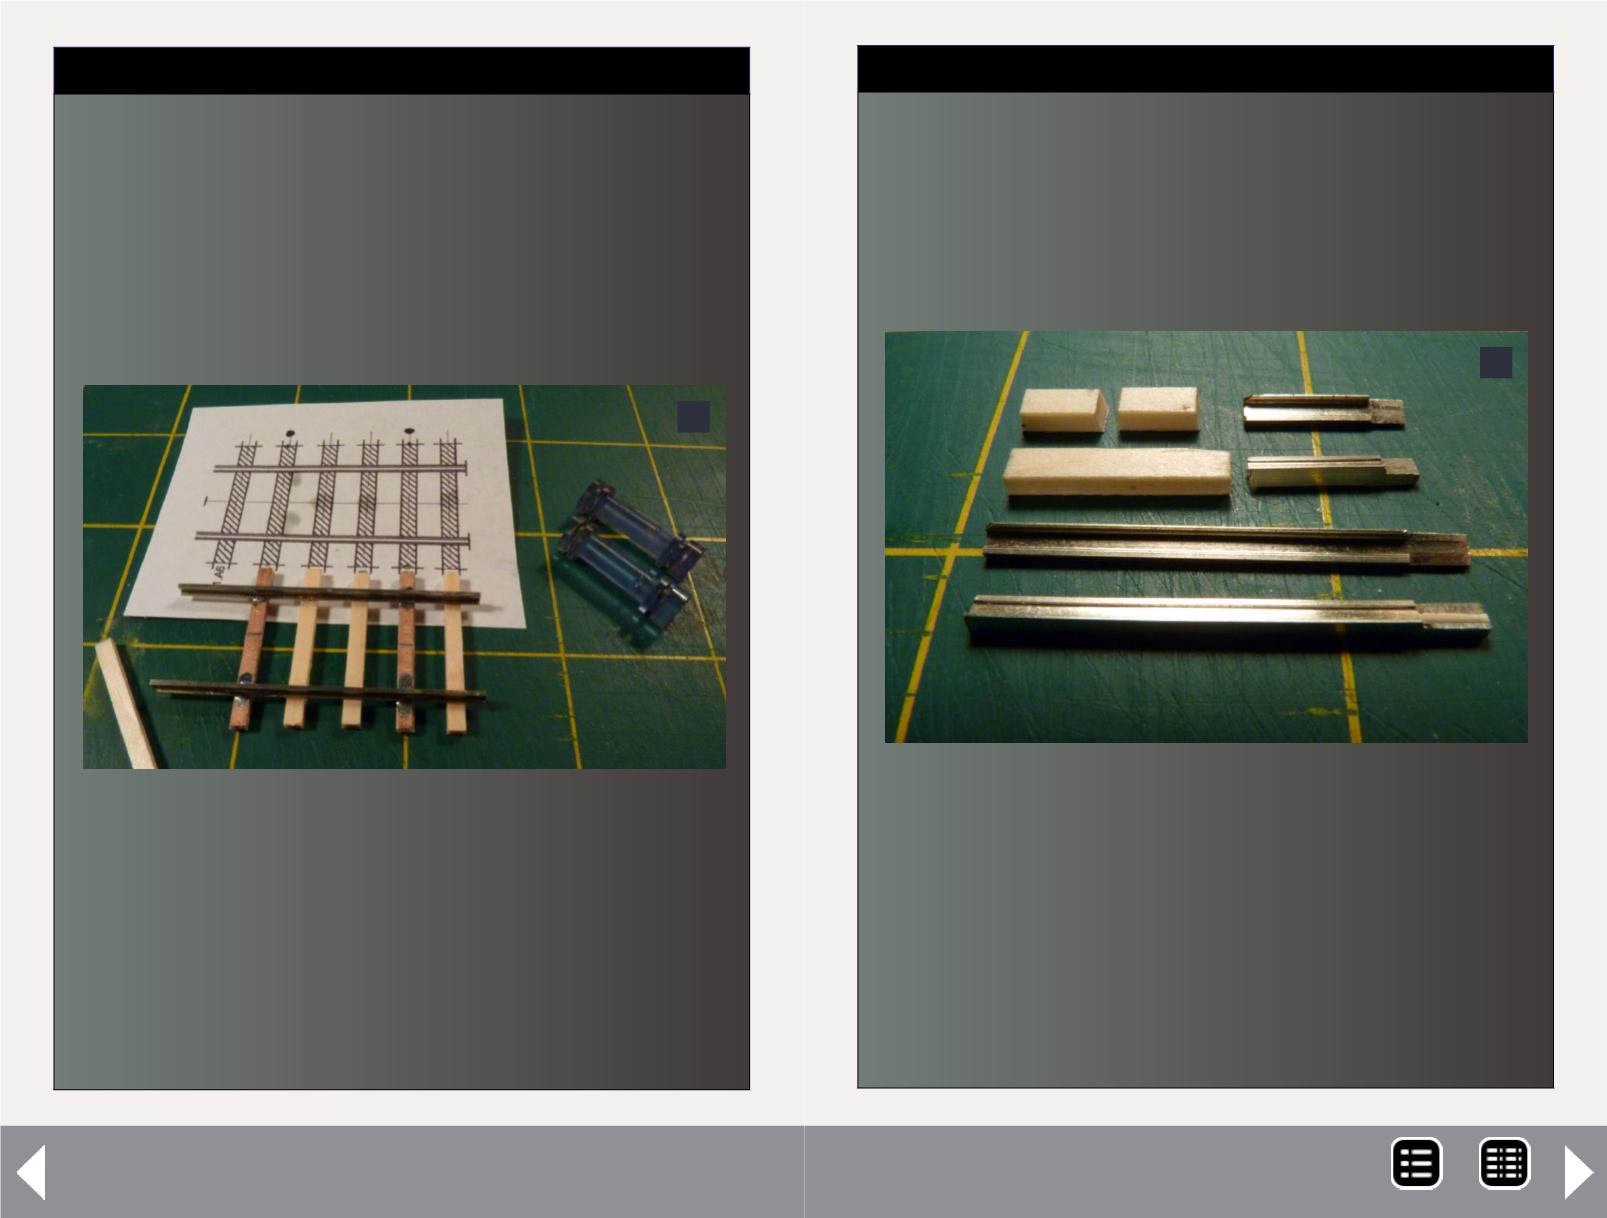
1: The template for the bumper and the beginning
of the bumper.
STEP 1:
I build a 2" piece of straight track with six ties, two of
which are printed circuit board (PCB) ties, one in from
each end. Note the full-size template produced by Tem-
plot2. The sixth tie (wood) is not installed at this time. I
wait until I’ve installed the track on the layout, then I slip
wood ties under the rail joiners before painting and bal-
lasting. Also, remember to file a gap in the copper on top
of the PCB ties so you don’t have a short circuit.
1
Note the full-size template produced by Templot2. The
sixth tie (wood) is not installed at this time. I wait until
I’ve installed the track on the layout, then I slip wood ties
under the rail joiners before painting and ballasting. Also,
remember to file a gap in the copper on top of the PCB
ties so you don’t have a short circuit.
Scratchbuilding a Code 83 Rail Bumper - 2
2: Here are the individual pieces required for the
bumpers.
STEP 2:
Next I cut the various components: two 1-1/4" and two
1/2" pieces of code 83 rail, plus one 5/8" and two 1/4"
pieces of wood tie. I file the foot and head of the rail down
almost to the web for the last 3/16" on opposite sides of
each 1-1/4" rail piece and the last 3/32" on opposite sides
of each 1/2" rail piece.
2
MRH-Jun 2013


