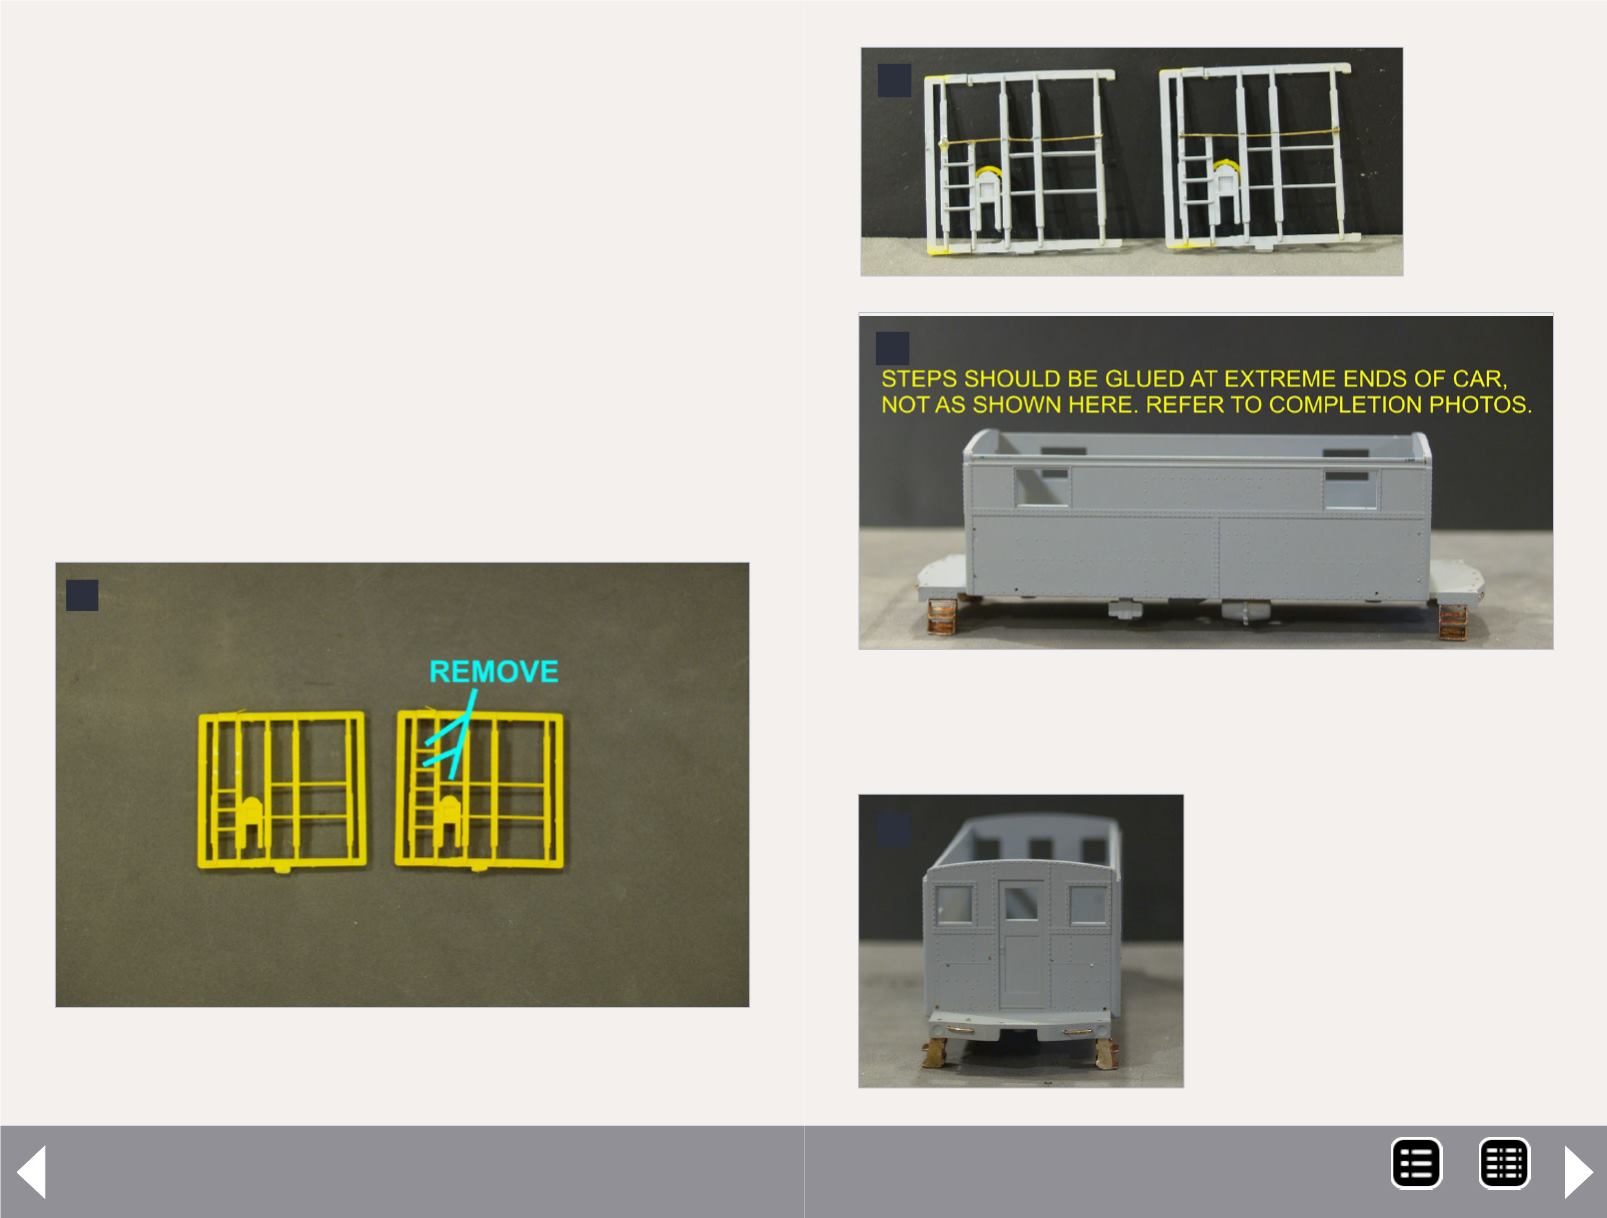
5. Do as I say, not as I do. As indicated, the steps
should have been glued to the ends of the car.
Otherwise, there will be clearance issues with the
Atlas Caboose Trucks.
Also, body is pre-drilled for
grab irons.
6. An end view, showing
the pre-drilled holes for
grab irons and installed
end sill grab irons.
this caboose is having modifications done to represent it
after its rebuild with replaced trucks, I used Cal Scale #475
(Pennsylvania Railroad Caboose Steps), which replaced the
original steps, and were moved outward to allow space for
the new trucks. A note of caution: despite the casting hav-
ing two pins spaced at the same distance as the body-molded
holes for the original steps, DO NOT use these holes. The
steps must be glued at the extreme ends of the caboose to
obtain the correct spacing for the new trucks, just like the
prototype did. (I found this out the hard way.) This completes
the body modifications (5-6).
Now that all the major component modifications have taken
place, it’s time to paint and letter the caboose, I airbrush using
Floquil Railroad Enamel products. I first primed all parts to
3
3. This shows the removed portions of the ladder and
grab bar.
Modeling Conrail’s EX-PC/PRR N5 Caboose Fleet - 3
4
5
6
4. The
added
wire grab
across
the full
width of
the ends.
MRH-Feb 2013


