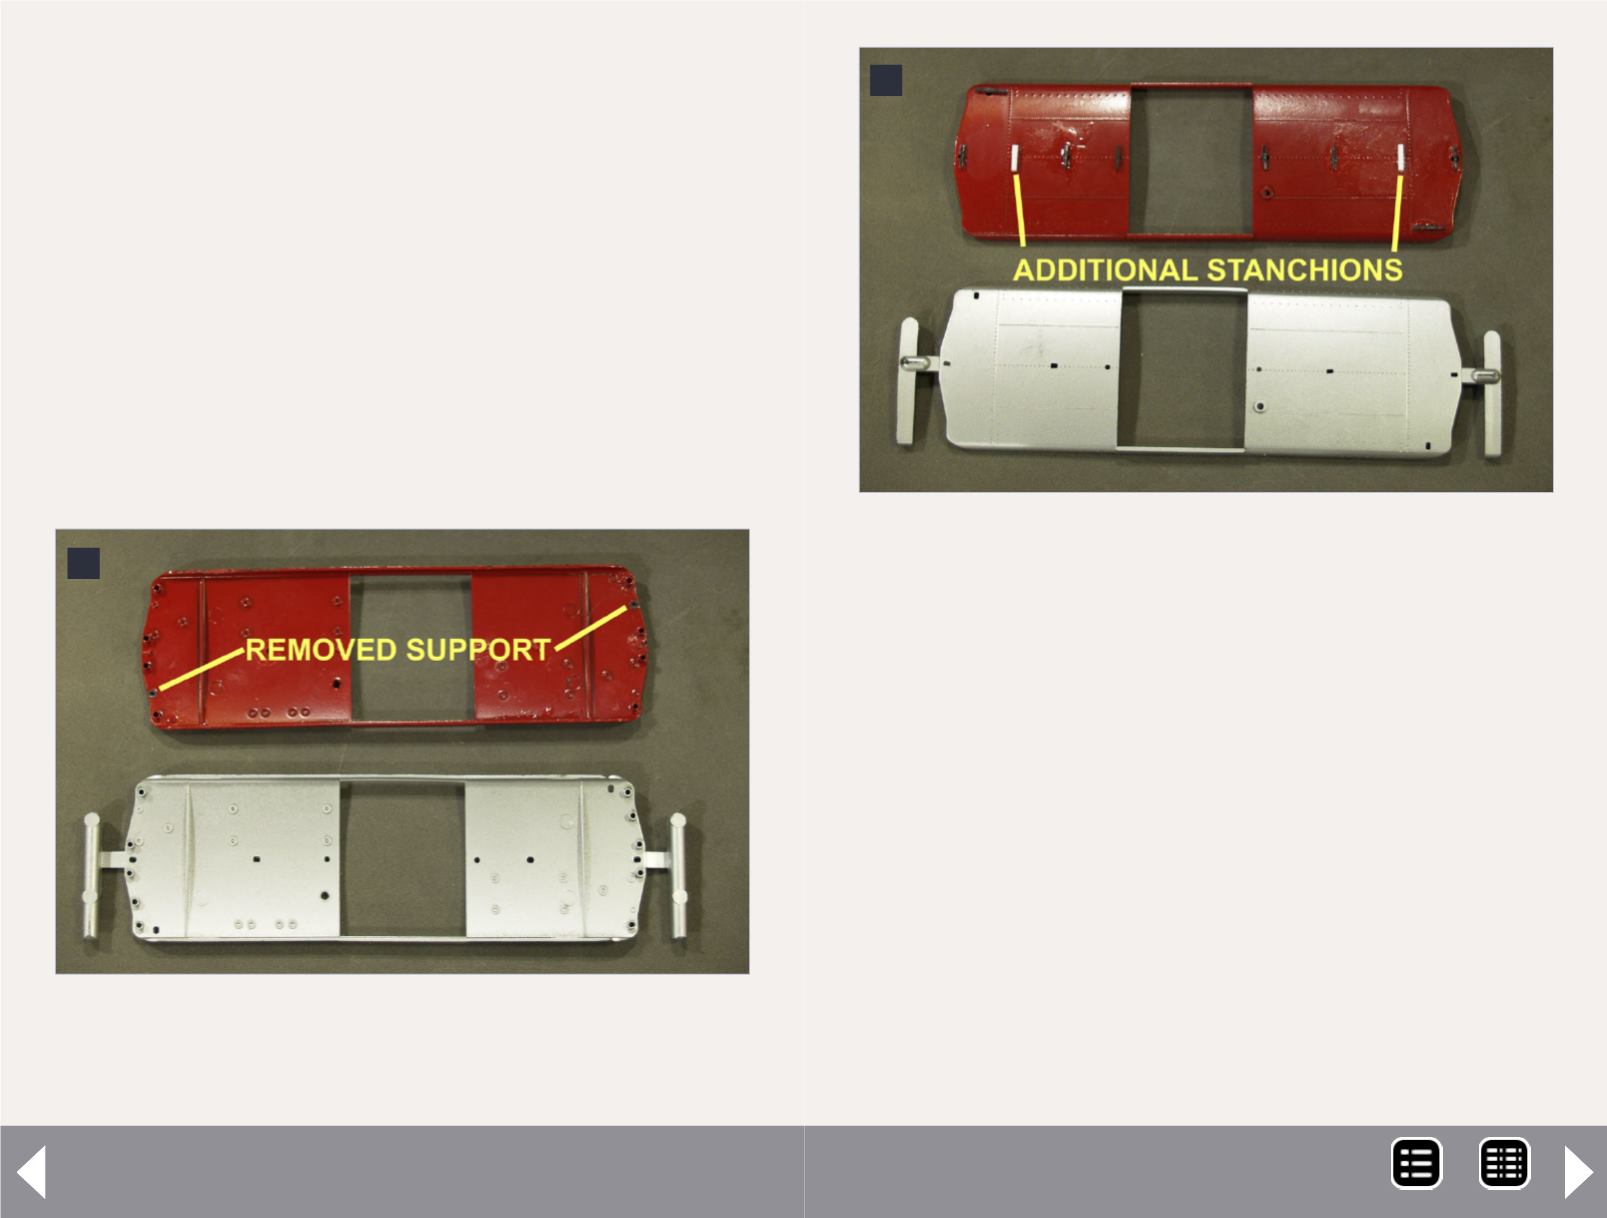
styrene strips, as I did, shown in Figure 2. One option is to not
have any of the roofwalk stanchions left, which was also done,
but the holes must be filled in. I would suggest using Squadron
Putty and sanding it flush to fit the roof profile. By this point in
the career of each caboose, the roof would have been tarred
many times to prevent leaks. This practice started in the mid-
1950s by the PRR. Also, the handholds molded onto the cupola
roof can be removed using a #11 blade. Once completed, glue
the cupola onto the roof as shown in the instructions. Once dry,
I also added Cal Scale #465 (Conrail Caboose Marker Lights) to
each end of the roof. This completes roof modifications.
Next are the ends. Using photos and actual measurements as a
guide, I removed all but three of the ladder rungs and grab irons,
1
1. Showing removal of the Ladder Rung Support. Can
be seen on the top roof, by darker circle where support
was removed.
Modeling Conrail’s EX-PC/PRR N5 Caboose Fleet - 2
then using #80 wire, I measured up from the bottom based on
measurements I took from an actual caboose, removed the
ladder rung from that point to the roof, and added the wire
grabs spanning the width of the end (3-4). This completes end
modifications.
The body is next. First, I removed the end sill grab irons which
were cast on, and replaced them with appropriately-sized grabs
from Tichy. For the remaining side and end body grab irons, I
used Bowser #74343, which is the grab iron set from the N8
caboose kit. These can be ordered separately from Bowser, but
the color can’t be ensured. I wound up having to paint mine
despite them being molded in white or yellow plastic. Since
the grab irons are added after painting, I carefully pre-drilled
the body for the grabs on the sides and ends. Also, since
2
2. Additional roof stanchions made out of styrene and
glued in place.
MRH-Feb 2013


