2
Around the Room Layout Entrance - 3
I started by constructing the hinged side of the gate. It is also a
piece of ¾” plywood and joined to the fixed part of the layout
by four 3” brass door hinges (1). You could also use a full length
“piano” hinge. This needs to be substantial as everything turns
on it. On the open end of the gate, I used a piece of 2x4 to
construct a ledge for the gate to rest on. The front edge was
beveled to catch the gate as it is closed (4). After 25 years, this
wood is showing some wear from use, but the vertical adjust-
ment has been accommodated at track level.
With this in place, I constructed a shelf across the aisle at
37” high. For a flat land railroad, this could be nearer to track
level, but I built mine to accommodate a two-track plate girder
bridge. The shelf is also ¾” plywood and fastened securely to
the hinged side of the gate with glue and wood screws. The
3
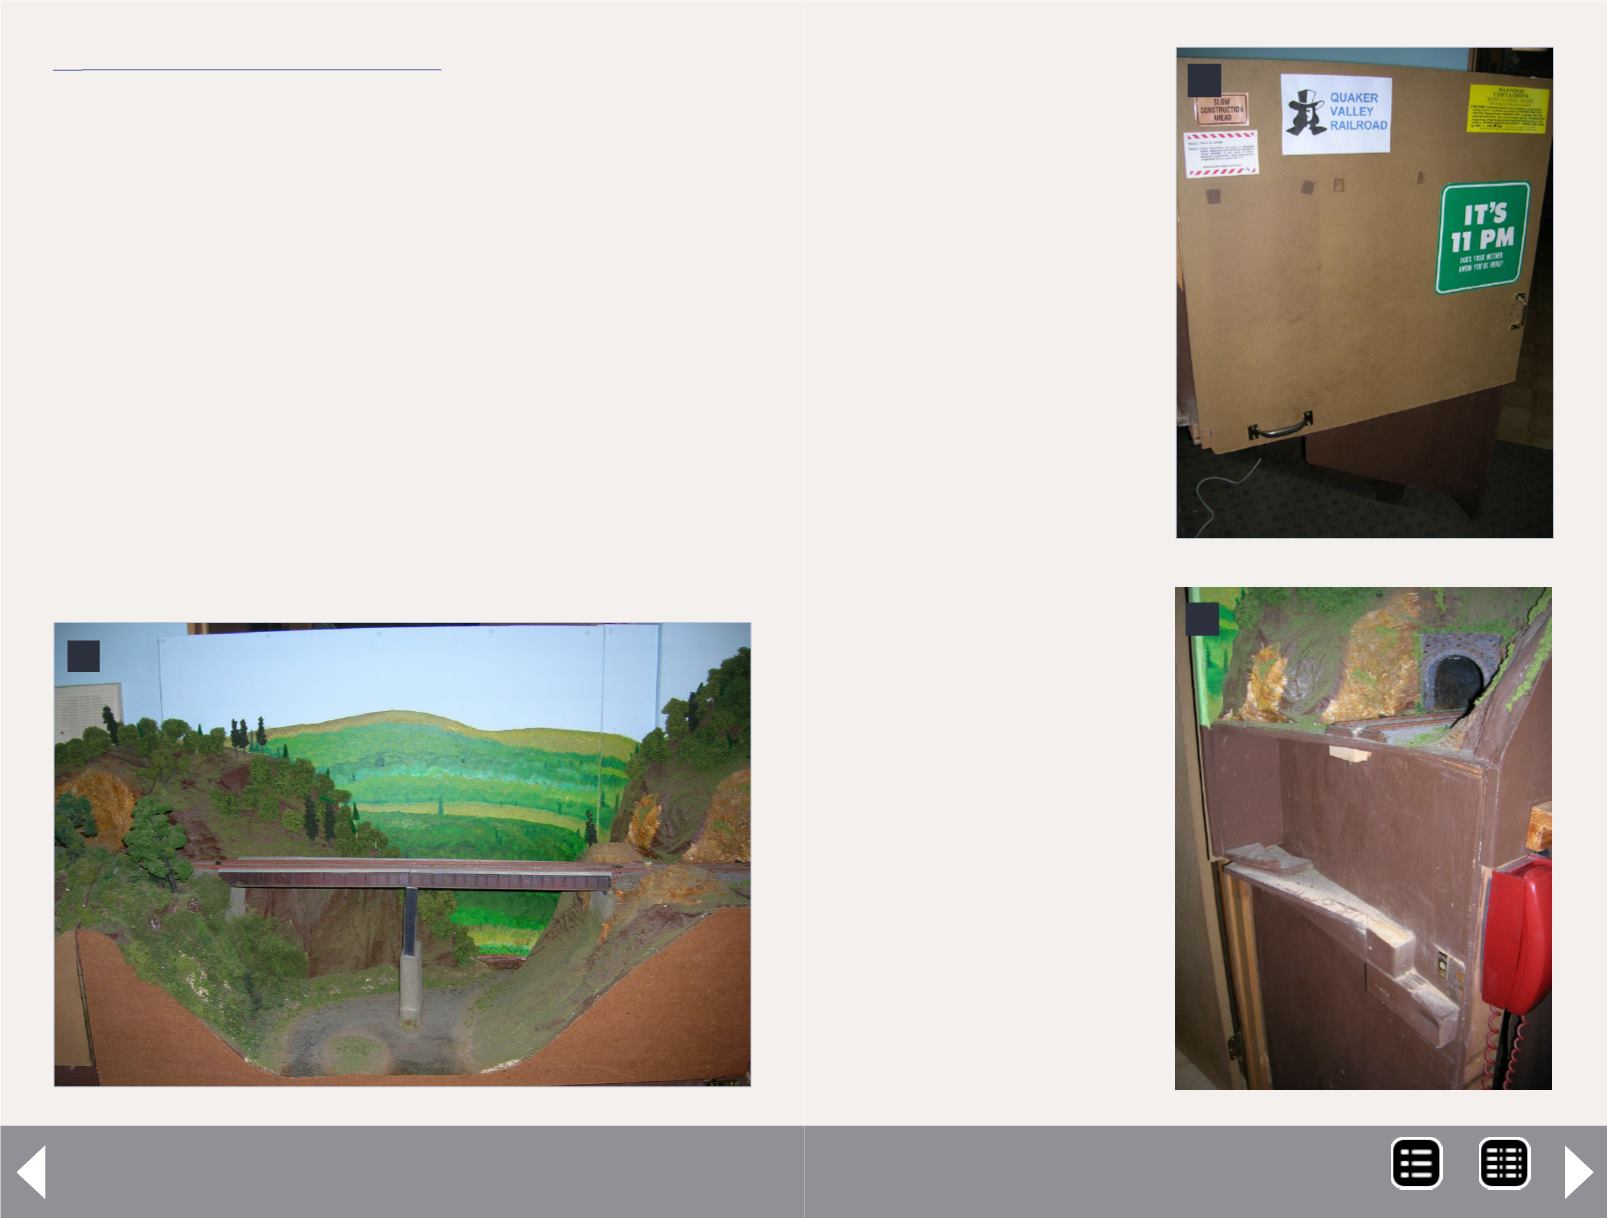
2. Closed gate
overview.
3. Backside of gate.
4. Ledge to support
closed gate
4
open end has a curve, so
it does not interfere as the
gate is opened. But it only
needs to rest on the 2x4
support, and there is no
interference with the fixed
side of the layout. I added
a diagonal brace under
the shelf to transfer some
weight from the open end
back to the hinged end of
the gate, as shown in the
drawing. I also added a
length of stair railing diag-
onally, as an additional
support brace for when
the gate is left open (5).
With this shelf complete, it
is sturdy enough to sit on
when in the closed posi-
tion. I built the rest of the
track supports and scenery
on this sturdy base, using
scrap construction mate-
rials I had left over from
our home construction. To
MRH-Feb 2013


