. . . . . . . . . . . . . . . . . . . . . . . . . . . . . . . . . . . . . . . . . . .
. . . . . . . . . . . . . . . . . . . . . . . . . . . . . . . . . . . . . . . . . . .
15. Everything
was covered
with dirt. The
grass was
brushed so it
would show
through the
dirt. I used
gray ballast for
the mainline
and weathered it with a black spray after it set up. I sprayed
the entire scene with Woodland Scenics Scenery Cement to
hold everything in place.
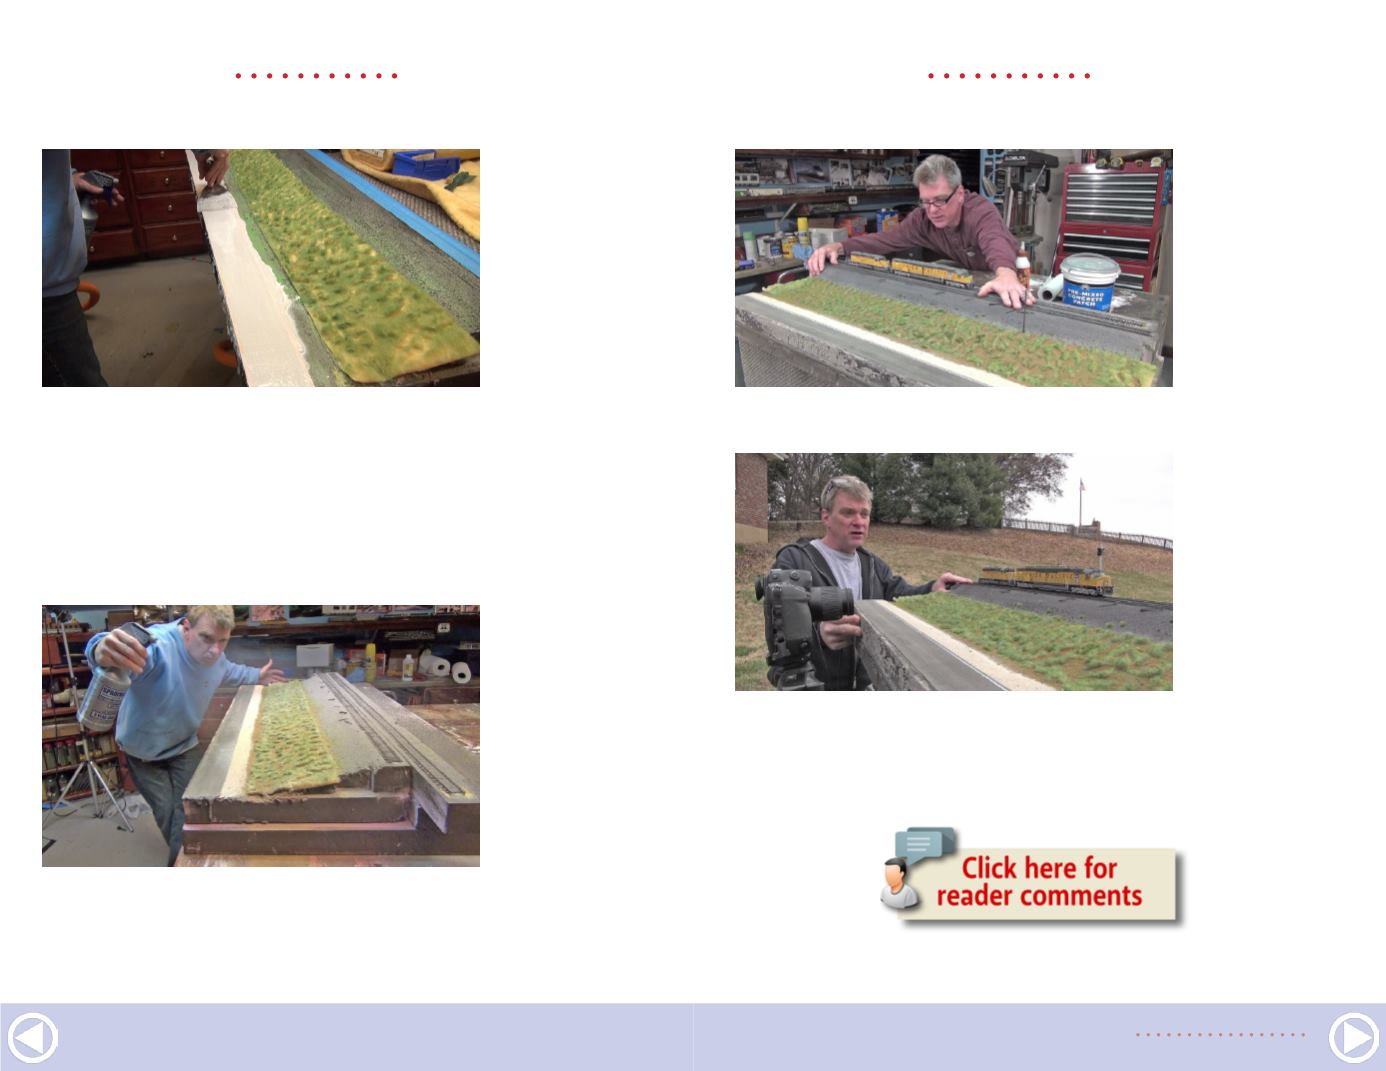
14. I used
patching
cement from
the Home
Depot paint
department. It
comes in a gal-
lon bucket with
blue text on the
sides “patching cement”. This stuff sets up in a day and always
requires a seconded cote to fill cracks. Here you see me using
a 4” putty knife to pull the road smooth. I used wood forms on
each side about 1/8” high to keep the cement even. Two coats
of India ink makes a perfect black top shade. Then I created a
shoulder along the road from Woodland Scenics ballast.
WHAT’S NEAT |
15
. . . . . . . . . . . . . . . . . . . . . . . . . . . . . . . . . . . . . . . . . . .
. . . . . . . . . . . . . . . . . . . . . . . . . . . . . . . . . . . . . . . . . . .
16. When
everything was
dry, I did a test
photo indoors
to make sure
everything
looked correct
to the proto-
type photo,
and also that things slid smoothly as planned. It worked!
WHAT’S NEAT |
16
17. On shoot
day it was
cloudy to
match the
photo, and this
allowed for a
longer expo-
sure with per-
fect blur action.
Everything was set up in place and I started sliding things to
make 12 various photos, picking the best.
To see the final photo, go to the next spread ...


