9
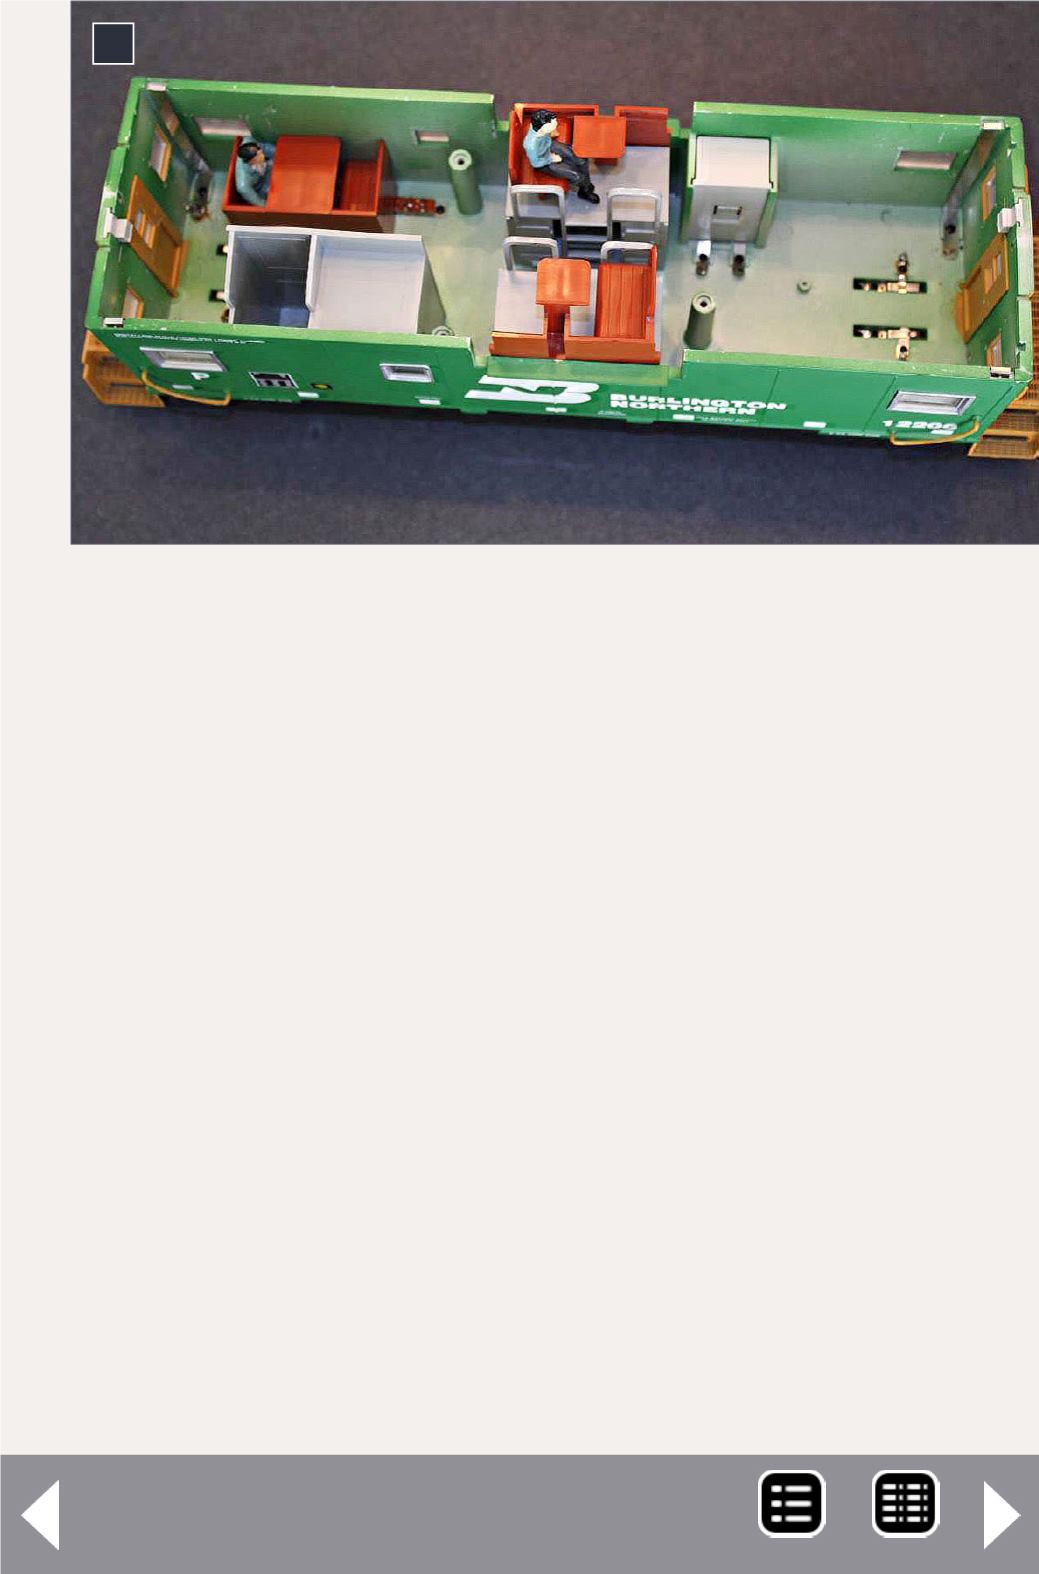
9. Test-fitting the interior pieces.
coarse and fine sanding sticks. [11] shows the tools used and
the detail pieces after cutting them from their sprues. I made
an airbrushing jig from clothespins and a block of wood [12]
and [13], as described in Pelle Soeborg’s books “Done in a Day”
and “Detailing Projects for Freight Cars and Locomotives.”
I built the stove to 1:29 scale from sheet styrene. It is 2’ wide
by 3’ high. This looked close to the real-life pictures. I first
marked the dimensions on the styrene, then carefully scored a
line with a sharp X-Acto knife, using a metal ruler as a guide. I
cleaned up the edges with sanding sticks. I glued the four sides
together with liquid styrene cement, then measured and cut
the top, and glued that in place.
While the paint was drying on the interior and detail parts, I
removed the end-of-train (EOT) lens and painted it red. The
clear lens was easy to push from inward from the outside. I
used Tamiya clear red paint on a toothpick to put a tiny bit on
the inside and at the top of the lens [14].


