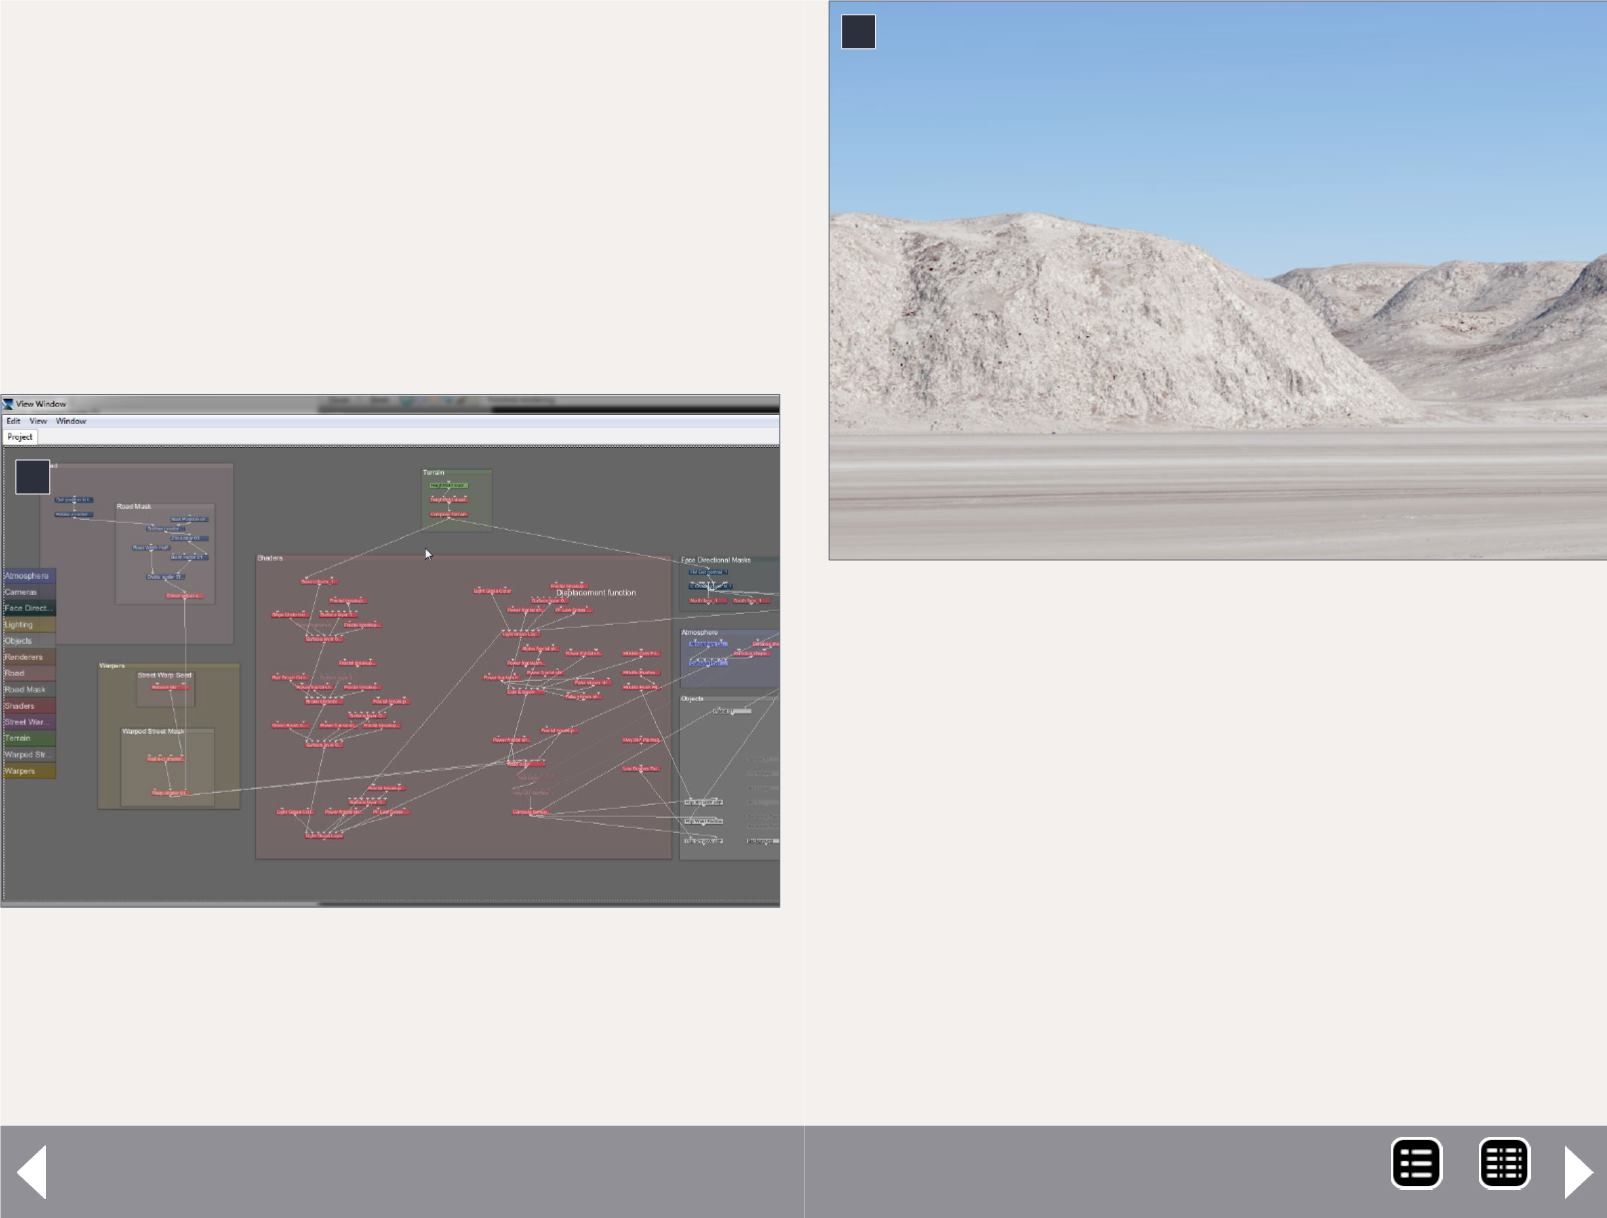
the network view is easier to work with, but you have to keep
track of managing your own connections between the ter-
rain, shaders, atmosphere, objects, and other elements. [6] is
a screen shot of the network view for my Fort Benton scene.
Working in the network view, one can experiment adding in or
disconnecting different elements to try different options.
Having established terrain and at least a starting camera posi-
tion, you are ready to make your first rendering. Terragen
constantly displays a low-resolution view that refreshes every
Computer-generated backdrops - 6
6. This is a screen capture of my Fort Benton, MT
model network view. While it appears complex at first,
the visualization actually helps clarify how the bare
terrain is modified by subsequent layers of shaders, and
eventually these operations are combined
6
7. Rendering with just the bare terrain in place
produces a grayscale image showing the terrain detail.
Impressive as this is, the fun starts when dirt, grass
and trees are added.
time any element changes. To create an image with a desired
resolution, save it as an image that is a separate action-
explicit rendering action. Again there are myriad options
available but the most important for now is resolution. The
higher the resolution, the more detailed the scene, but the
longer the rendering time.
Rendering at this point yields just a grayscale view of the ter-
rain with a picture-perfect blue sky. [7] It is actually more effi-
cient to work on determining camera position and planning
7
MRH-Jul 2014


