Up the Creek Column - 3
4
4. Mocking up different backdrop heights with card-
board. Note the ceiling lights visible over the 2’ tall seg-
ment on the right.
I didn’t want to give up the 6” wide stripe of real estate
that a stud wall would eat up. I had plans for that space!
It turned out that the modeled area on one side of the penin-
sula would be about 3” (or more) higher than the other. I figured
I could use that 3” to support a laminated backdrop. Or, if that
proved unworkable, I could build a micro-stud wall out of 1”x 1”
lumber attached to that 3” difference.
The backdrop has a number of curves followed by a 40’ straight
run [2]. I decided to attempt a backdrop made of two layers of sty-
rene or Masonite laminated together. I figured the curves should
help the backdrop stand up straight. That word “should” left me
nervous while the rest of the layout was under construction.
Determining backdrop height
I wanted a to-the-ceiling backdrop, feeling it would give the best
sense of isolation, but I tested some other heights. The height of
the peninsula benchwork meant a full height backdrop would be
from 47” to 48” tall. I mocked up 24”, 36”, and 48” tall backdrops
using cardboard.
A 2’ height would get me twice as much backdrop length from
each 4’x8’ sheet of material, but the mockup showed the ceil-
ing lights visible on the far side of the backdrop were horribly
distracting. The low height also would be a problem for layout
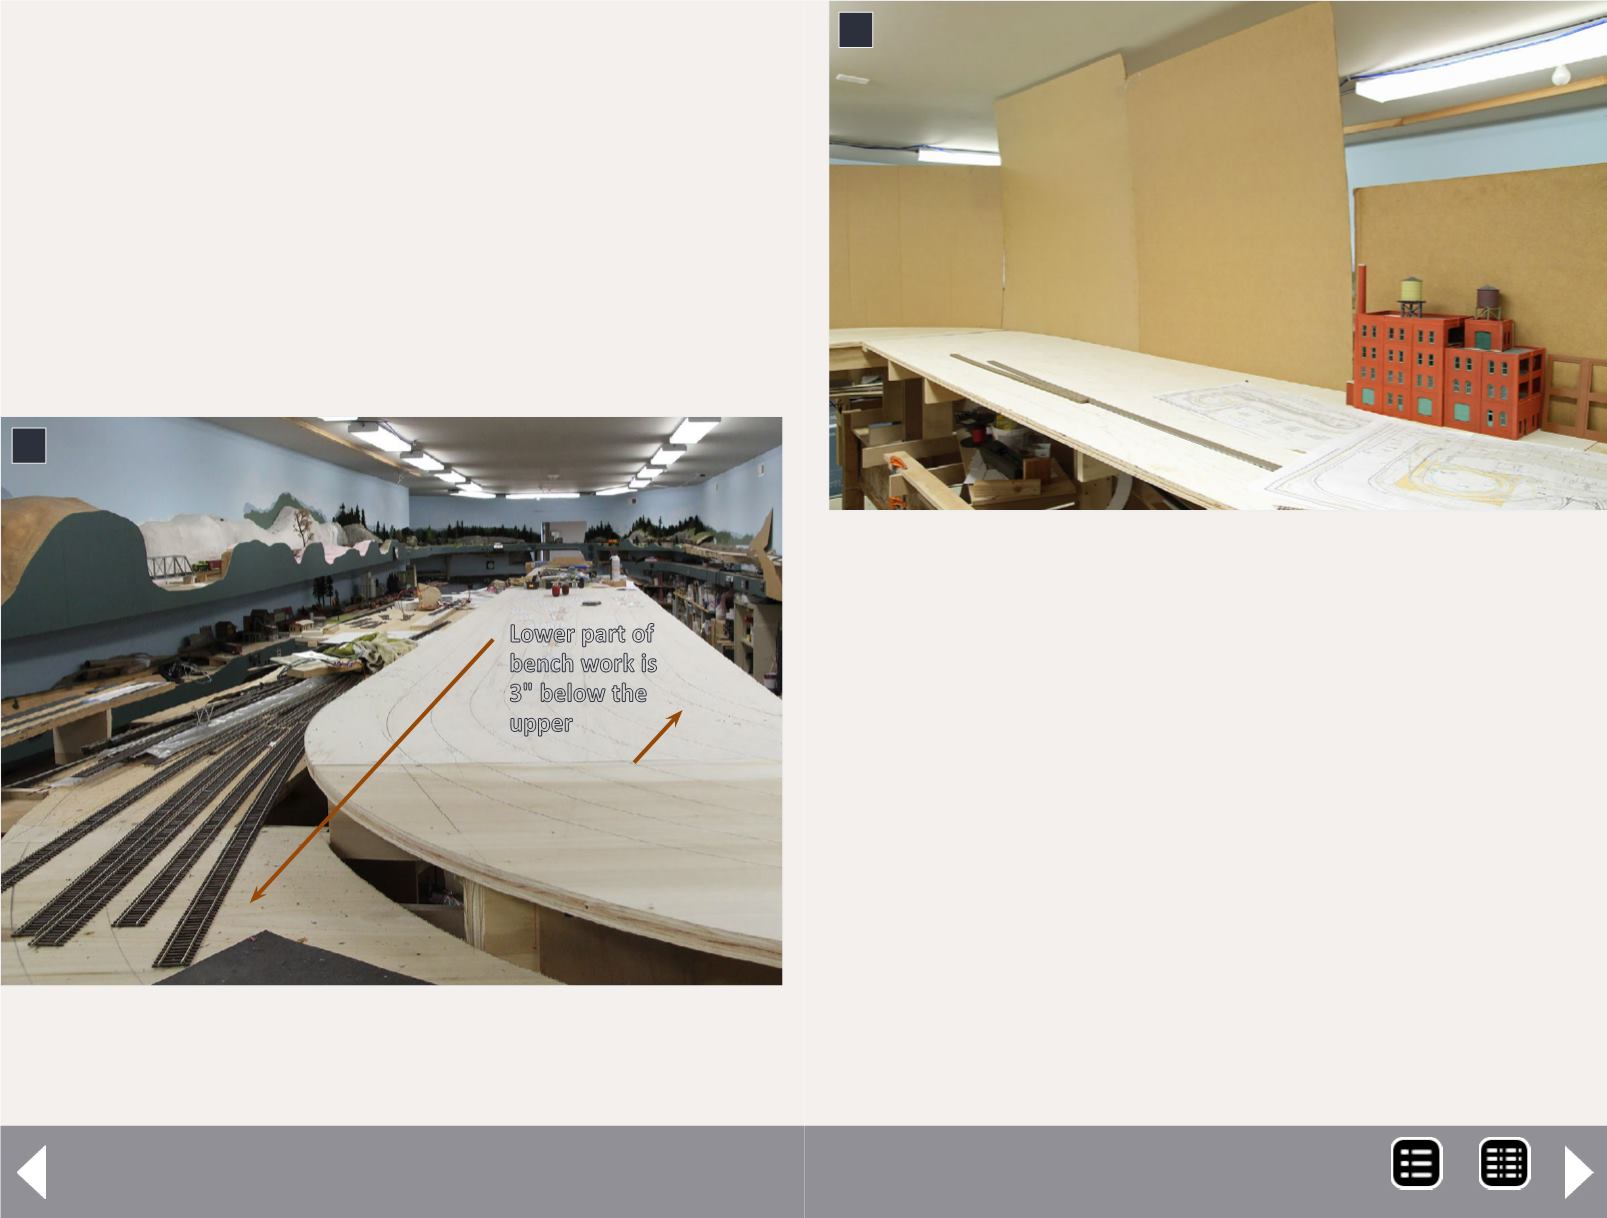
3. The 3” difference in benchwork heights on the penin-
sula. With some extra cleats, it should be good for back-
drop attachment. See also [6].
3
Lower part of
bench work is
3" below the
upper
Bear Creek Yard in
the upper part of the
peninsula benchwork
MRH-Jul 2014


