Finishing
When construction is complete, I clean up the model for
painting by giving it a thorough sandblasting in my North
Coast blasting booth. Blasting removes the factory paint and
etches the plastic, wire and any slippery engineering plastics
to allow better paint adhesion. The sandblaster is an indis-
pensable tool for the experienced modeler, and can be used
to weather models as well.
After blasting I clean the model thoroughly with soap and
water and set it aside to dry. If you don’t have a sandblast-
ing booth, you can buy an inexpensive one from Badger.
A thorough soapy water cleaning is usually sufficient to
12
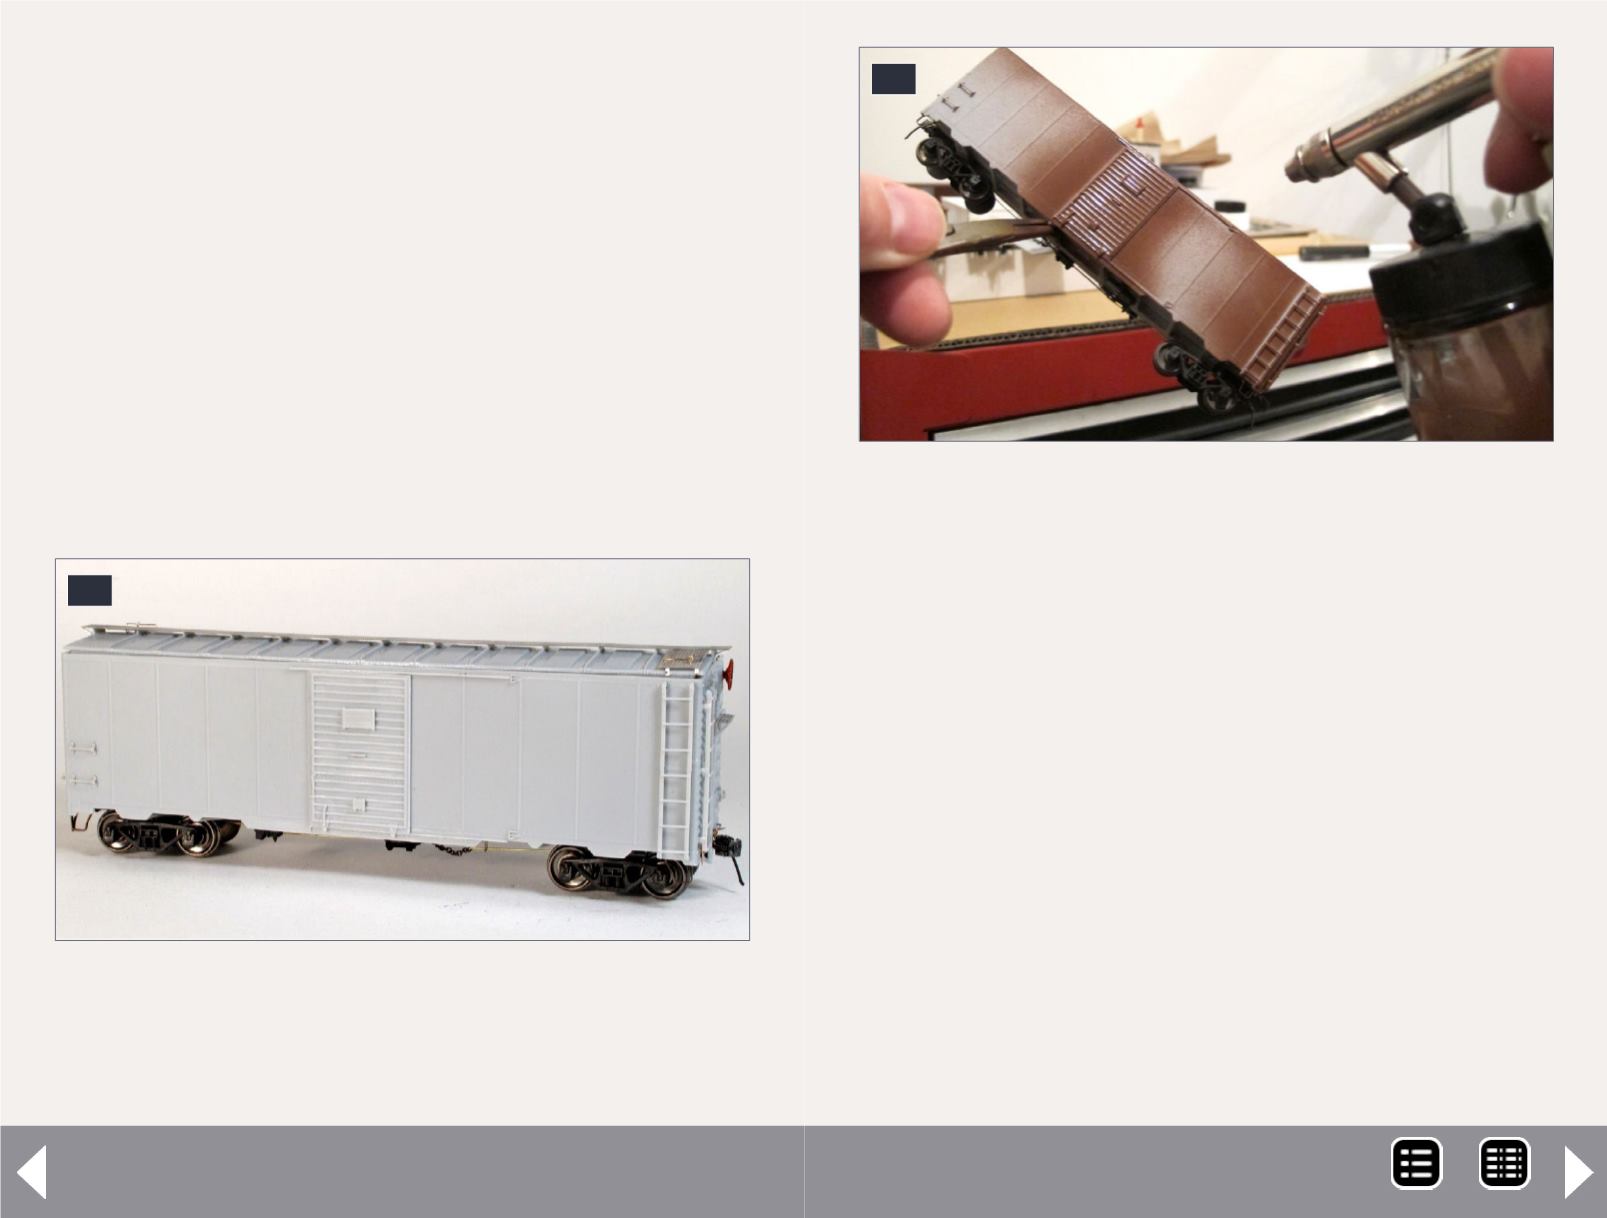
12. The completed model ready for paint and finishing.
I have always enjoyed the way completed, unpainted
models look. I have to admit, sometimes I find it hard to
paint them!
remove oil and plastic residue prior to painting. Let it dry
thoroughly before moving on to paint.
When the model is dry, I paint the entire car -- sides, ends,
underframe, and trucks -- with Scalecoat 2 Box Car Red No. 1.
I mix the paint with about 20% thinner. As you can see in [13],
I was lazy and didn’t remove the trucks and couplers before
painting. I don’t recommend you do this, unless you’re rushed
for a magazine deadline. The roof is Floquil Black.
Once the paint is completely dry, I decal the model using the
Speedwitch No. D-103 SAL Box Cars decal set. This is an out-
standing product with everything the modeler needs to decal
a B-8 or a B-9 correctly. The Speedwitch set is printed by
Microscale and each decal is printed on its own individual decal
pad which eliminates almost all the detailed cutting normally
necessary with other sets. It is truly a 21st-Century decal set.
13
13. Painting the car body.
Seaboard B8 & B9 - 9
MRH-Jun 2014


