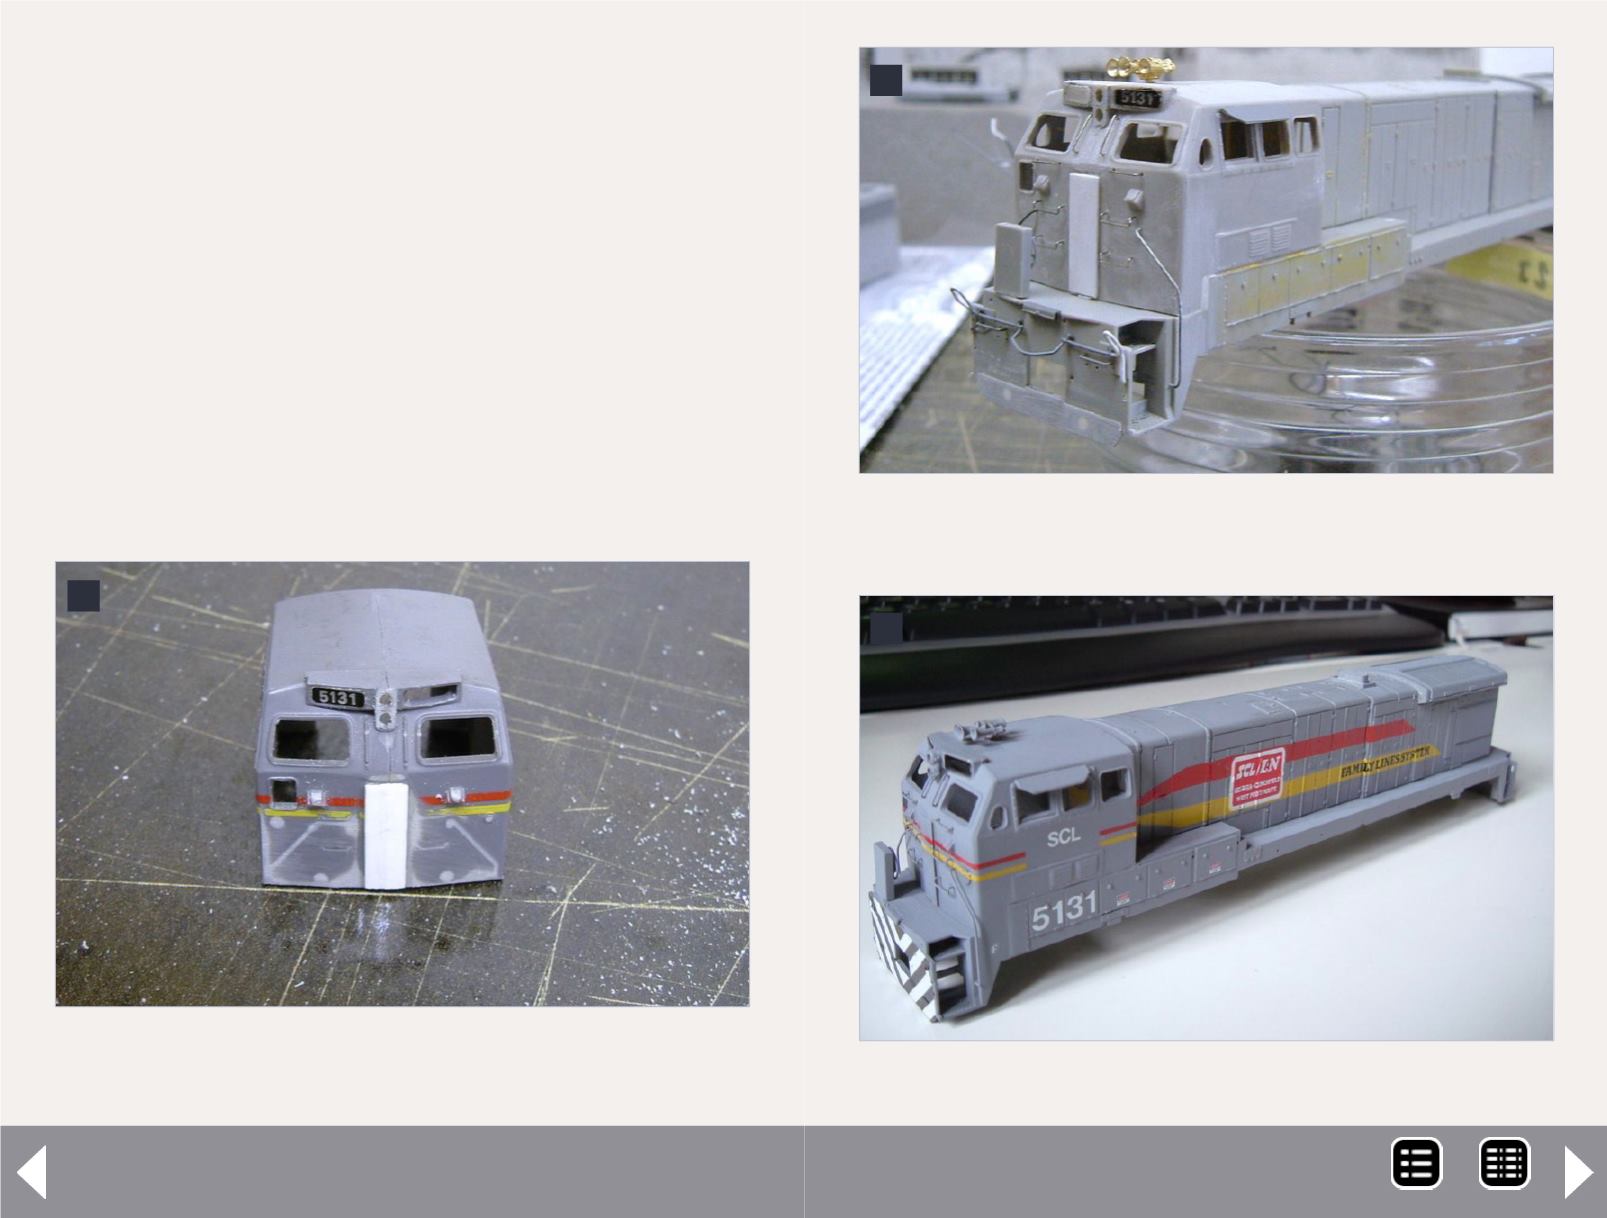
be cut in the middle with a thin saw, and put together again
after that. If you work carefully, you won't even need any putty
to mask the cut. A thin piece of 1/32” styrene forms the new
front door. In this step, you can remove all the cast-on details
like handrails, class lights, etc. If you work carefully, the joint
between the cab and the long hood will need no modifica-
tion. When the cab fits the shell, it can be attached with glue,
i used a special plastic glue that also fills little gaps. When the
glue is hard, use some putty to mask the joints between the
cab and shell. Putty also closes the holes of the snow plow that
was attached to the pilot, since the BQ has no snow plows. The
hard work is done now. Next is detailing. I installed grab irons,
a new horn, and a headlight, the cab handrails were formed
out of 1/32” steel wire.
2
2. The new smaller cab with new door. The cut is
barely visible.
Kitbashing a BQ23-7 - 2
3
3. Detailing of the front is complete – beside the
headlight casting.
4
4. Paint and decasls are done.
MRH-Mar 2014


