10 mm of interior space in the shell, I chose .020” styrene for
my enclosure. It adds about ½ mm of width to each side, or 1
mm overall.
The first step for my installation involved soldering wires to the
speaker and building the speaker enclosure. The speaker wires
were 30-gauge wires cut off from prior decoder installs. I have
a box of these wire pieces that I save for just this kind of use,
but you can order 30-gauge flexible wire from several sources.
My measurements indicated that I had about 6 mm between
the frame and the top of the shell, so I cut a strip of .020’ sty-
rene 5.5 mm wide. The bottom of the enclosure would add 1/2
mm, bringing the total to 6 mm. To make the enclosure, I con-
structed a box around the speaker, using CA cement to glue the
styrene sides to the side of the speaker, and regular liquid plas-
tic cement to attach the bottom of the enclosure.
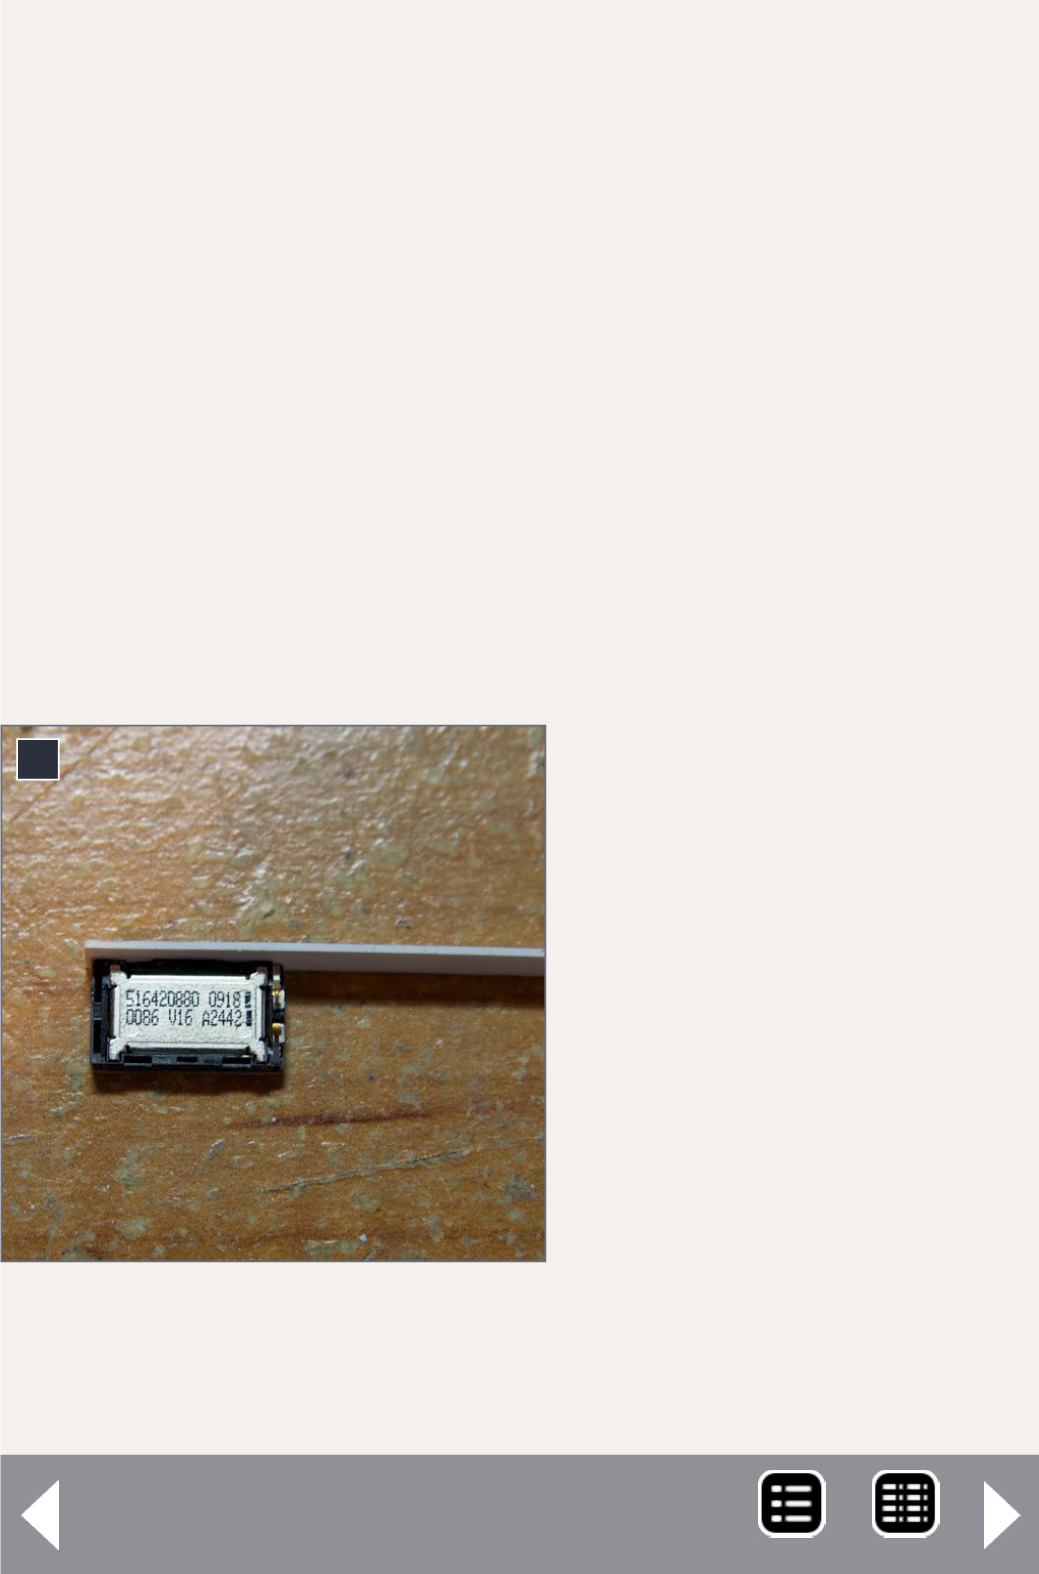
The first step in the pro-
cess is to “rough up” the
sides of the speaker with
200 -grit sandpaper to
provide better adhesion
for the CA cement. I also
lightly sand the styrene
strip.
Now it’s time to build the
box. I put a thin bead of
gel CA across one of the
long sides of the speaker,
towards the top edge, and
then press the styrene
strip onto the edge. I usu-
ally put the speaker face-
down on my work table,
then press the strip along
4
4. Glue styrene to the long
side of the speaker, and trim
to the correct length.
N scale sound - 3
MRH-Dec 2014


