5. Car spot
markers.
you measure the occupancy, especially for the inbound/out-
bound track and the runaround lead track. I use only 40 foot
and 50 foot cars, and so have spaced the car spots accord-
ingly. Some groups of car spots assume cars coupled together
whilst other car spots leave a gap between cars which makes
placing freight cars “on spot” just that bit more difficult. On
the whole, I have left the first part of each spur free.
The next step is to mark the car spots on the layout. Initially,
I simply wrote numbers on the roadbed but soon found I
couldn’t see these through the cars. I drilled a small hole
in the soft board and inserted a cooking skewer to indicate
the location of the car spot. The skewer denotes where the
freight car’s door should be. Adding flags gives a little more
meaning to the car spots but if you already have some build-
ings to install it will certainly enhance the space and look
much better!
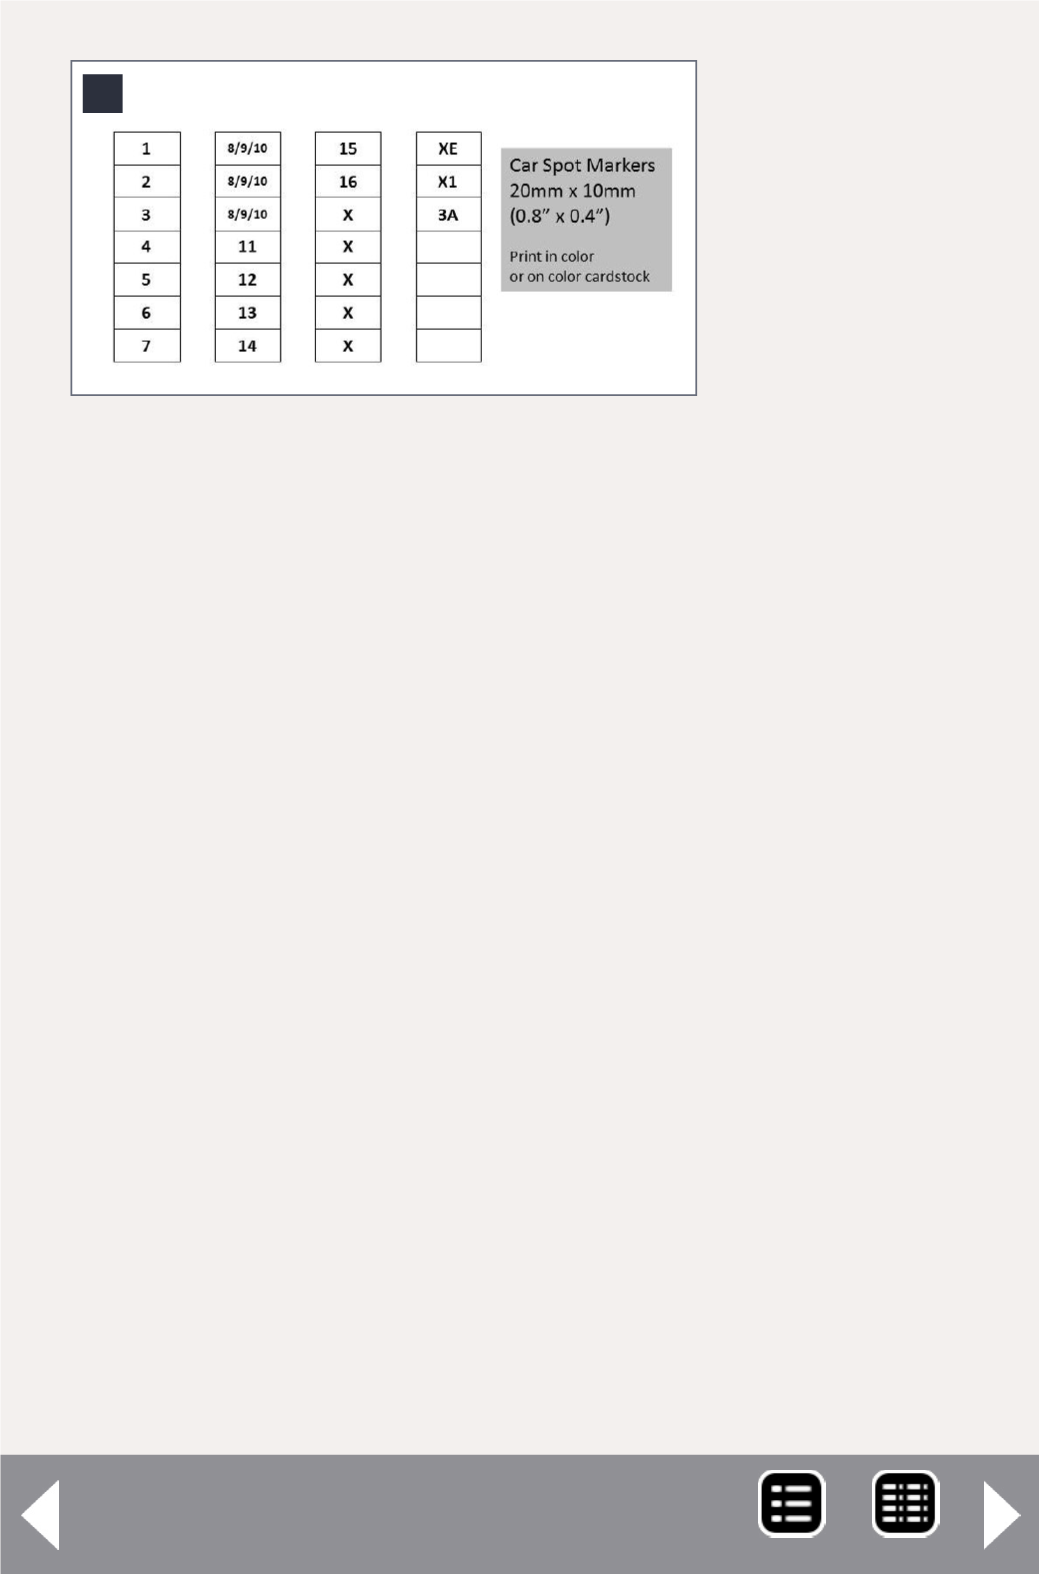
The final step is to make up a set of car spot markers, one for
each car spot plus several “X” for exchange (these cars are
switched to Track 2 in any order). I printed one of each num-
ber 1 to 16 and six “X” marks on some lightweight card and
cut them out. Now you’re ready to go!
5


