The first piece of backdrop
The first piece of backdrop had that 24” curve in it, and needed
cutting to clear a low hanging beam and some conduit. With the
help of my train buddy Rodger, I cut the test sheet and with con-
siderable difficulty we maneuvered it into place [16]. Amazing!
The plywood bent into the 24” radius curve without cracking! It
looked like I had a solution to my backdrop problem.
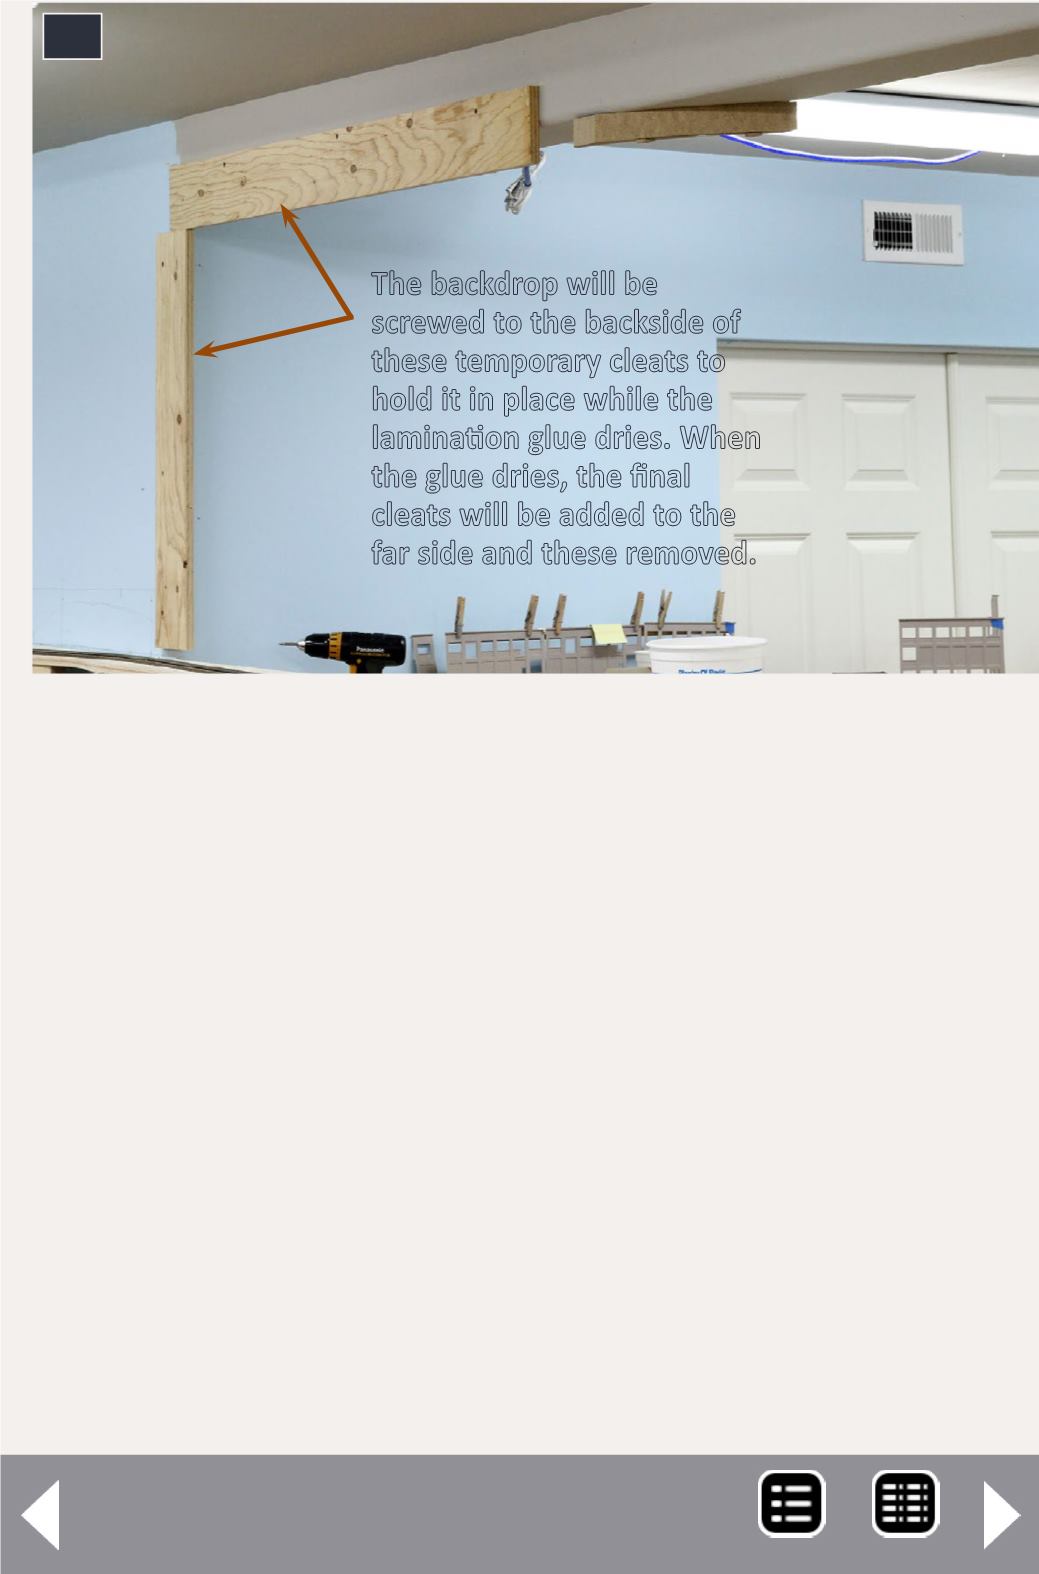
15. The first piece of backdrop has to be flush with the
wall on this side. I temporarily screwed a couple of ¾”
plywood guides to the wall. The backdrop will be on
the far side of these and screwed to them. Once the
glue set, I removed the screws holding the backdrop to
the temporary mounts, screwed cleats in place on the
South Jackson (far) side [25], and then removed the
temporary 3/4” plywood guides. Once spackled, the
resultant joint is almost perfectly flush.
15
The backdrop will be
screwed to the backside of
these temporary cleats to
hold it in place while the
lamination glue dries. When
the glue dries, the final
cleats will be added to the
far side and these removed.


