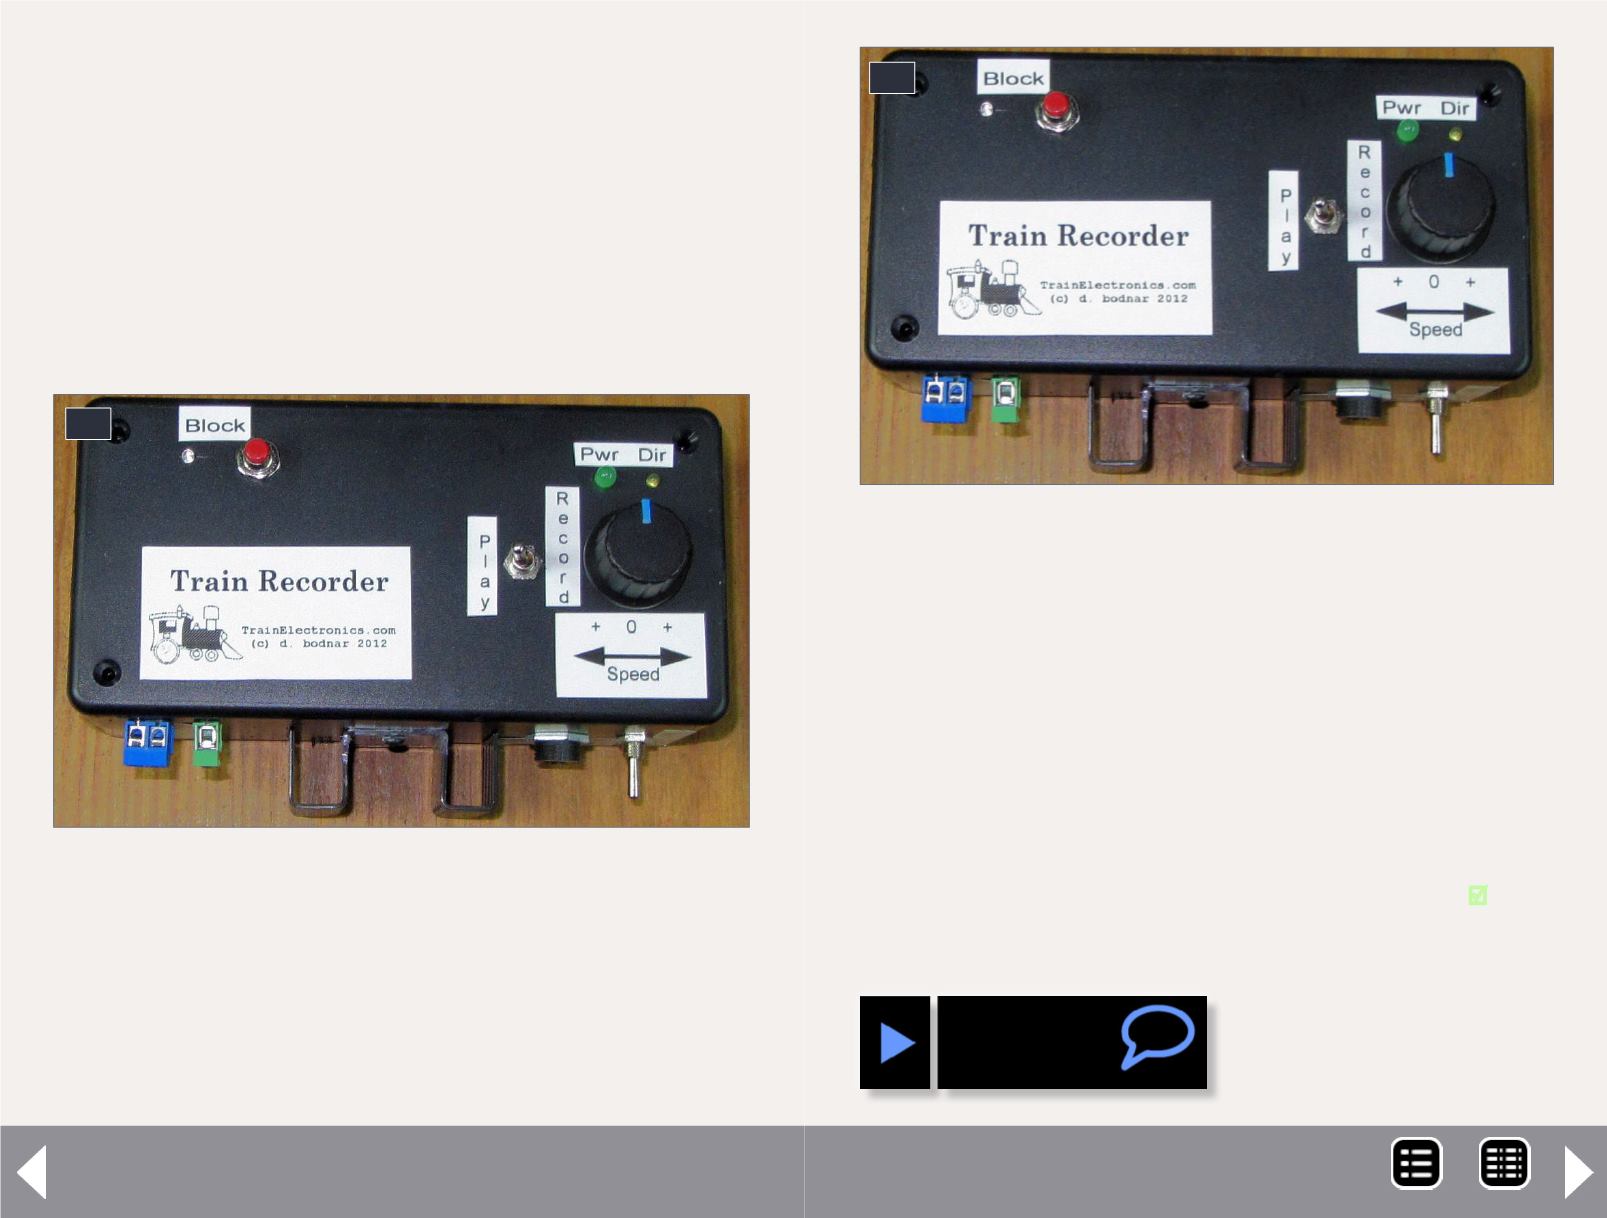
10. This is yet another unit with simplified controls.
Speed is adjusted with the knob on the right. The
larger green LED shows the power level, and the
smaller LED next to it indicates direction. The Play/
Record switch is to the left of the speed control. The
LED and switch in the upper-left are for the block
sync relay. When the relay is active and the block is
unpowered, the LED is lit.
10
Another unit
I built a second unit and show it here. The controls are:
SPEED
– a potentiometer that sets the speed of the train when
in PLAY mode. Turn the pot left to speed up in one direction.
Put it in the center position to stop. Turn the pot to the right to
speed up in the other direction
PLAY/RECORD
– a toggle switch that selects the operation mode
START
– a pushbutton switch that can be activated by the
ENABLE/DISABLE switch. If set to ENABLE the train will play
11. This side view shows the power connections and
on/off switch on the right. The track is connected to
the two blue terminals on the left. The cut section of
the block is connected to the single green terminal.
11
back a session only after pressing the START button. If set to
DISABLE the recording will be played back over and over.
BLOCK
– a pushbutton switch that activates the block sync
relay. If you are using a stop block, press this button as the
train approaches the stop block and it will come to a complete
stop, re-synchronizing its operation. Remember to keep the
power on for a few seconds to allow the train to enter the stop
block during playback, should it be slightly out of sync.
PICAXE circuit part 2 - 8
MRH-Jul 2014


