the nibbler head [3]. Be sure to stay clear of the pencil lines as
you enlarge the hole.
Once the hole is large enough to insert the head of the nibbler
[4], you can start cutting out the opening [5]. I usually nibble
my way to one of the sides, cutting right up to the pencil line.
This is easy because the cutting face of the nibbler is straight.
The sides of the nibbler cutter are also square to each other,
making it easy to turn the nibbler 90° and cut right up to a cor-
ner. The nibbler won't make very narrow cuts very easily, so it
is better to nibble to within 3/32″ of a line, and then cut right
to the line with the nibbler for the last cut.
If you are careful, very little cleanup will be needed to have the
window casting fit into the hole [6]. I tend to cut just slightly
4
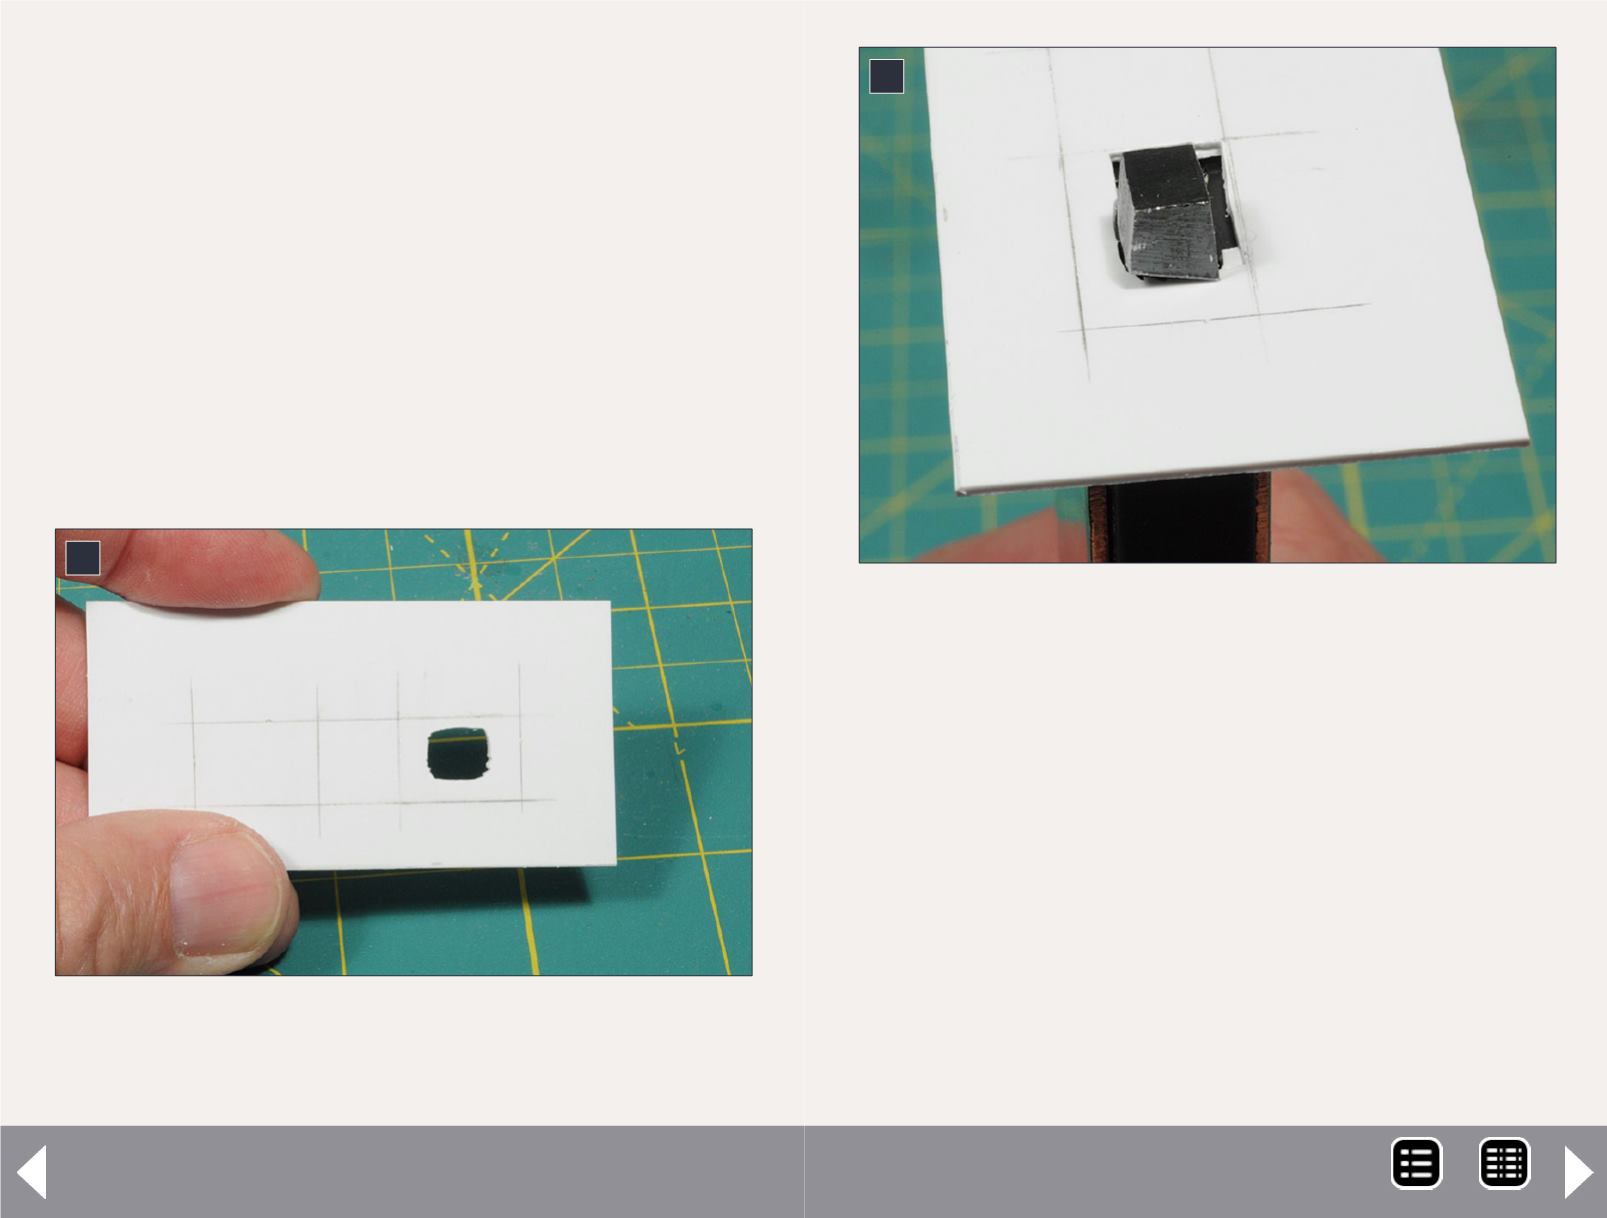
4. Here is the hole after carving. Since the nibbler head is a
rectangle, squaring up the hole will let the nibbler head fit
with less carving.
The Tool Shed - 3
5
5. Here is a close-up of the nibbler cutting head.
wide so that I don’t need to do any cleanup. Any minor irreg-
ularities in the opening will be covered by the outside trim
around the windows. Note that this approach works only when
you are using windows with trim. Windows in masonry build-
ings normally don’t have trim. It also won’t work for small win-
dows if the nibbler head is larger than the opening needed for
the window casting.
Once you’ve finished with the nibbler, check to see if the cast-
ing will fit in the resulting hole. If it doesn’t quite fit, fine-tune
the hole with the hobby knife, carefully carving or scraping as
needed. To see where material needs to be removed, insert the
casting as far as it will go and look from the inside of the wall to
see where it is binding.
MRH-May 2014


