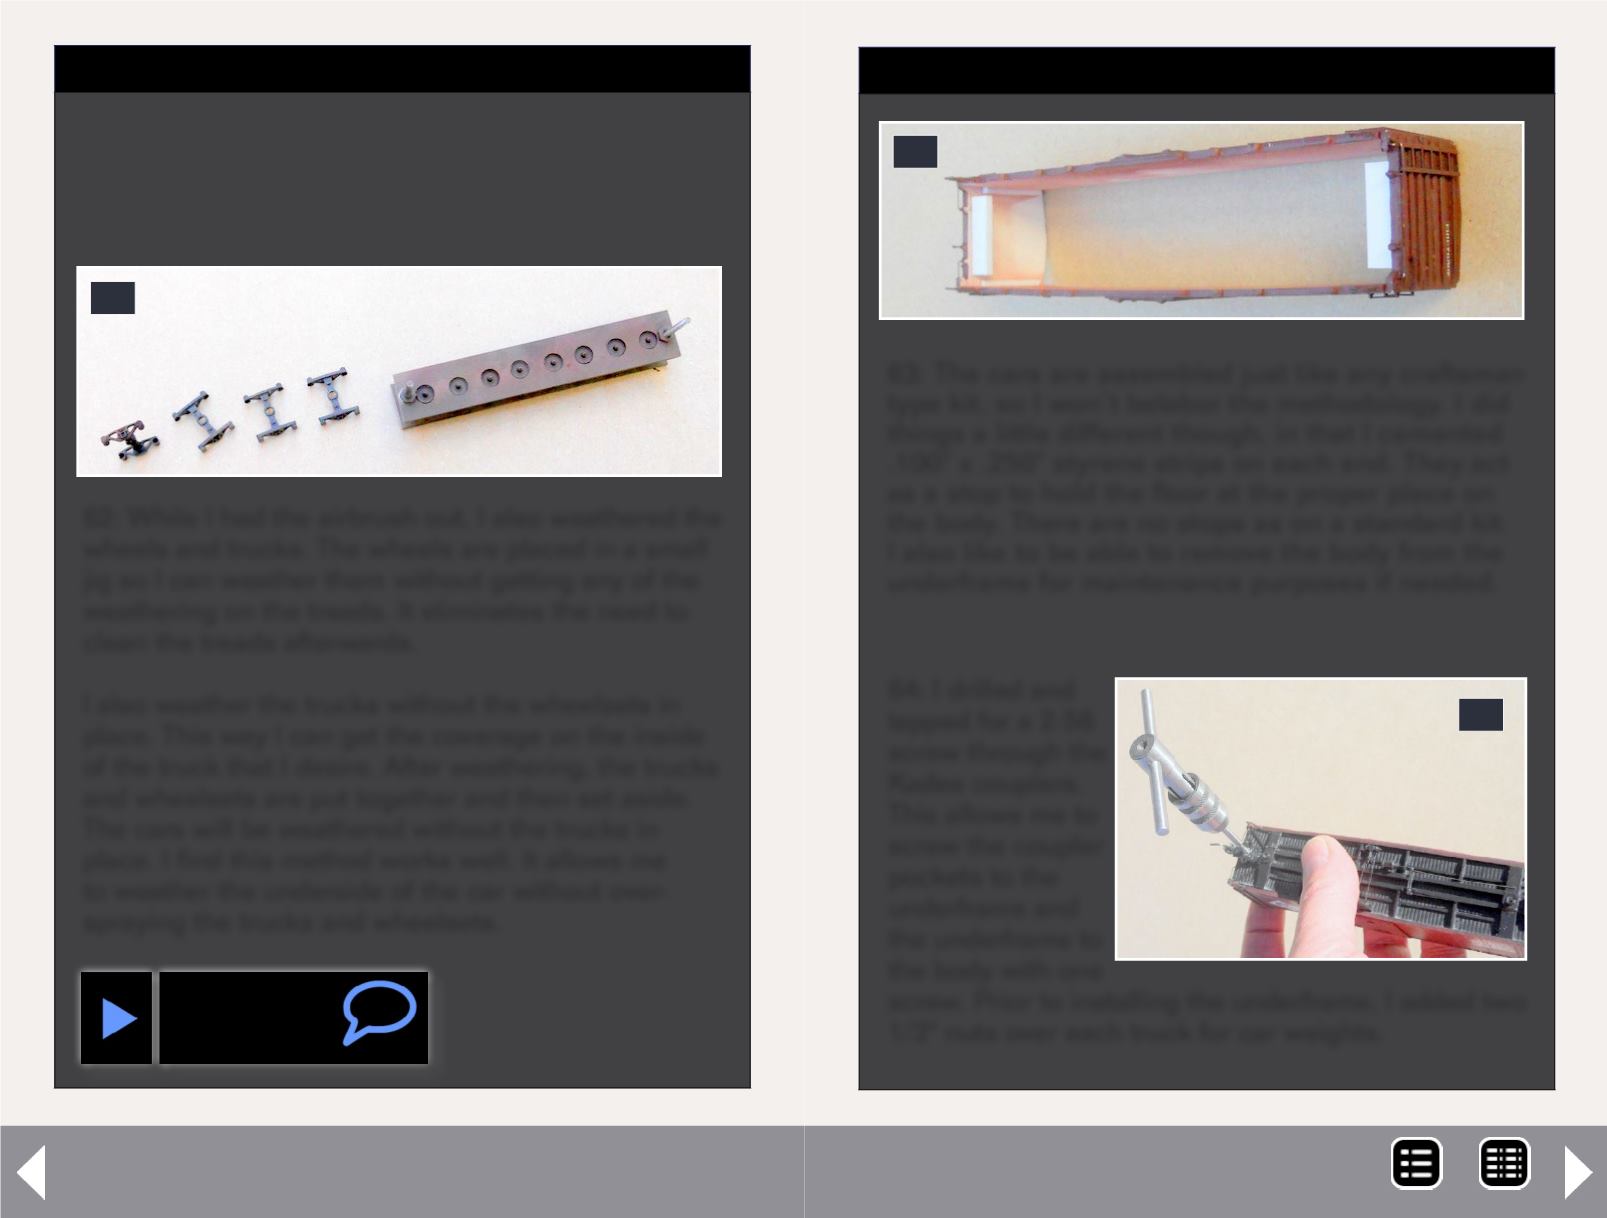
62: While I had the airbrush out, I also weathered the
wheels and trucks. The wheels are placed in a small
jig so I can weather them without getting any of the
weathering on the treads. It eliminates the need to
clean the treads afterwards.
I also weather the trucks without the wheelsets in
place. This way I can get the coverage on the inside
of the truck that I desire. After weathering, the trucks
and wheelsets are put together and then set aside.
The cars will be weathered without the trucks in
place. I find this method works well. It allows me
to weather the underside of the car without over-
spraying the trucks and wheelsets.
STEP 15: Painting and Decals
Continued ...
The Erie Railroad boxcars part 4 - 3
62
Walthers Solvaset to get the decals to snuggle
down on the sides.
STEP 16: Assembly and Further Details
63: The cars are assembled just like any craftsman
type kit, so I won’t belabor the methodology. I did
things a little different though, in that I cemented
.100" x .250" styrene strips on each end. They act
as a stop to hold the floor at the proper place on
the body. There are no stops as on a standard kit.
I also like to be able to remove the body from the
underframe for maintenance purposes if needed.
64: I drilled and
tapped for a 2-56
screw through the
Kadee couplers.
This allows me to
screw the coupler
pockets to the
underframe and
the underframe to
the body with one
screw. Prior to installing the underframe, I added two
1/2" nuts over each truck for car weights.
63
64
MRH-Jul 2013


