The Erie Railroad boxcars part 4 - 1
The ERIE Railroad
boxcars, part 4
– Don Hanley
Model Photos by the author
W
e have finally come to the end of the journey. This
is one of those projects that ended up much more
involved than I initially anticipated.
In this part, I finish up the project with painting, assembly, and
weathering of the cars. It has been a long journey, but I have
learned a lot. My hope is that my experiences will help fellow
modelers avoid making the same mistakes I did, as I explained
in my lessons learned back in part 1.
STEP 15: Painting and Decals
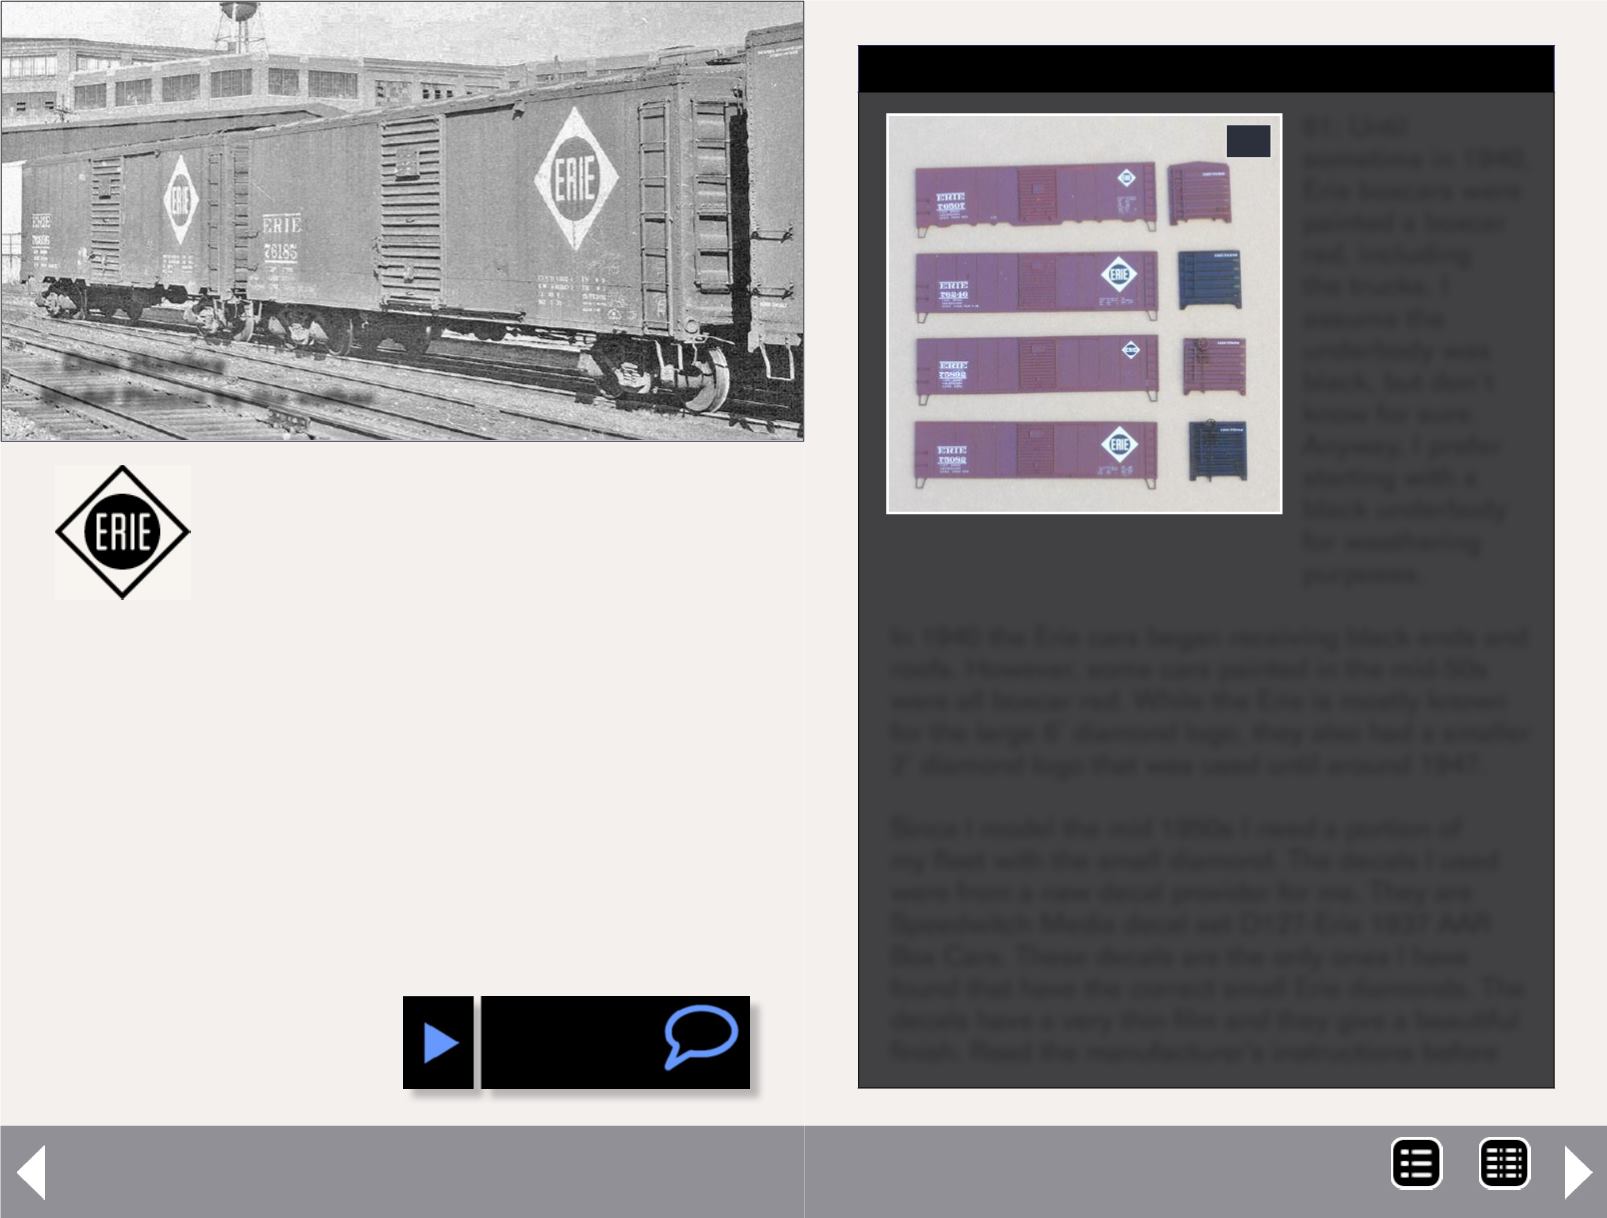
61: Until
sometime in 1940,
Erie boxcars were
painted a boxcar
red, including
the trucks. I
assume the
underbody was
black, but don’t
know for sure.
Anyway, I prefer
starting with a
black underbody
for weathering
purposes.
In 1940 the Erie cars began receiving black ends and
roofs. However, some cars painted in the mid-50s
were all boxcar red. While the Erie is mostly known
for the large 6’ diamond logo, they also had a smaller
2’ diamond logo that was used until around 1947.
Since I model the mid 1950s I need a portion of
my fleet with the small diamond. The decals I used
were from a new decal provider for me. They are
Speedwitch Media decal set D127-Erie 1937 AAR
Box Cars. These decals are the only ones I have
found that have the correct small Erie diamonds. The
decals have a very thin film and they give a beautiful
finish. Read the manufacturer’s instructions before
61
MRH-Jul 2013


