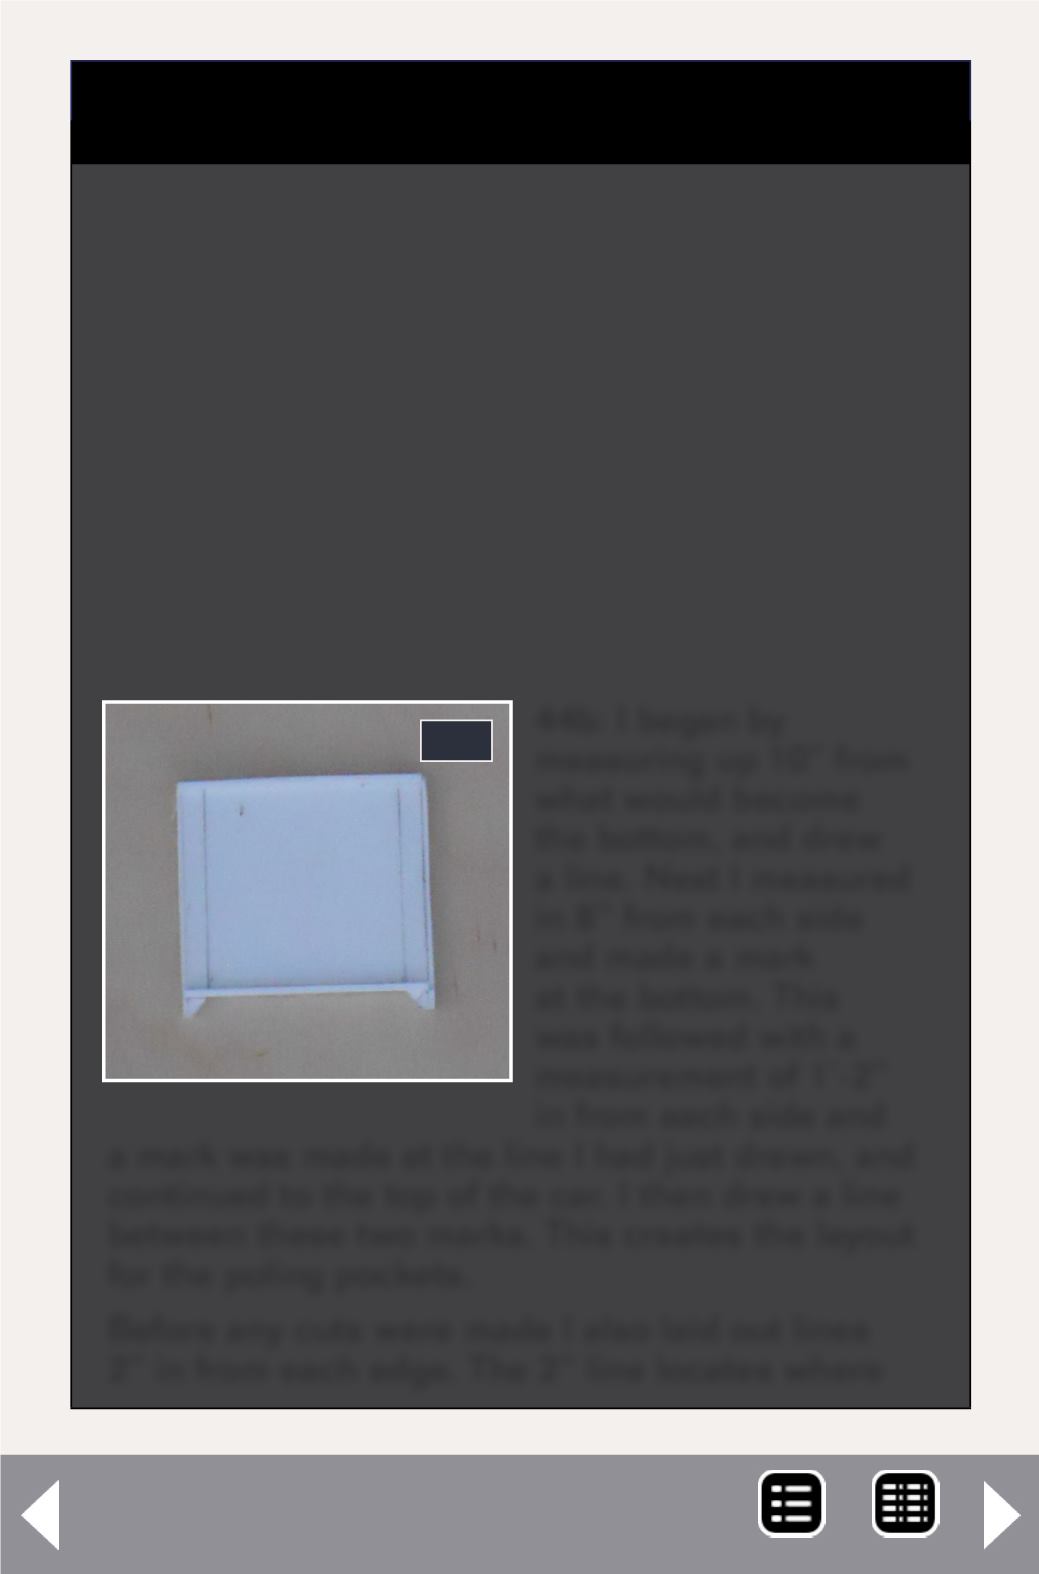
44b: I began by
measuring up 10” from
what would become
the bottom, and drew
a line. Next I measured
in 8” from each side
and made a mark
at the bottom. This
was followed with a
measurement of 1’-2”
in from each side and
a mark was made at the line I had just drawn, and
continued to the top of the car. I then drew a line
between these two marks. This creates the layout
for the poling pockets.
Before any cuts were made I also laid out lines
2” in from each edge. The 2” line locates where
44b
STEP 10: The Ends for the 75500 – 75999 and
the76000 – 76499 Series
Continued ...
to remove with an X-Acto knife. A light touch is
required to do this, only scraping a little off the top
each time.
After I was successful in making some ribs (whew,
what a relief) I cut the blanks for the ends from
.060-styrene stock. This is close enough to the 6”
needed for the end pieces. The end pieces for the
75500-75999 series are 9’-4” x 10’-0”. The end
pieces for the 76000-76499 series are 9’-10” x 10’-
0” and the ends for the 76500-76999 series are
10’-5"×10’. Two were made for each series.


