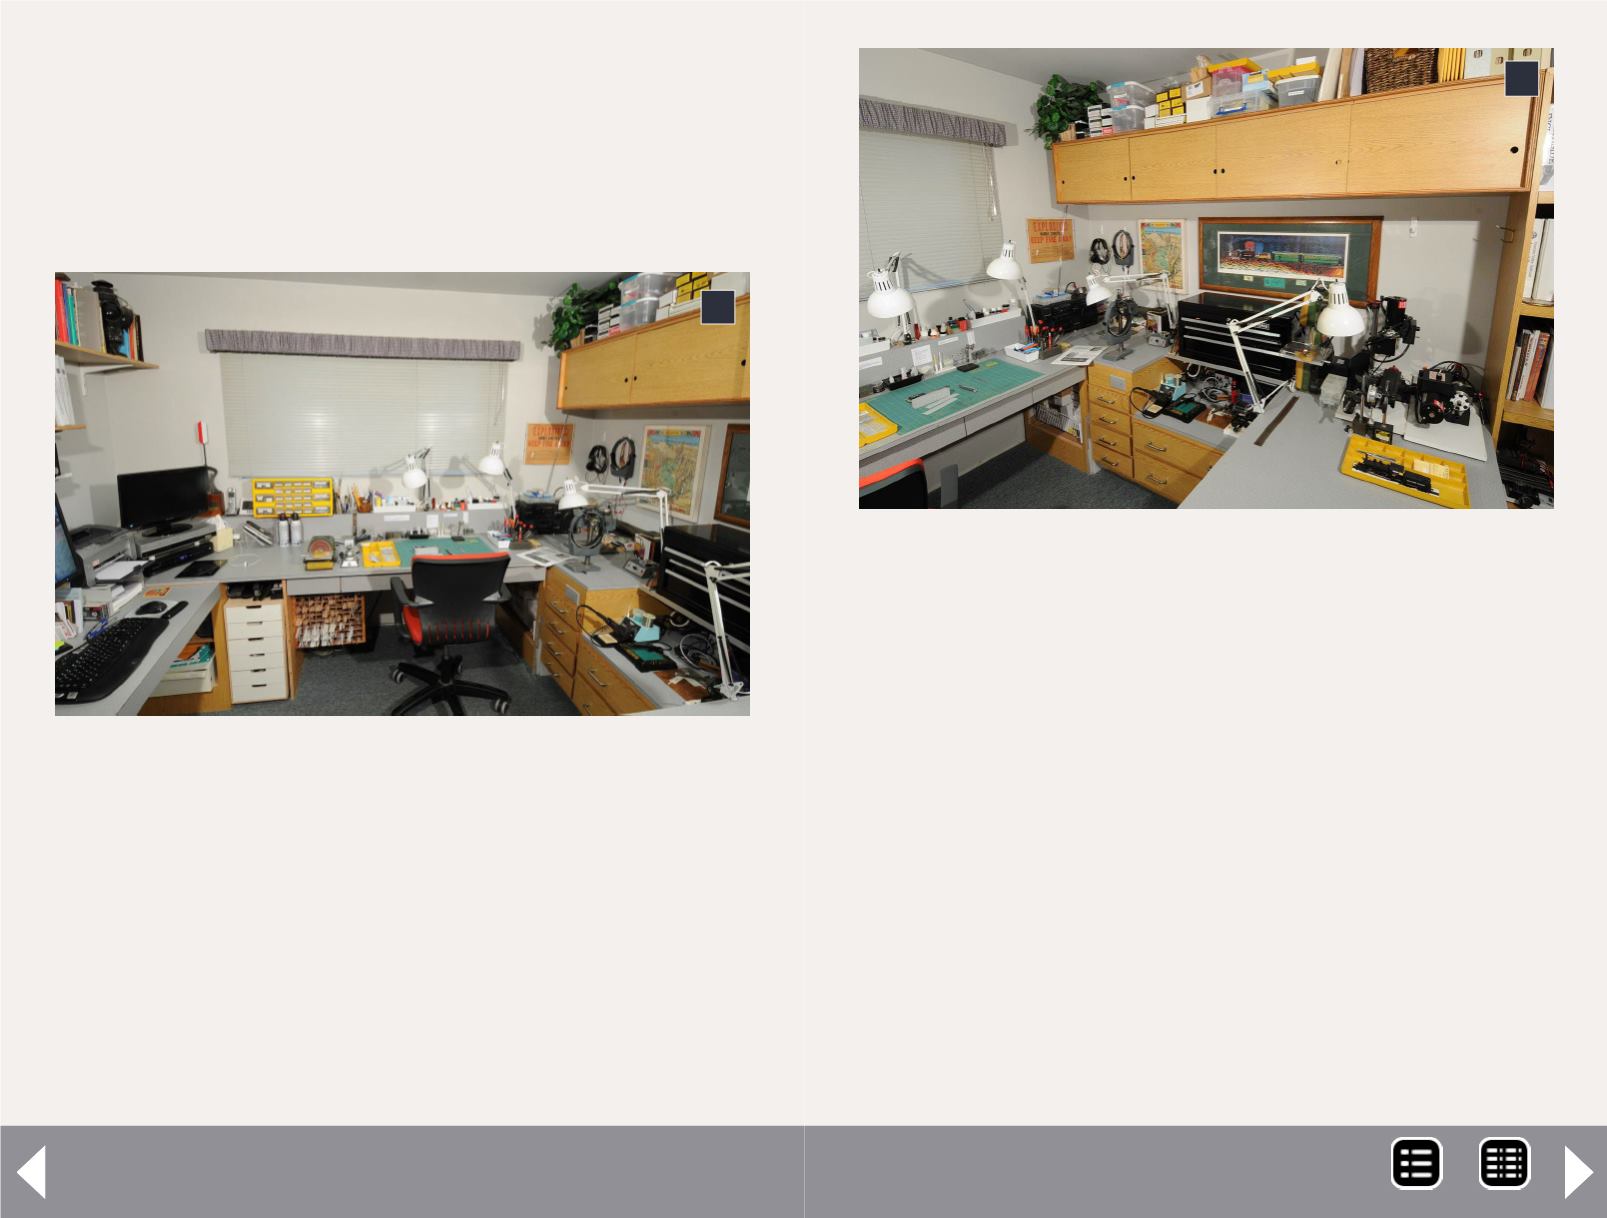
large space for model building; to have adequate storage for
modeling materials, parts, photos, and research materials; and
to be segregated into functional areas for things like assembly,
machining, soldering, etc. Just as important, and since I spend
a lot of time in my workshop, I wanted it to also be a bright,
relaxing, and pleasant place to work.
1: An 18”x24” green self-healing cutting mat defines
the main model building space. To the left of the mat
is a yellow drawer organizer for holding parts for my
current project, a vacuum base vise, and a power disc
sander. The white Ikea drawer unit on the far left pro-
vides space for pens, scratchpads, and other statio-
nery items. Along the back edge of the workbench is
a 7” high by 5” wide boxed-in shelf. This raised shelf
keeps items stored on it out of my working area. The
primary task light is also attached to the top shelf.
Electrical outlets along the face of it provide power for
the disc sander and other power tools.
1
2: This is the view turning to the right from Photo 1. I am
right-handed so my precision drill press is immediately to
my right when I’m at the modeling bench. It has its own
task light. Under the drill press is a roll-out storage bin
which holds about 60 stockpiled resin freight car kits. The
lowered area to the right of the drill press was designed
for a full-size belt sander. (Lowering this area put the belt
sander table at the same elevation as my workbench.) I
eventually transferred that tool to my woodworking shed
and now use this area for a soldering station, resistance
soldering unit, and small table saw. The black 3-drawer
tool box on the shelf above these tools provides storage
for the mills, chucks, collets, etc. for my lathe and milling
machine. Those power tools, and a band saw are stored
to the right of this area. The lathe and milling machine are
mounted to boards so that they can be moved onto the
peninsula for use.
2
Getting Real Column - 2
MRH-Feb 2013


