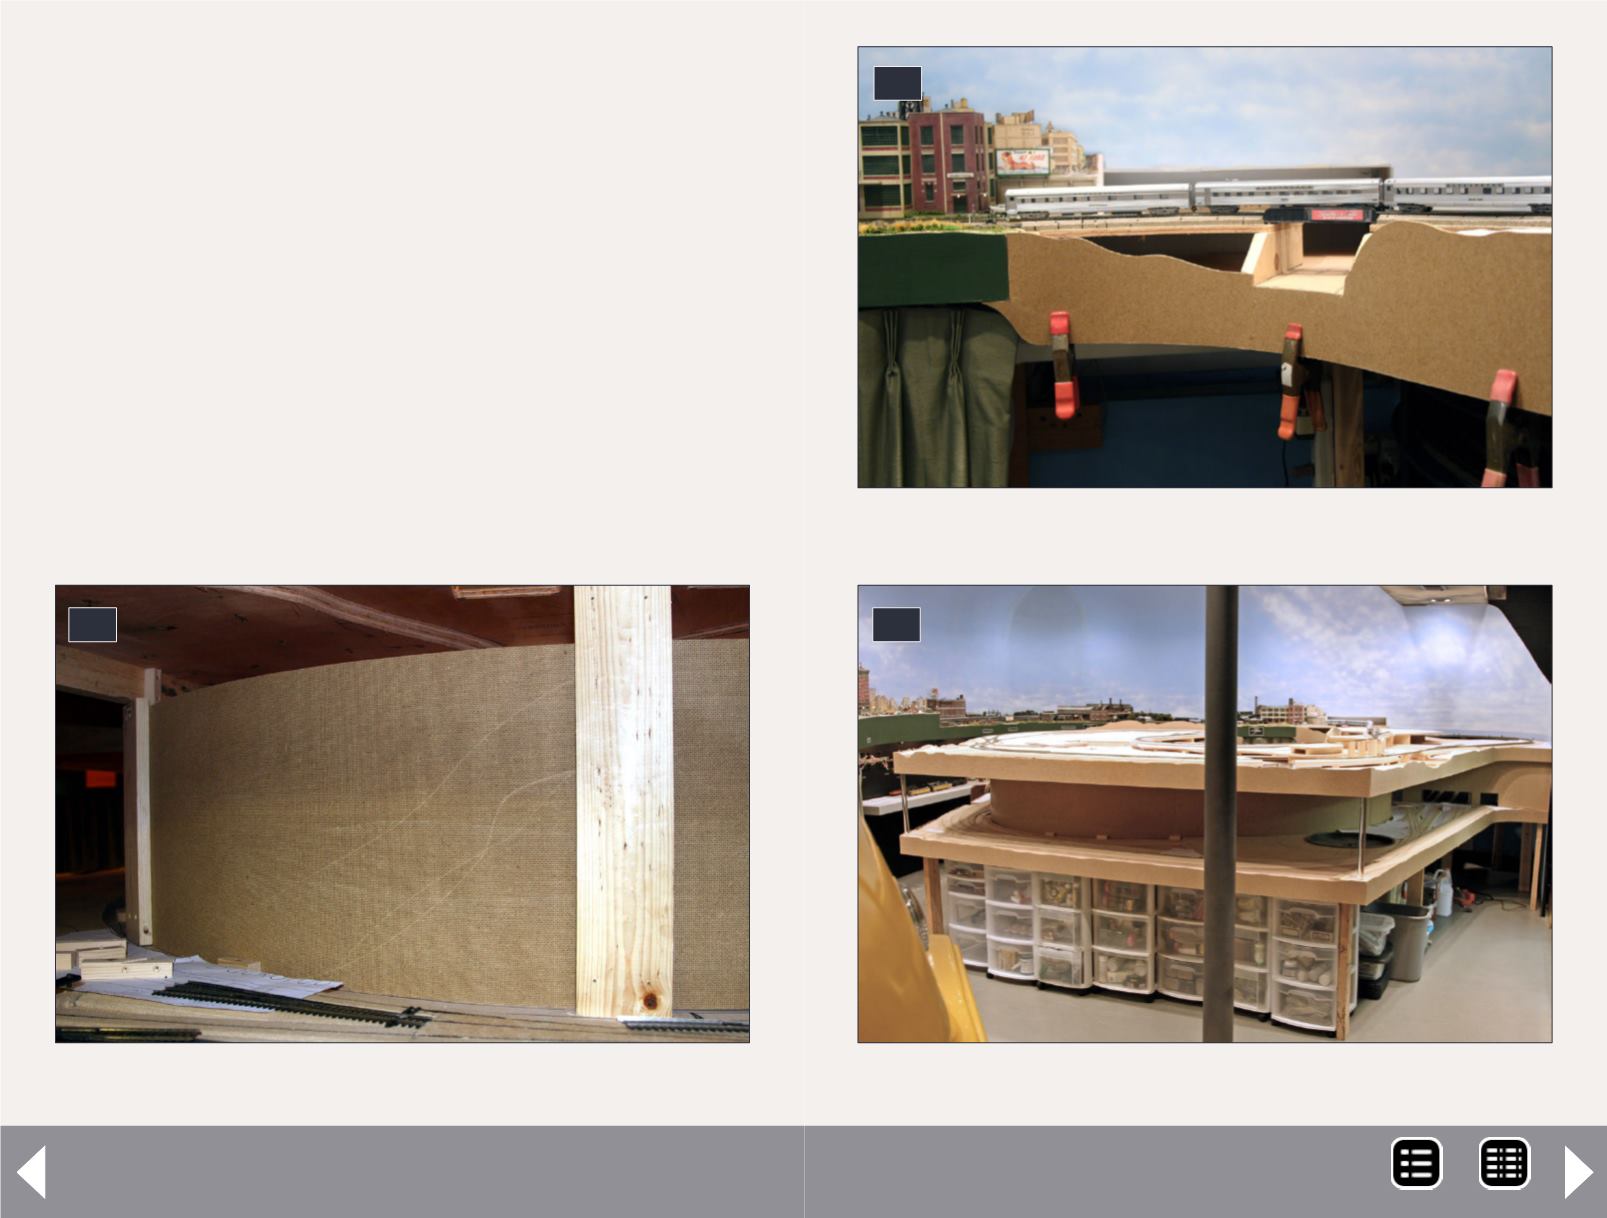
31: Installing the fascia.
31
32: Fascia installation complete.
32
Getting Real column - 12
30: Backdrop supports between Shreveport and Watts.
30
height. I then brought them down to the layout room and
clamped them temporarily to the face of the layout. I marked
the scenic contours onto the Masonite pieces following the
contours of the benchwork and the overall plan for the scen-
ery. Next I removed the fascia sections and took the pieces to
the shop. I used a jigsaw to cut them to shape. Back down in
the layout room again, the pieces were glued and clamped to
the layout using Liquid Nails Project Cement. Let the cement
dry overnight (31).
An overview of the layout with fascia and backdrop pieces in
place is shown in figure 32.
At the sharp front corners of the layout, the edges of the
Masonite pieces were mitered (33). The 1/8” Masonite is
very flexible and fits nicely into the curved sections of the
MRH-Jan 2013


