BURLAP HARDSHELL |
10
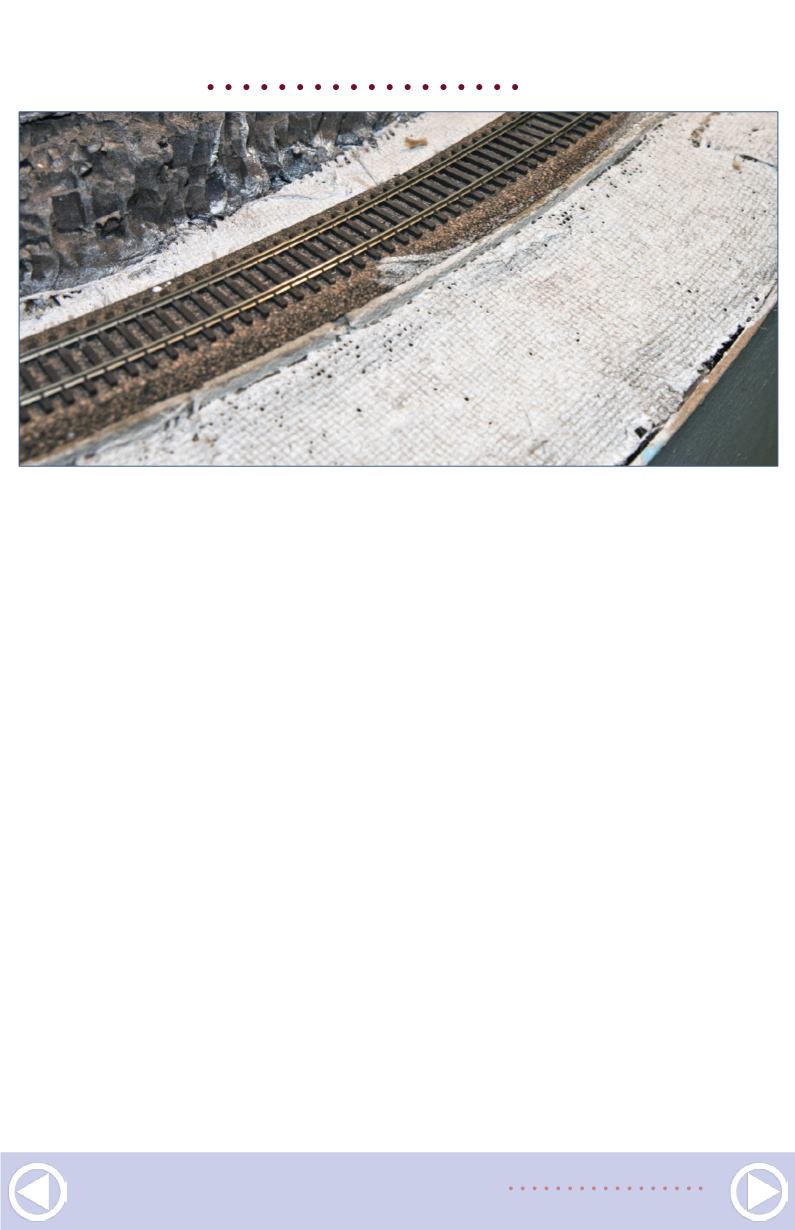
11. Pinholes are normal in the first coat. Let the initial coat set
up, then apply a second coat to fill in the holes and hide the
woven texture. Protect track with painter’s tape.
[11]. This is normal. The waiting time between the first and sec-
ond coats of plaster is not at all critical, as long as the first coat
is hard enough to support itself. If you wait for the first coat to
become dry to the touch, its bright white color makes it easier
to see where the second, darker coat [12] is being applied.
Modifications after the fact
One of the great advantages of using burlap as a scenery sup-
port becomes evident once the plaster has hardened: Making
fairly sizable contour modifications can be both quick and easy.
If you have an area that needs to be made a bit higher or lower,
tap it gently with a hammer or push it with your hands. This
will crack the plaster but, unlike paper-towel-based hard shell,
the burlap will remain intact.
Push the area into its desired new shape and support it to
keep it in place. To fix the new shape in place, simply apply


