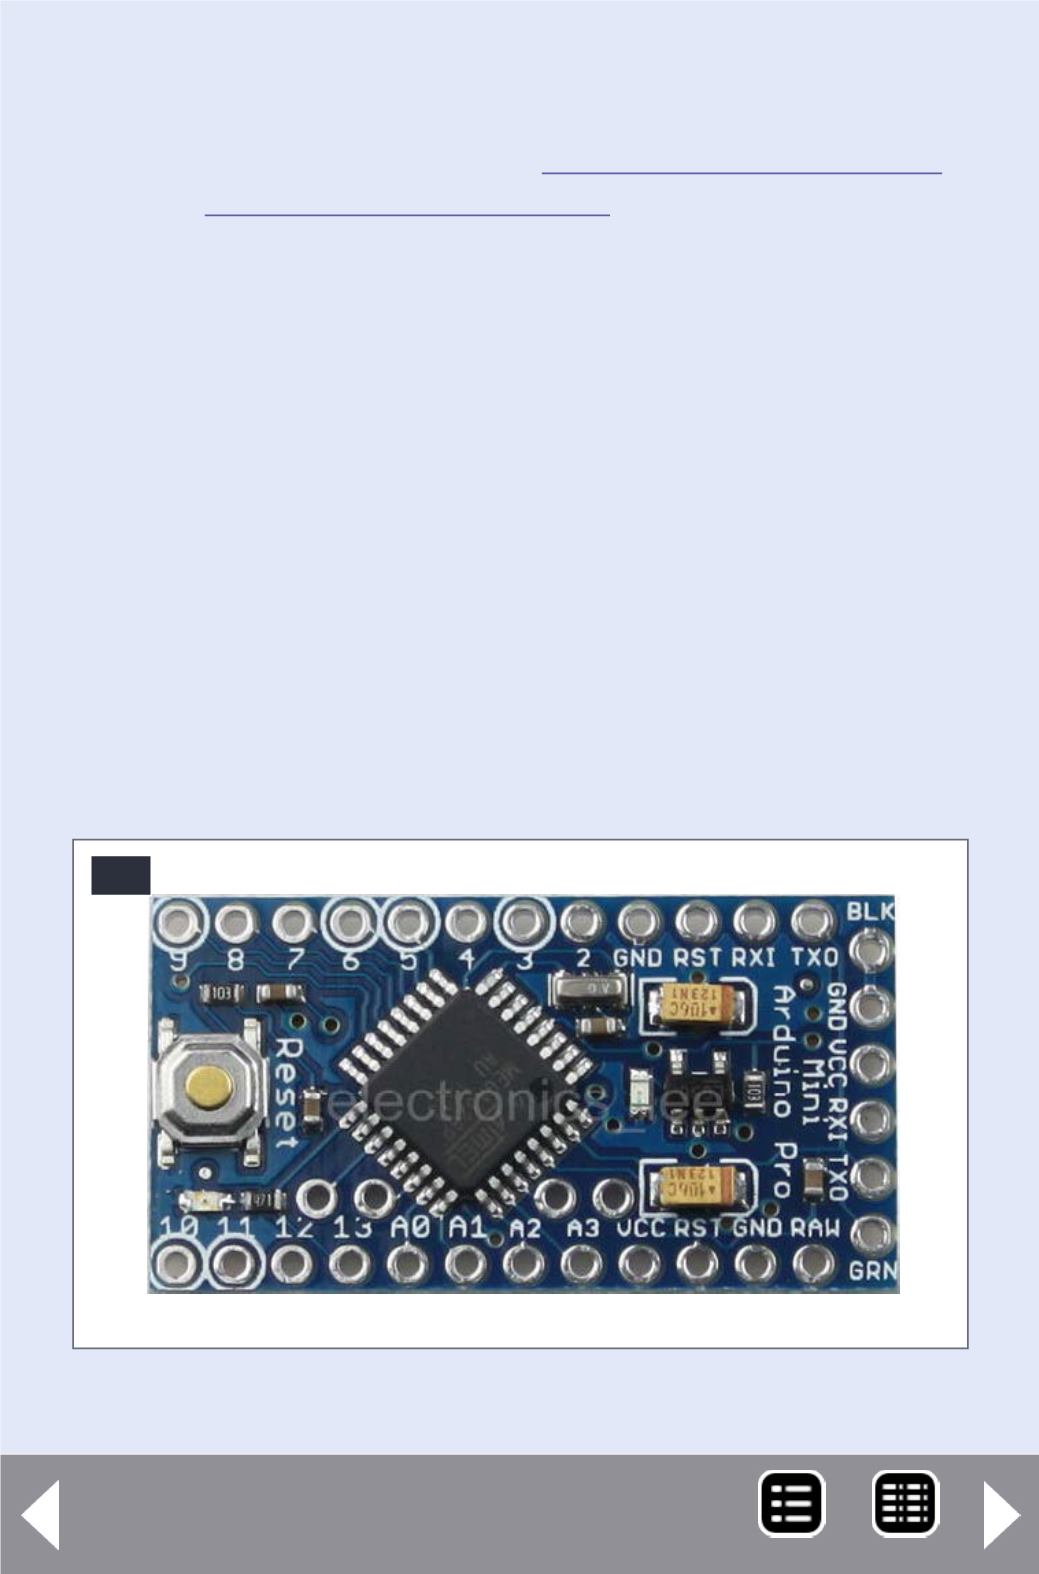
The Moteino used in the accompanying article is a repackaged
Arduino combined with the RFM12B radio module. You can
find additional information here:
and here
.
You can follow the steps below to use either a Pro Mini or a
Moteino.
Now you should have at least one Pro Mini Board, a cable, and
the IDE software loaded.
If you ordered the Pro Mini I referenced before, it came with a
set of header pins. Cut off a six-pin group and solder it into the
six holes on the end of the Pro Mini Board. Either side will do,
I prefer the header to stick out the component side with the
button on it.
In some model settings you may prefer not to solder the header
on at all. I’ll show you later how to deal with this. Notice that ends
of the six holes are either labeled BLK and GRN, or GND and DTR.
41. Arduino Pro Mini.
41


