Before securing the shelves in place, I note the location where
the control rod will pierce the fascia, then drill a hole in the
fascia, sized to create a press-fit for the rod’s outer sleeve. I
finish the installation by connecting the control rod between
the switch stand lever and the appropriate BullFrog. To make
this connection, I use appropriately sized Gold-N-Clevises from
Sullivan Products
, a supplier to the RC
aircraft hobby. I liked the clevises so much I used them at the
BullFrog end of the linkage, too.
9
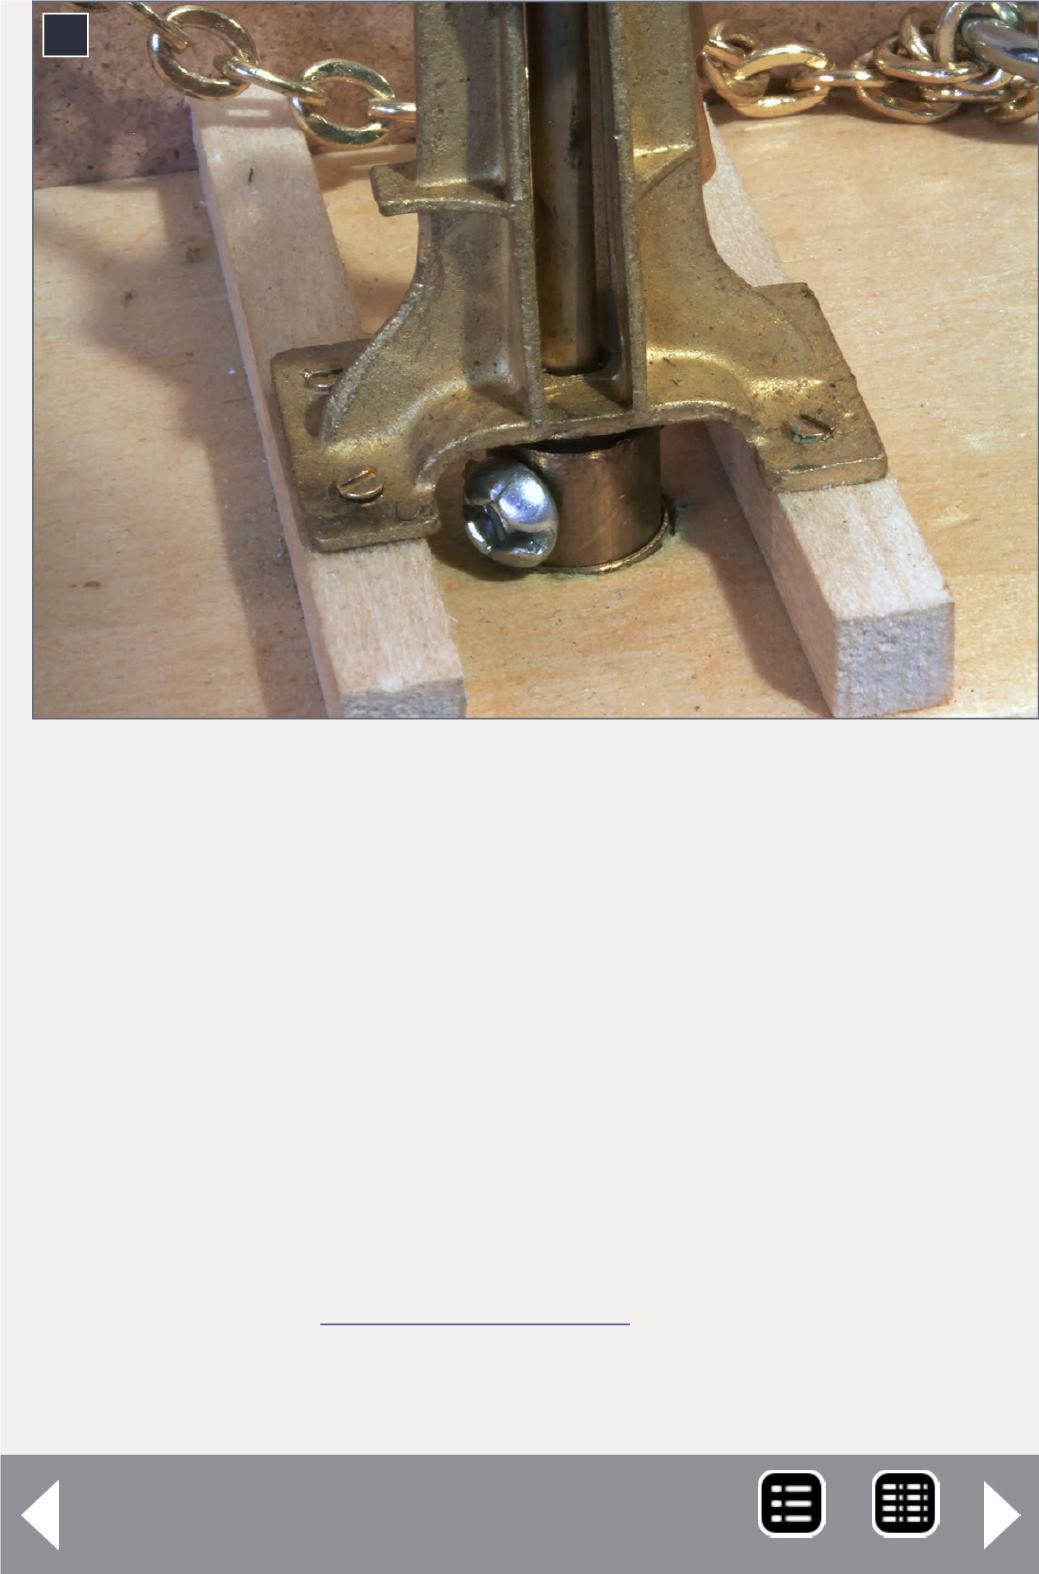
9. Here’s a closeup of the base of a modified switch
stand. It shows the two sizes of tubing used to make
the extension that transfers the movement to a lever
below the shelf. It also shows the screw that replaces
the threaded rod to secure the extension to the stock
switch stand.


