Build your first resin car - 11
24
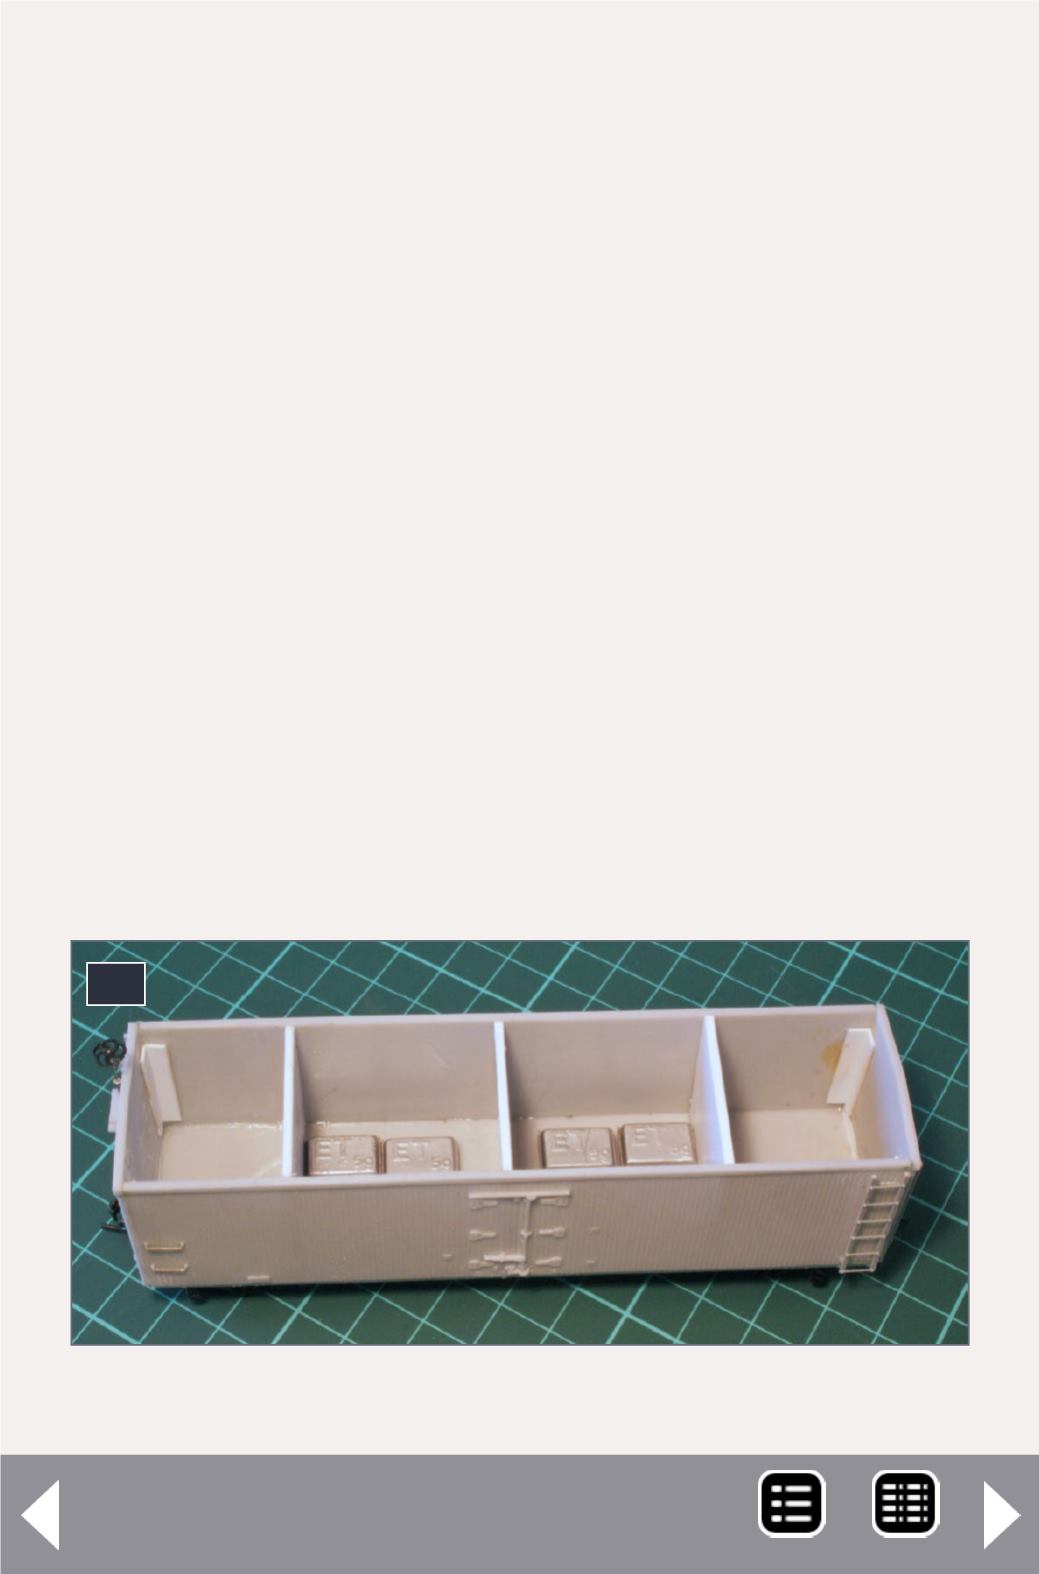
24. Internal baffles or supports installed in the body.
so that they don’t flex inward. I add .060” styrene bracing into
the kit in three places. Size the braces so that they fit snugly at
the end of the car. If they are snug against the end, then they
will maintain an even distance between the sides.
Now it is time to install the roof. Add the kit bracing to the ends
and between the styrene bracing you have installed. Make
sure the angles of the braces match the roof angle. You can see
[25] that I have also notched the styrene bracing that I put in. I
should have done that before I glued them in.
Included in the kit is a long support brace which slots into the
kit-supplied roof braces. I don’t often use these but substitute
styrene instead. I find the styrene more stable dimensionally
and easier to use. In my case, the dimension was .040” X .100”.
I didn’t have a piece of styrene that matched so I just cut a strip
off a black .040” sheet. Glue this in, making sure it is level with
the apex of the roof guides.
Next glue on the roof, doing one side at a time. I use canopy
glue here so that I have some working time. Apply the glue
MRH-Aug 2014


