DCC Impulses Column - 8
pieces of the shell-width styrene cut to length and rounded to
fit the interior roof of the shell. Either glue these end pieces
with MEK to the speaker assembly before you caulk it in, or
locate them with caulk after the speaker assembly is in place.
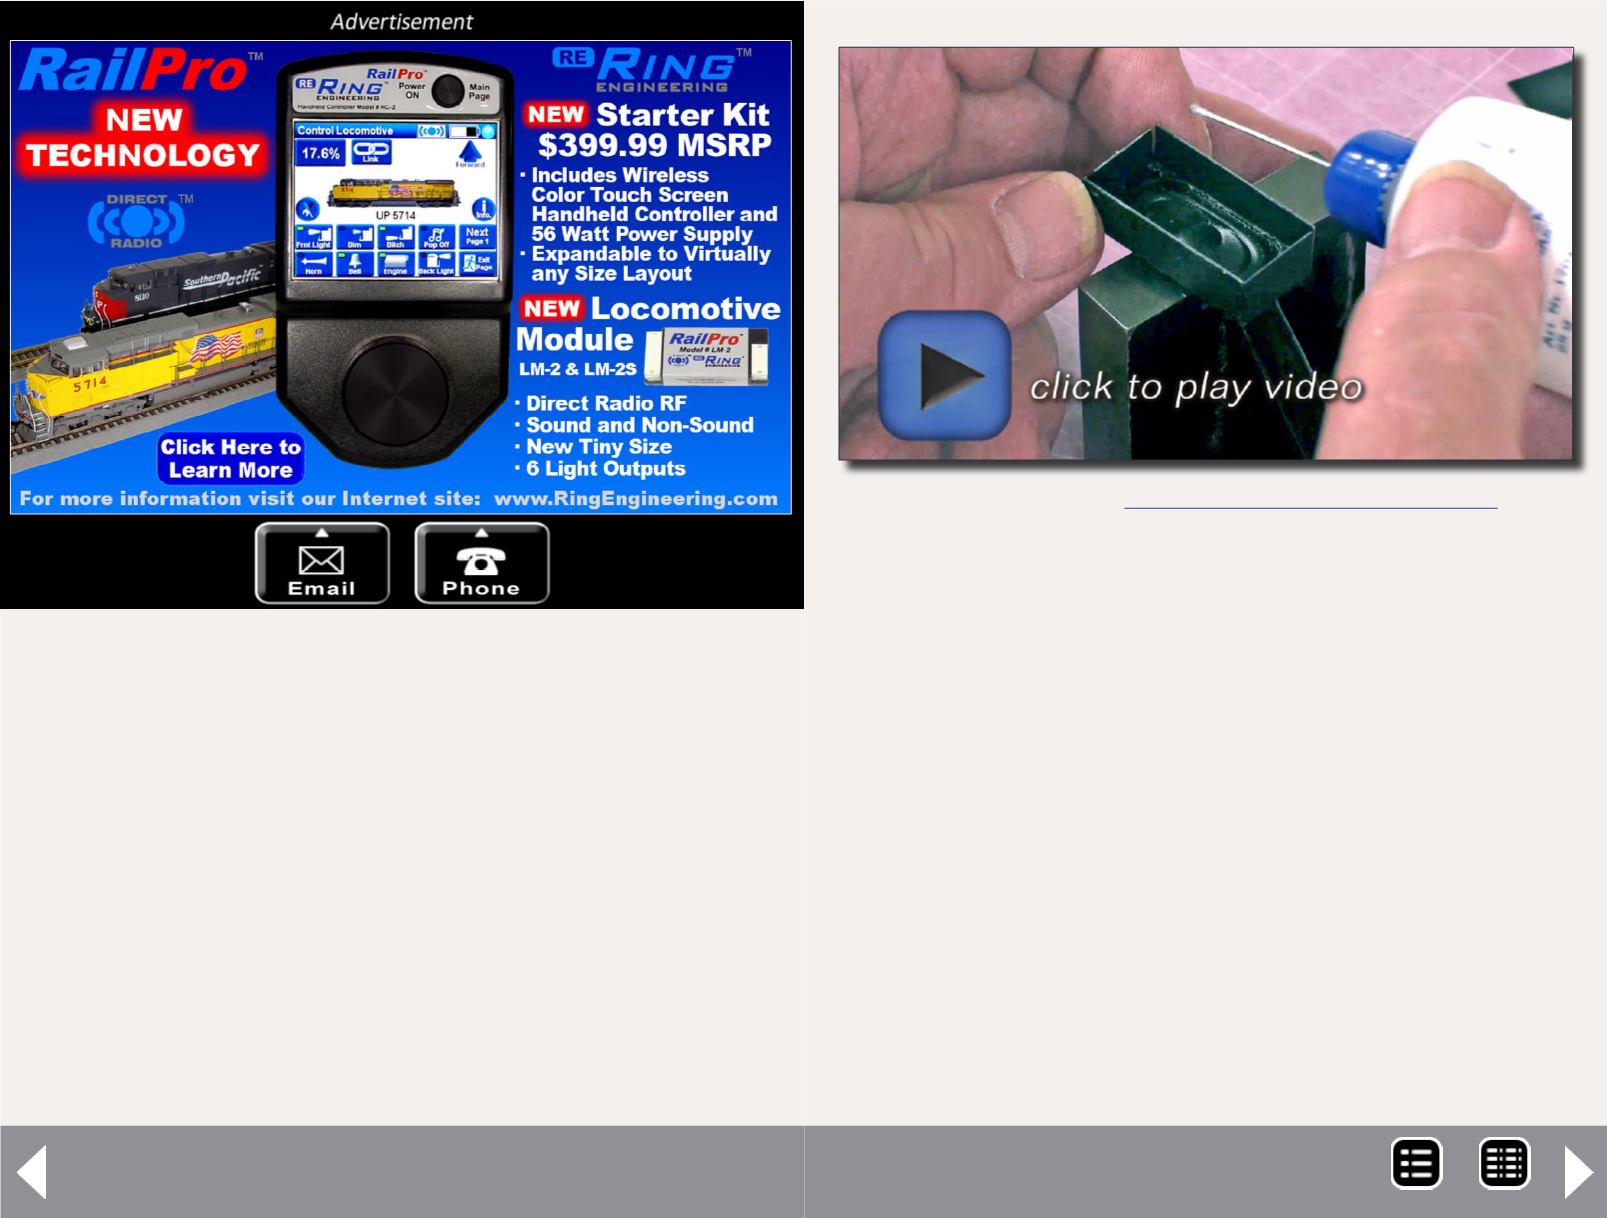
Building a box
Sometimes I need to build an enclosure (box). This may be
because I’m using a speaker that doesn’t have a ready-made
enclosure available, or because I need a different depth than
the ready-made version. This technique results in a crude
enclosure. I use ready-made if at all possible.
I use the same techniques previously discussed to cut and glue
styrene to the speaker. Angle blocks keep things square while I
use MEK to quickly tack the pieces together. Then I use clamps
to hold the sides closed while I add Faller Expert cement to the
corners to create a fillet and seal the box. Be sure to plug the
mounting holes with styrene or caulk. Optionally, you may use
some square styrene for the corners, and to cover the holes
from the inside.
Do I have enough room?
I can’t tell you how many times I created the “perfect” installa-
tion and then couldn’t get the shell back on when I was done,
before I learned this trick.
When you are looking for clearance, put a wad of modeling clay
in the area of concern. Then close the shell, or whatever you
want to check. Open it back up and the clay will be formed into
the shape of the space. Now, you can measure and plan.
In [6], you can even see the dimple from the interior of the shell
reproduced in the clay -- black outline. If you know the sizes of
these intrusions, so you can plan your speaker offset.
MRH-Aug 2014


