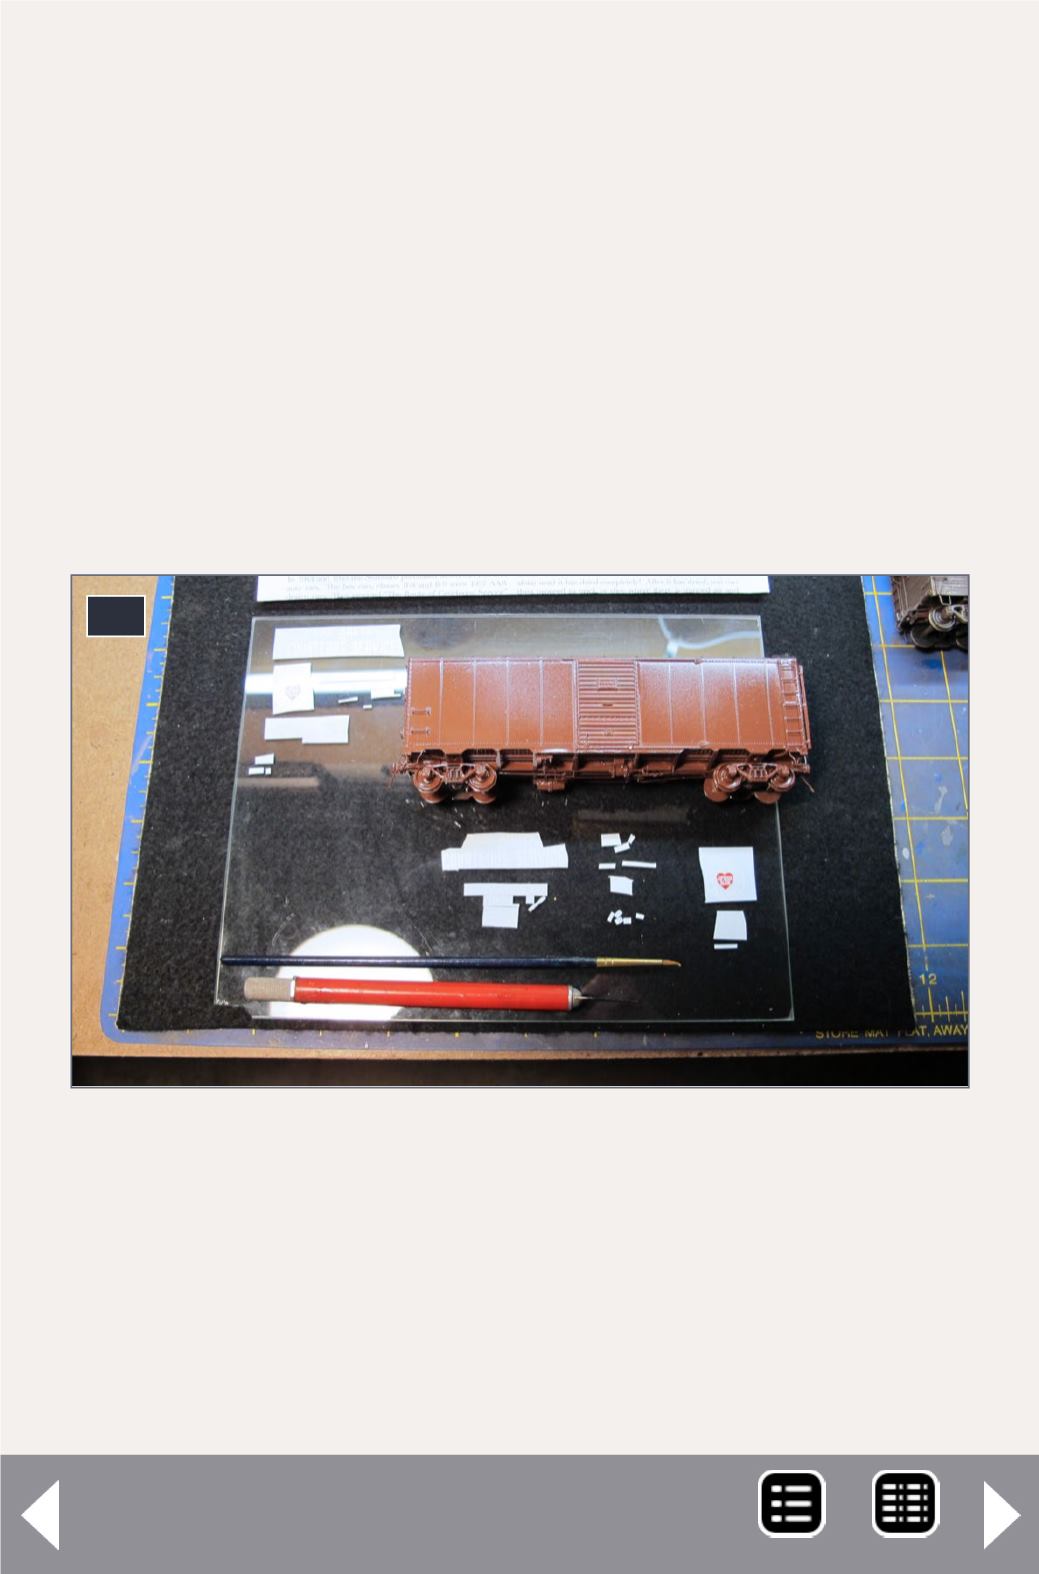
I cut out the decals for both sides and both ends on a piece
of glass using a sharp No. 11 X-Acto blade, and organized the
decals into piles, one for each side and one for the door decals
and end decals. I apply the decals and carefully move them
into position with a dull No. 11 knife.
Normally I apply Microscale Micro-Sol to the model’s surface
before laying on the decal to prevent “silvering” — micro-bub-
bles that get trapped under the decal -- but Micro-Sol tends to
distort Speedwitch decals because they are so thin. Instead, I
place them directly on the car side. I decal each car side sepa-
rately after the opposite side was completely dry.
14
14. This photo shows my typical decal process
underway. I cut out the decals for the entire model on
a thick glass sheet, then organize them into groups
depending on which part of the car they will be used on.
I then “paint” the decals with water and drag them off
the paper with the paintbrush and apply them directly to
the car. I do not use the popular “float-off” method.
Seaboard B8 & B9 - 10
MRH-Jun 2014


